
With these 32 simple car detailing tips and tricks you can make your vehicle look, feel and smell like it just had an expensive all-in make-over by a professional detailer.
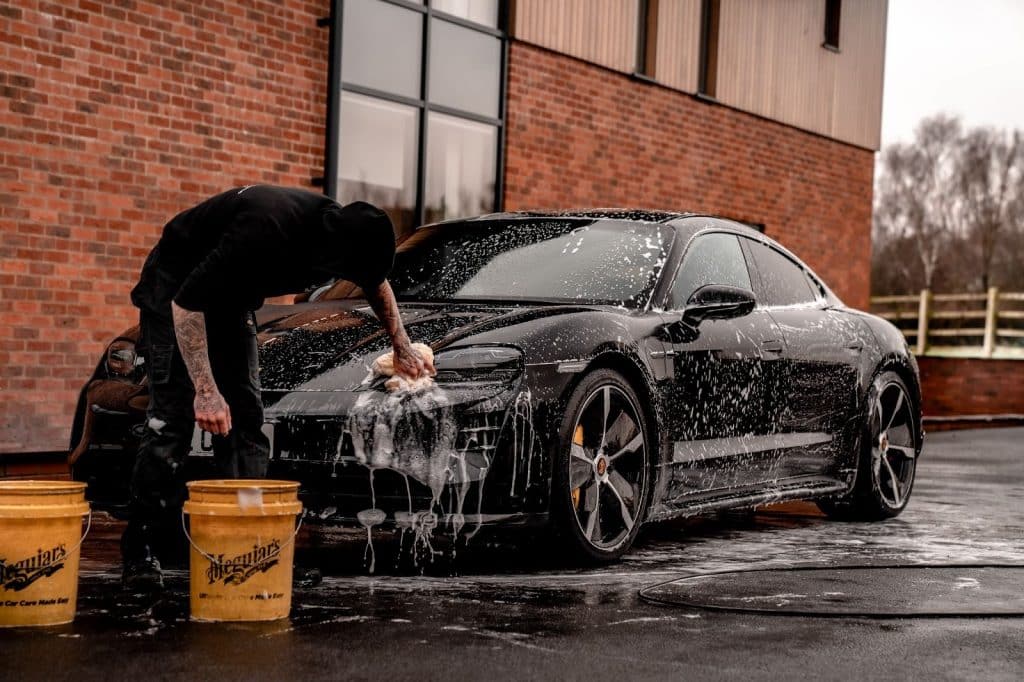
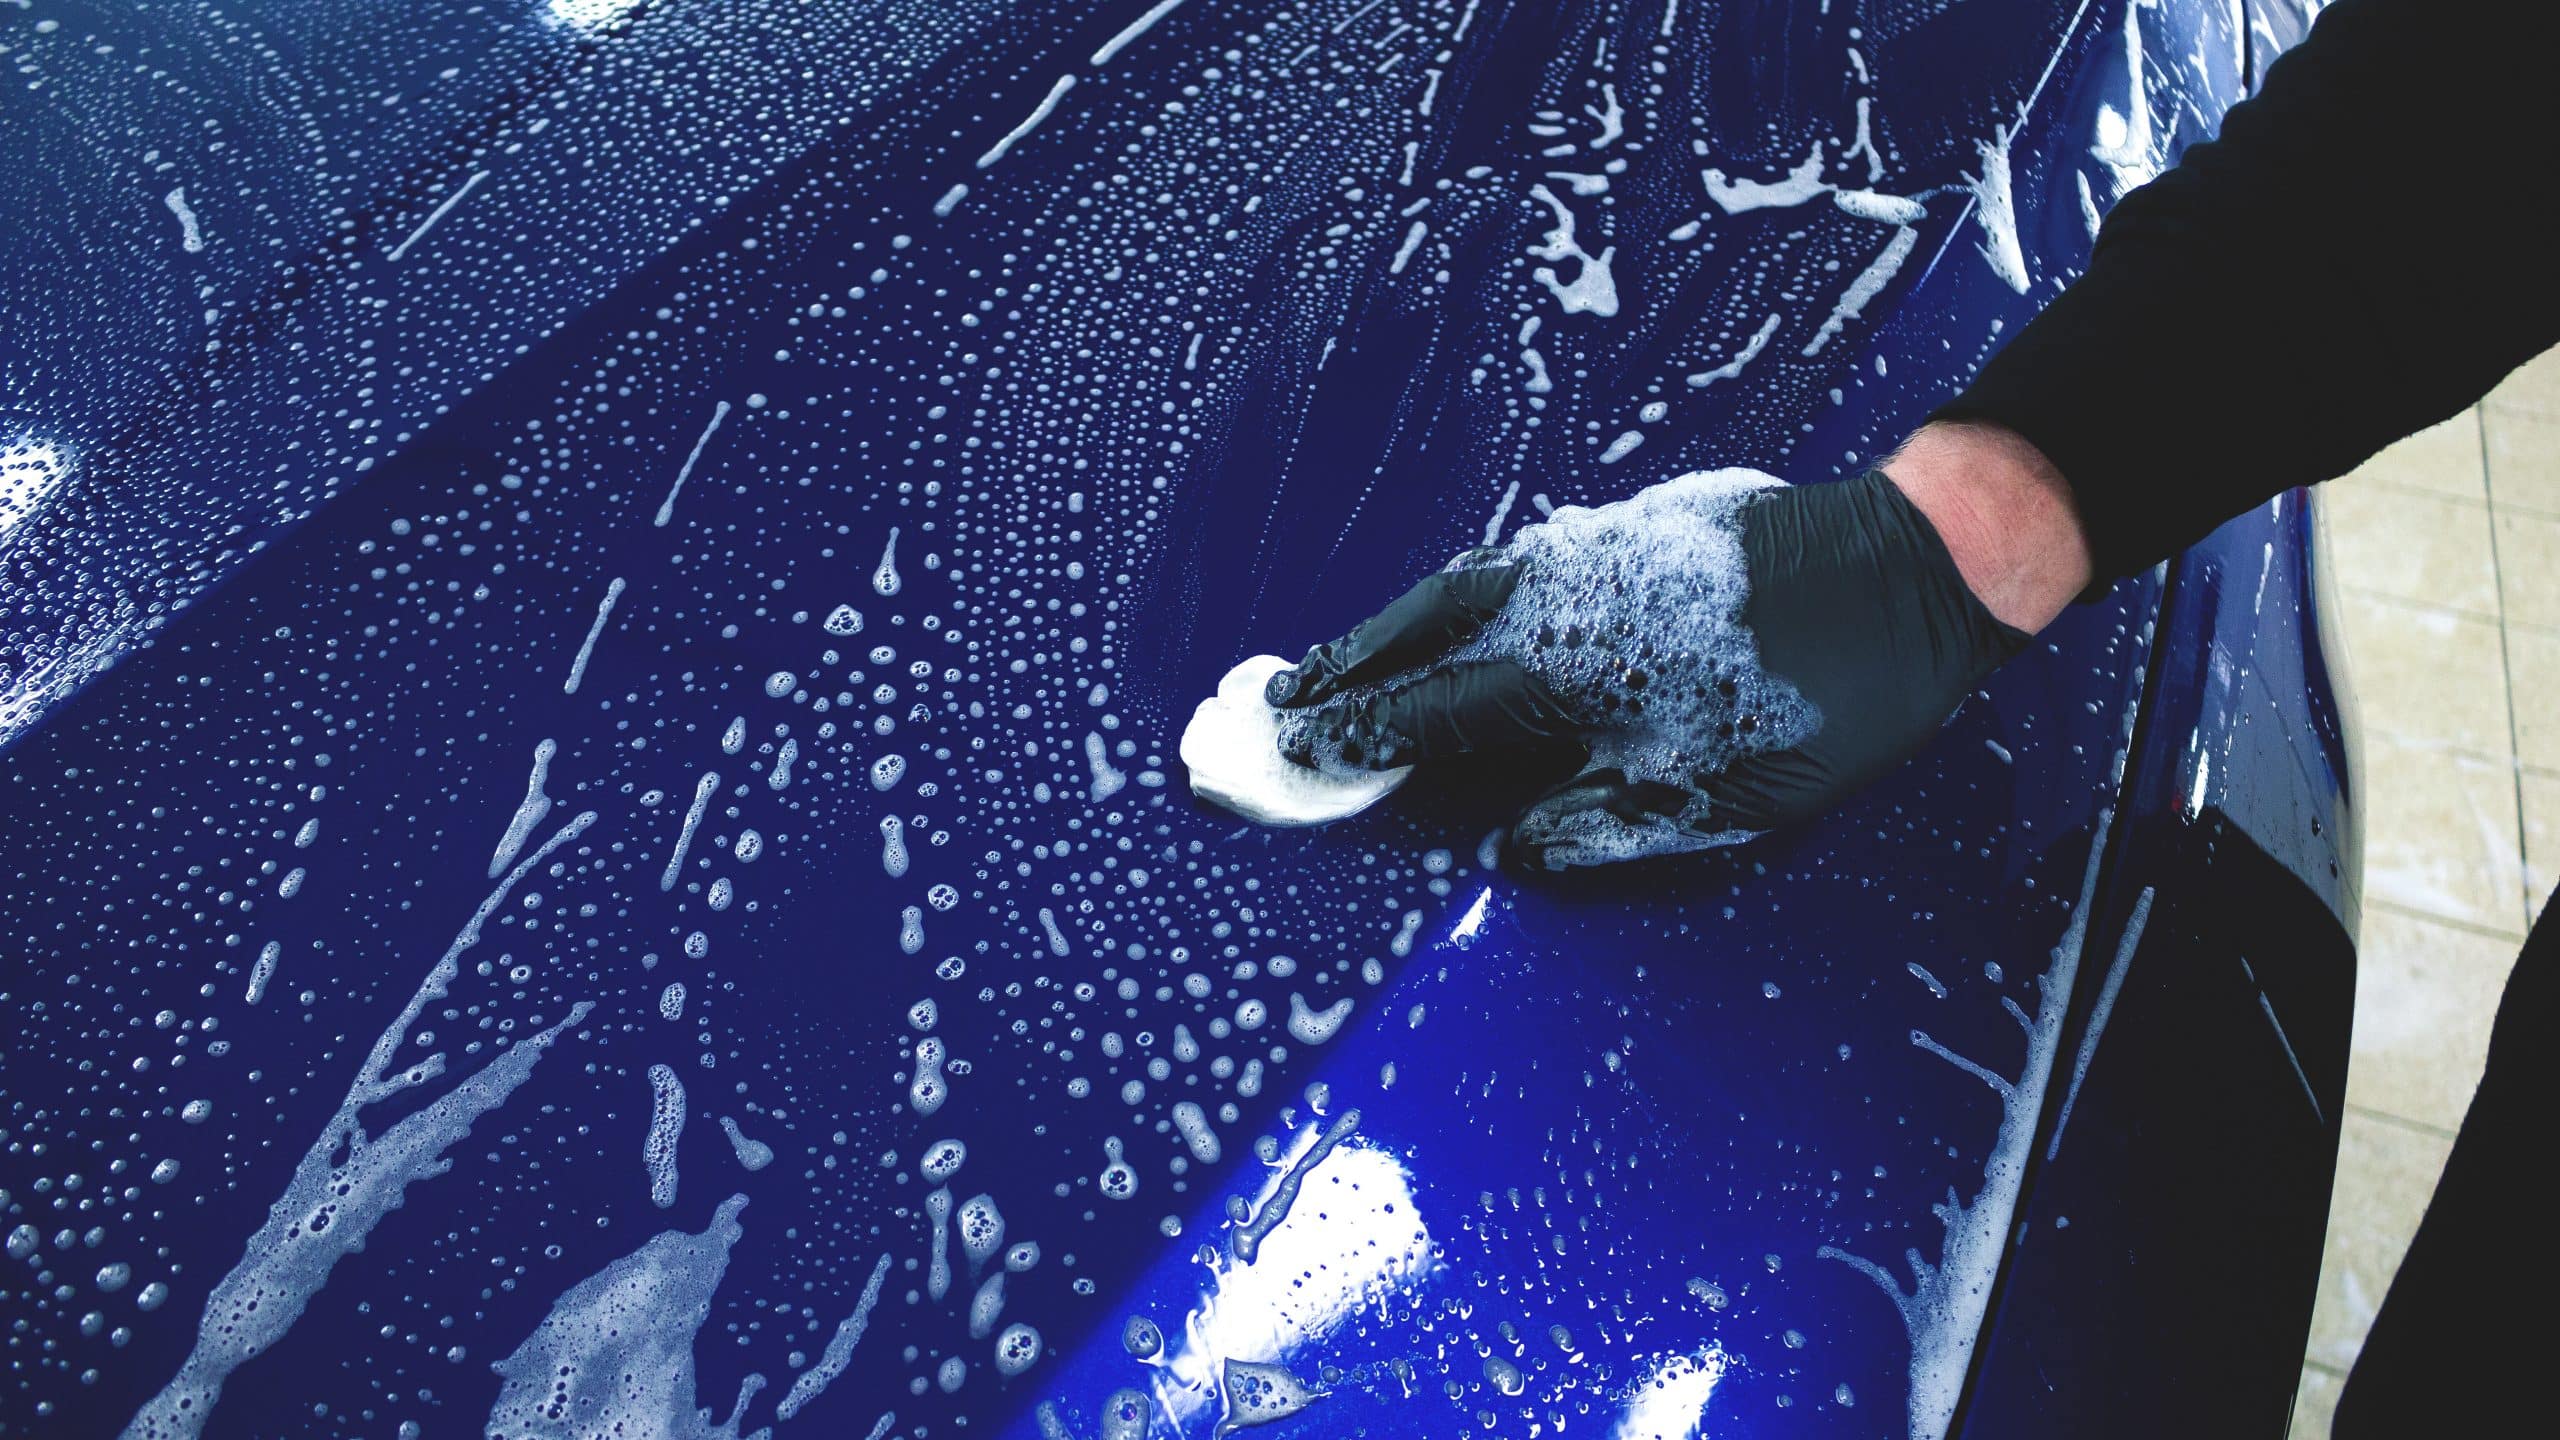
1. Wash Your Car Like a Professional Car Detailer
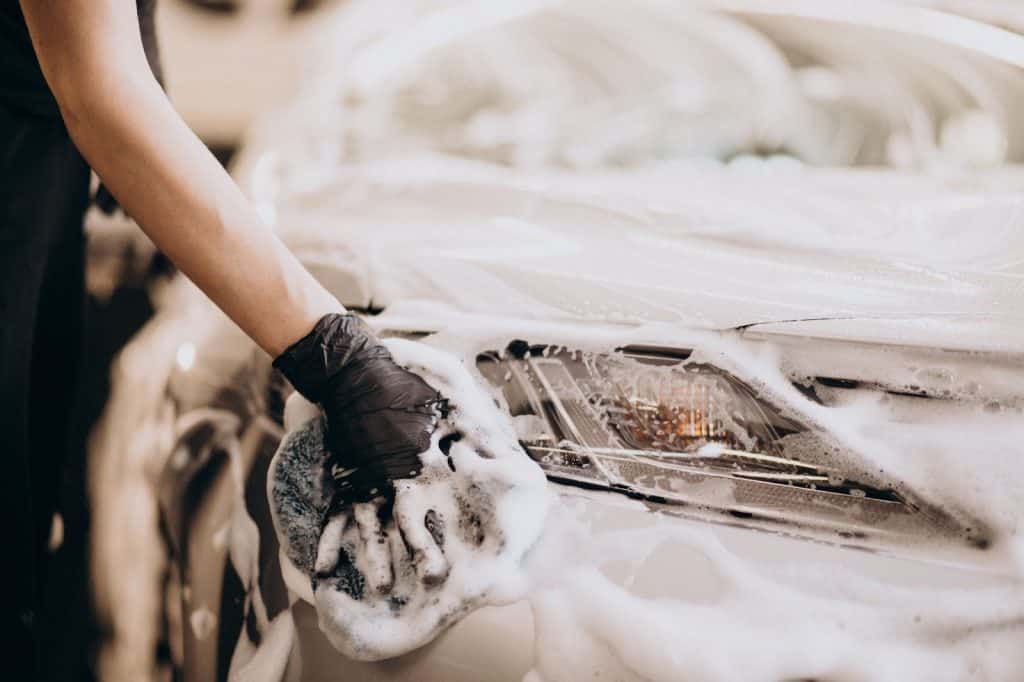
To keep your car paint in pristine condition, wash it by hand like a professional detailer to avoid scratching it.
A carwash, no matter how sophisticated and high tech, will inevitably scratch up your car paint.
2. Rinse Off Dirt and Sand Before Washing Your Car
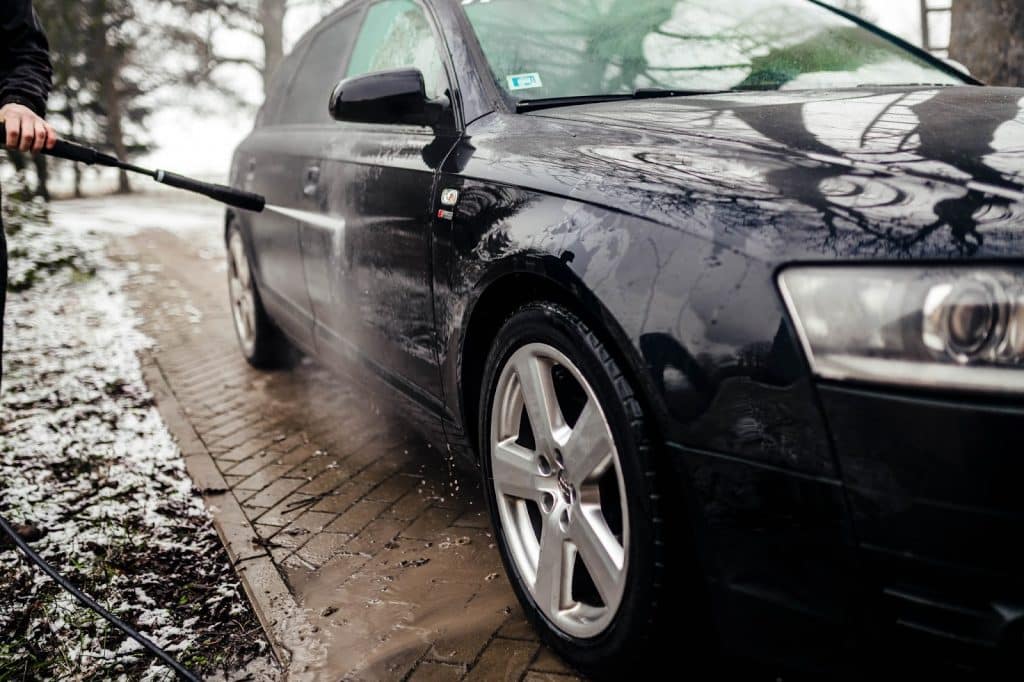
Before you wash your car, always first rinse it thoroughly with a pressure washer or garden hose.
If you don’t, sharp dirt and sand particles will get caught in your car wash mitt and scratch up your car paint. That’s counterproductive because car detailing is about removing scratches, not making them!
3. Ditch the Sponge, Use a Wash Mitt
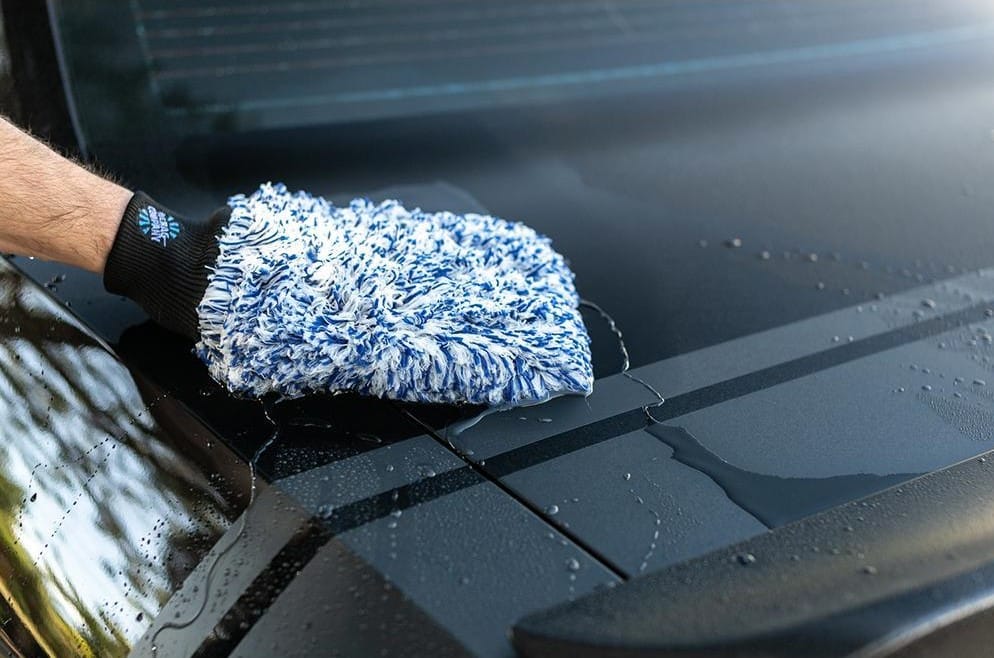
Although a cellulose sponge works fine to wash the windows around the house, it can wreak havoc on your car’s paint, which is much softer than glass.
The cellulose material the sponge is made of encapsulates and holds on to dirt and sand even after a thorough rinse. It may look clean, but under magnification the sharp dirt particles can clearly be seen.
It’s these particles that act like sandpaper when you use the sponge to wash your car.
Use a microfiber wash mitt instead. Microfiber easily releases any dirt particles it holds when you rinse it.
4. Use The “Two-Bucket” Method
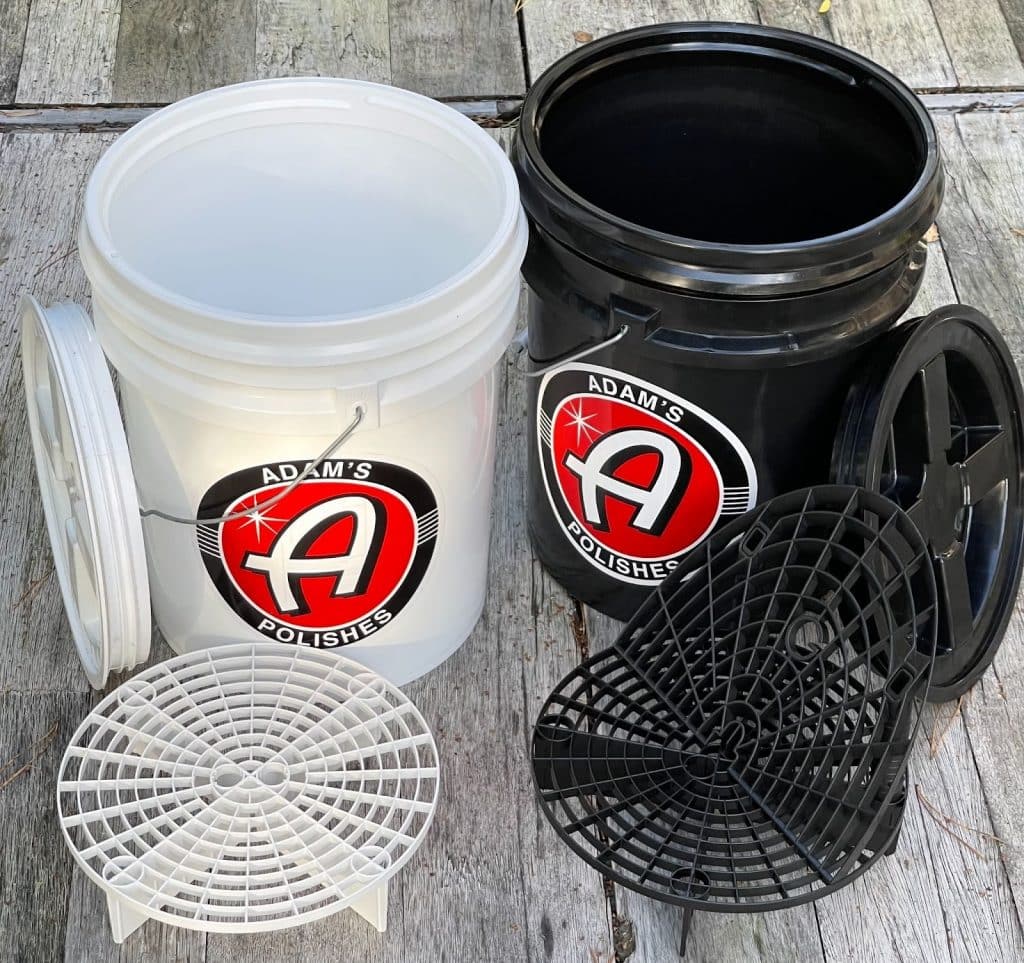
To keep fresh, clean suds separated from dirty rinsing water, it is crucial to use two buckets to wash your car: one with soapy water and one with rinsing water.
Dip your mitt in the clean, soapy water and start washing.
When the mitt is dirty, rinse it thoroughly in the rinsing bucket by scrubbing it against the upright washboard and wring it out before you replenish it with suds in the soapy water bucket.
This way the soapy water bucket doesn’t get dirty. The grit guards will prevent any dirt at the bottom of the bucket coming in contact with your mitt.
Keep an eye on the rinsing bucket: when the water gets dirty, refresh it.
With this “two bucket” method, the chance of grit or sand getting stuck in your mitt and scratching your paint is greatly reduced.
Ask any detailer!
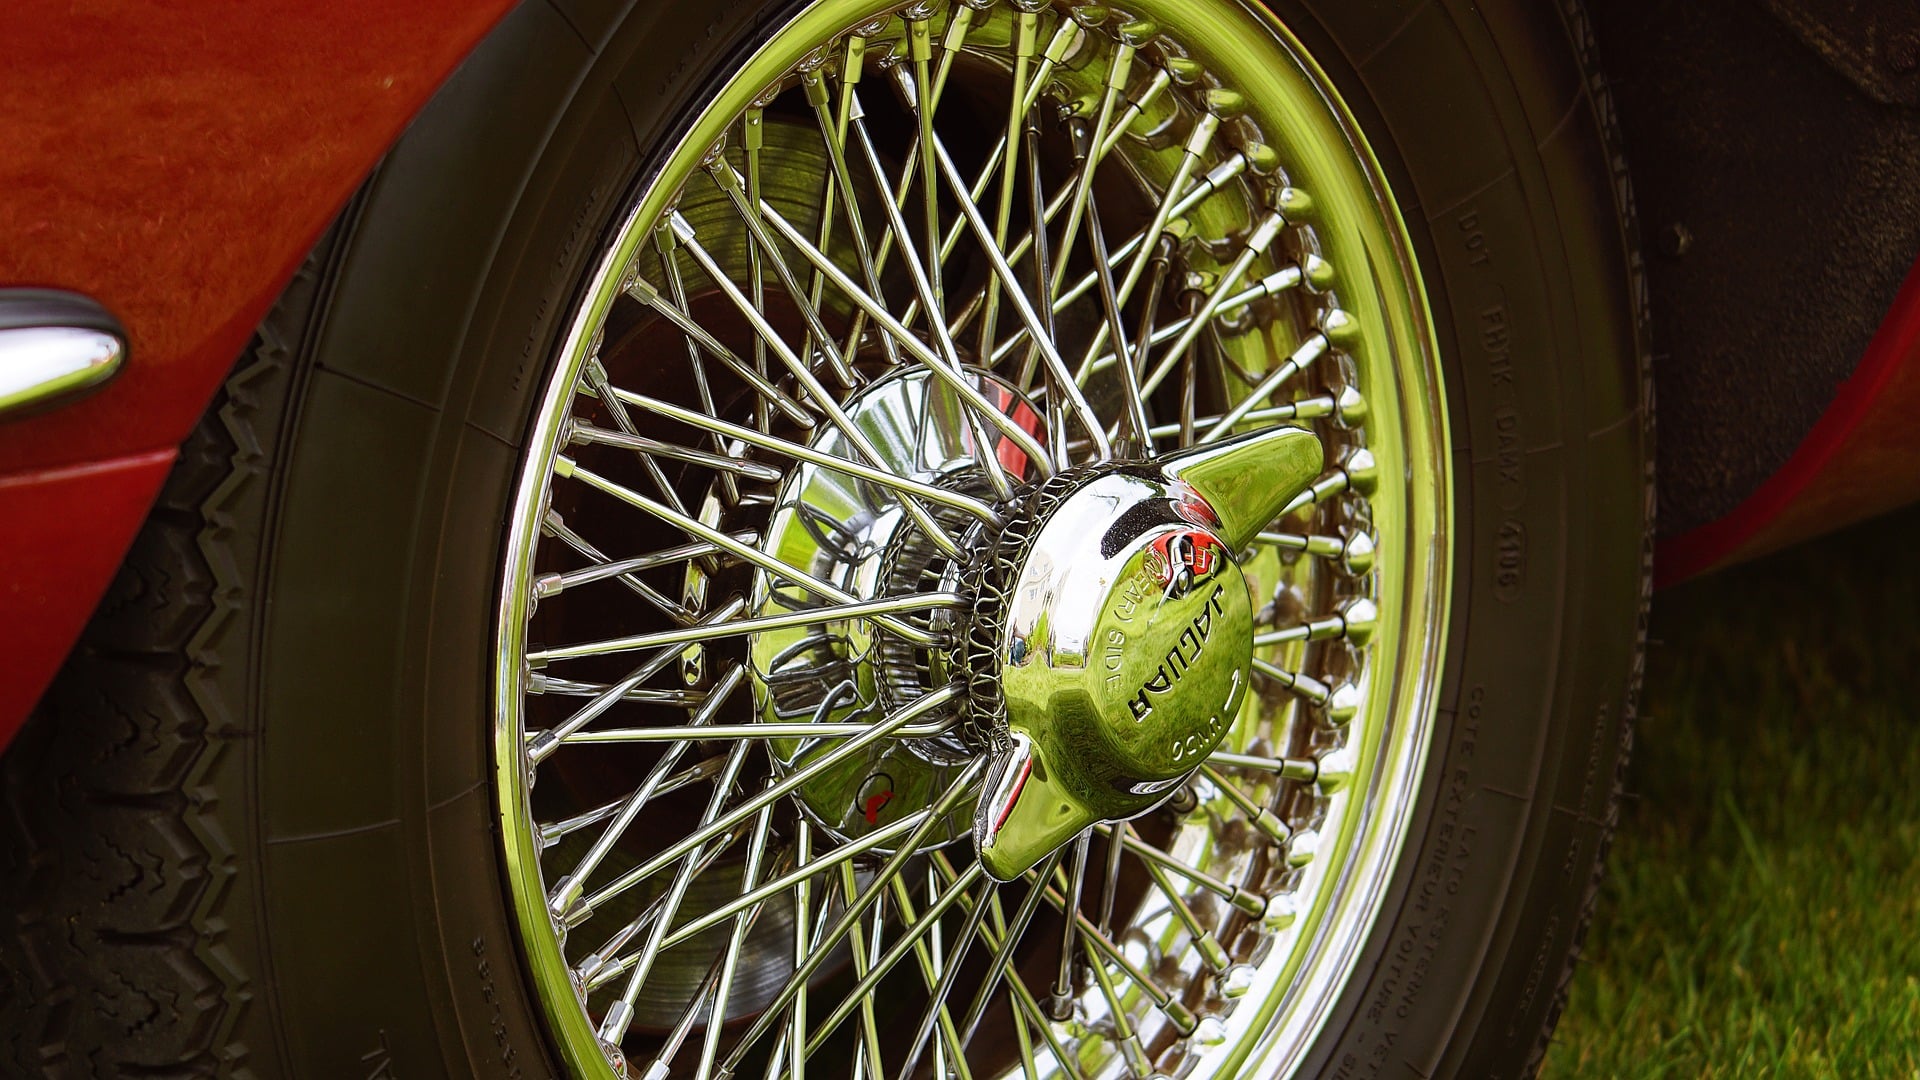
5. Start With The Wheels
Always detail your wheels first. They are the dirtiest part of the car.
If you wash ‘em last, you will splash all over your clean car.
Don’t use the dirty soapy water to wash the rest of your car, ditch it.
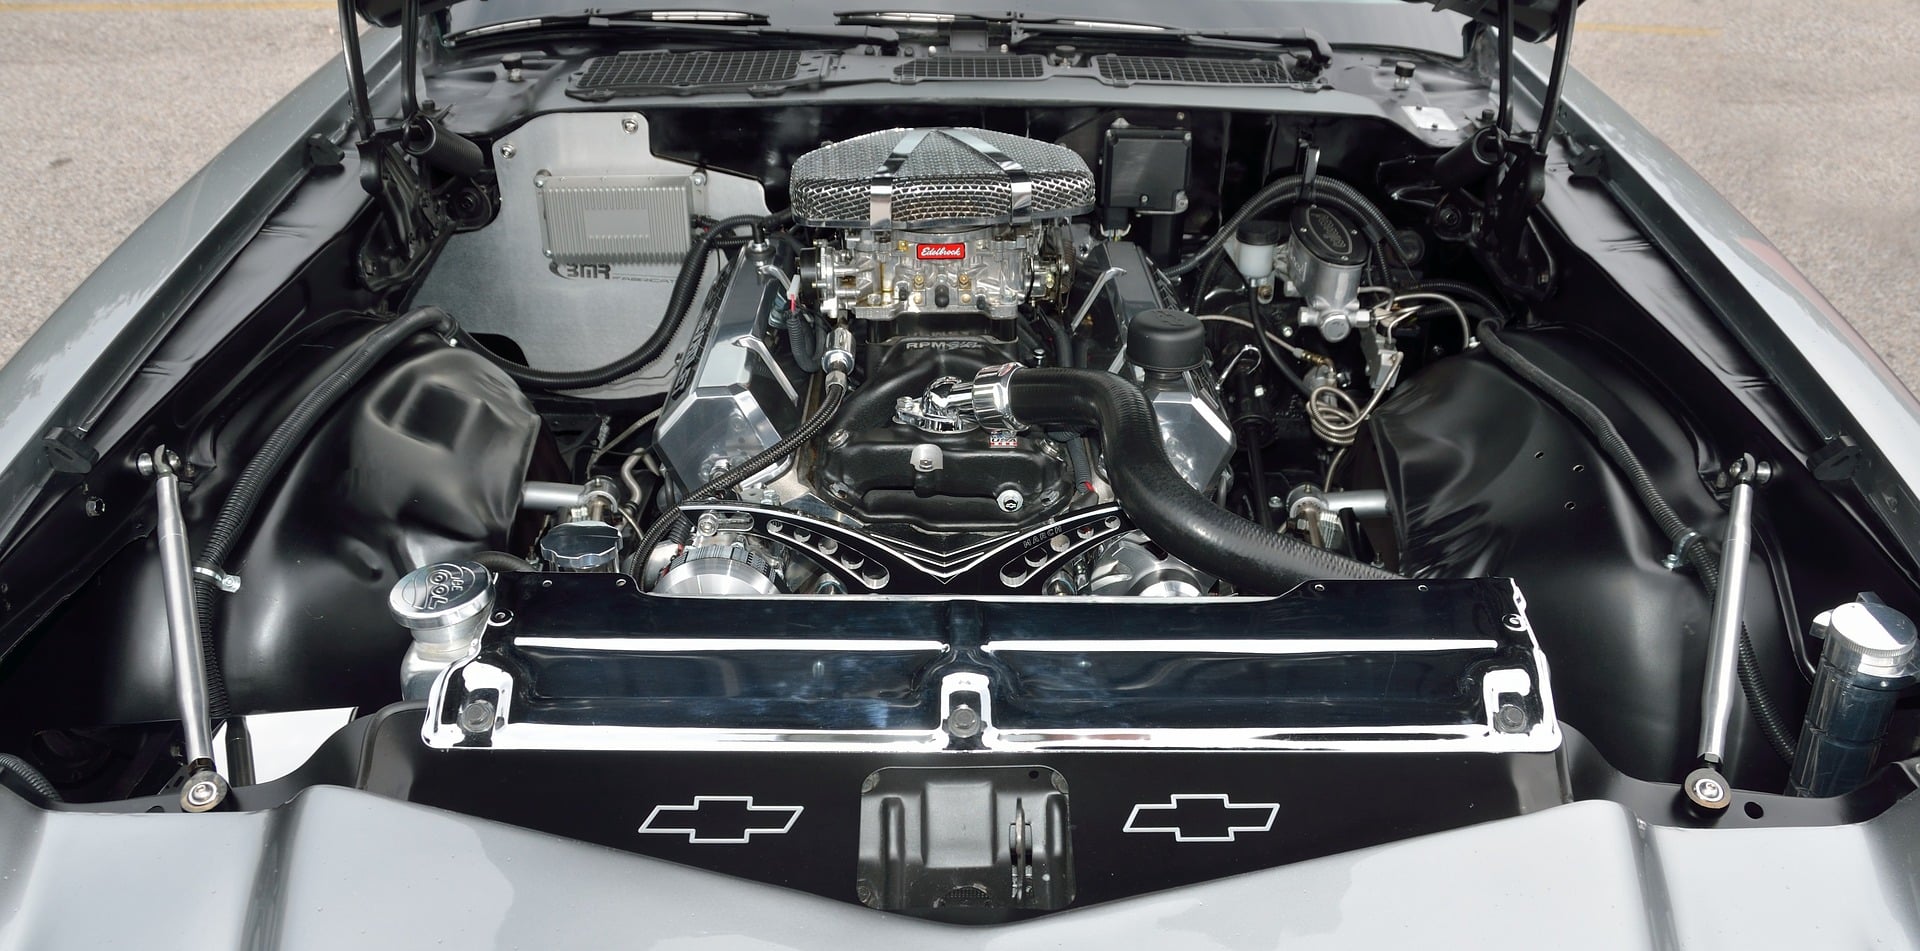
6. Detail Your Engine Bay

After you’ve detailed your wheels, the logical next step is to clean your engine and engine bay.
Why bother?
Well, for one a clean engine is much nicer to work on.
It’s easier to spot oil or water leaks and many other tell-tale signs before they worsen and cause real problems.
Secondly, a well detailed engine bay is a thing of beauty you can be proud of and will want to show off to everyone.
7. Wash Your Car From The Top Down
Most dirt and grime collects on the bottom part of your car. The lower, the dirtier. Especially the parts below the level of the wheel arches collect the most dirt.
Even if you rinse thoroughly with a pressure washer first, you won’t remove all the gritty bits.
If you randomly wash your car in up and down motions, you will contaminate your wash mitt with sharp sand particles from the lower end and scratch the top end too.
That’s why professional car detailers always start with the roof and gradually work their way down.
8. Wash Your Car With The Right Soap

While most people just use Dawn or some other dishwashing soap to wash their car, this is definitely not your best choice.
Dish soap is formulated to aggressively degrease dishes and kitchenware.
Professional car wash soap on the other hand is pH neutral and formulated to gently remove dirt and road grime without harming the car paint. It won’t remove any protective waxes or sealants. Some even leave a protective film.
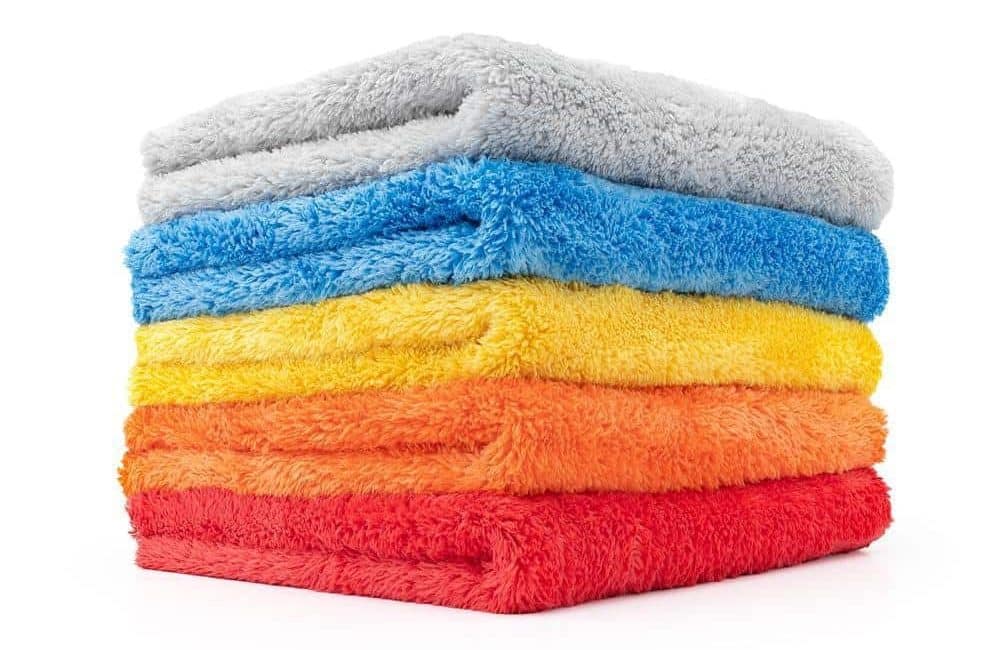
9. Use Microfiber Towels Instead of “Shammies”
“Shammies” or “chamois” towels have been around for ages and are still commonly used in the window-cleaning industry.
They used to be made of European mountain goat or sheep skin, but have largely been substituted by synthetic chamois counterparts.
Though both kinds soak up water pretty good, they are known to scratch up car paint. They are also hard when dry, so they can only be used when wet.
A much better and more popular option is to use microfiber towels for car detailing, cleaning and drying purposes. They are available in all colors, can be used wet and dry, last very long and don’t fall apart or shed fibers.
10. Make Your Car Paint Shine Like New
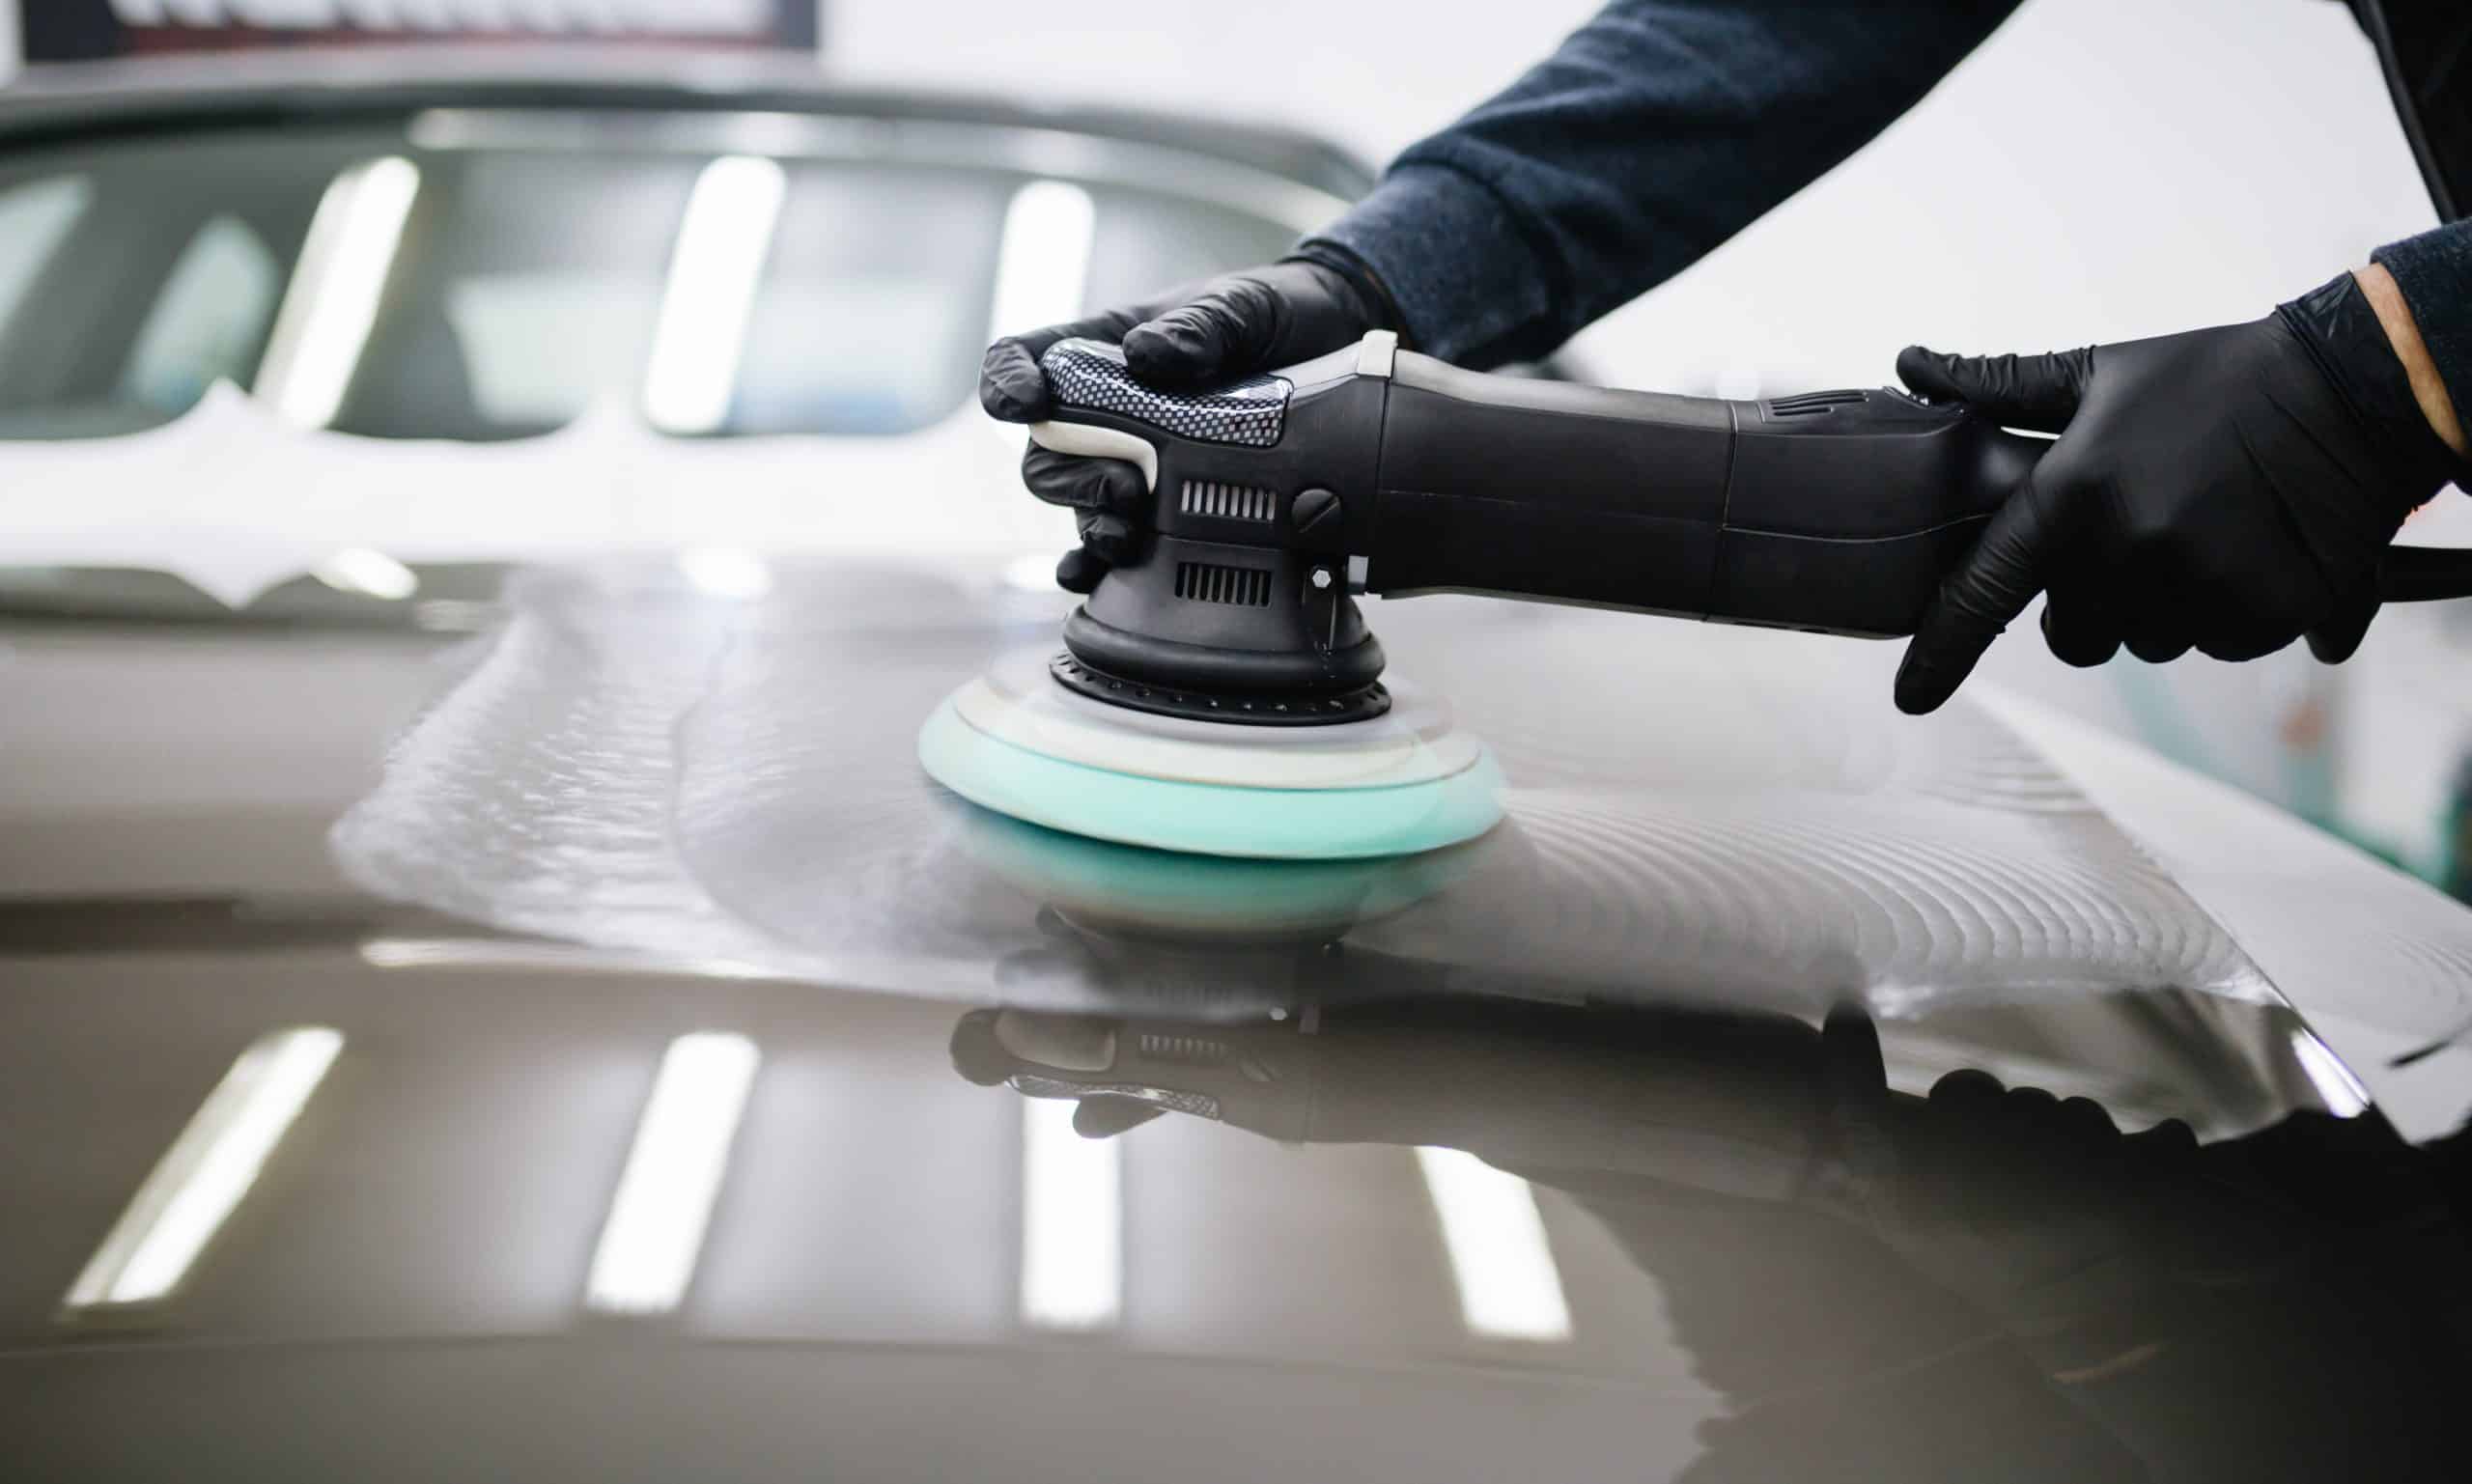
The majority of car paint gloss and brightness is created by the reflection of the car paint’s surface. This makes the paint surface condition the determining factor for shine and gloss.
Don’t expect miracles from waxes, paint sealants and other brightness enhancing products when your paint is in bad shape. Although they do improve the overall car paint appearance, they can only do so much to rejuvenate your car paint.
It’s by polishing your car paint that you will get the professional car detailing results that you crave. Even old, tired paint can be revived.
When the dull, scratched top layer is removed, the fresh paint underneath is revealed and can be polished to a mirror shine.
11. Clay Bar Your Car Before You Polish It
After you’ve washed your car, the paint will still feel rough.
That’s because by washing your car you won’t remove contaminants that stick to the paint like tree sap, insect- and bird droppings, chemical fall-out,…
When you polish your car paint, they will get stuck in the polishing pad and scratch up your paint. You’ll be chasing your tail, trying to remove swirls created by your own polishing actions.
First remove the contaminants with a clay bar to get optimal polishing results. The nasty stuff will get caught in the clay bar without causing harm.
Now you can continue detailing your car without scratching it up even more.
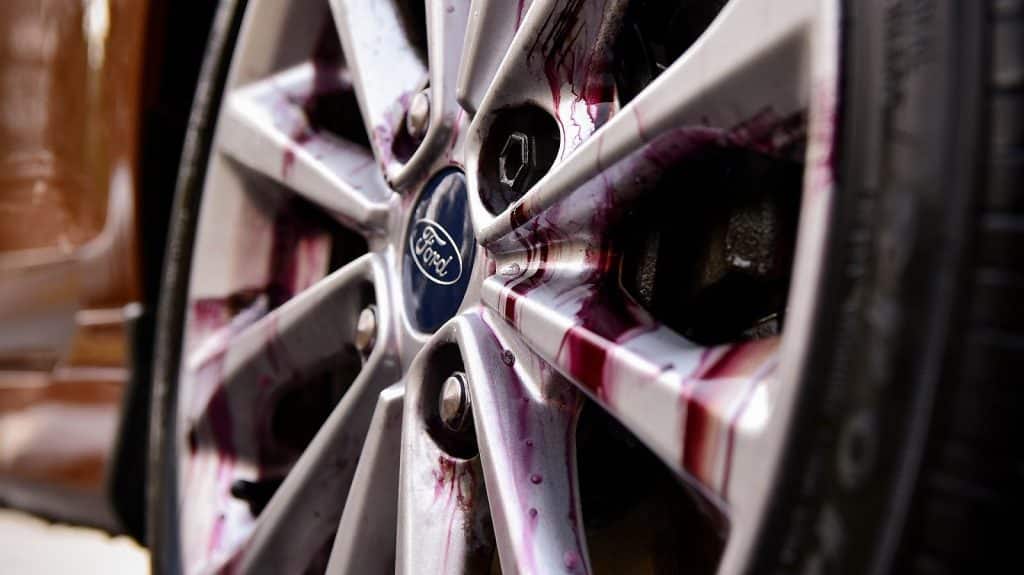
12. Remove Iron Particles Before You Clay Bar Your Car

Tiny hot iron particles are shaved from your brake discs when braking and embed themselves in your car paint. When they rust, they expand and steadily grow in size, worsening the damage.
They will gradually deteriorate your car paint, causing rust in the long run. Because they are embedded in the paint, they cannot be removed with a clay bar.
That’s why you should remove them with Iron Remover Spray which will loosen or even completely dissolve them, making them easy to wash off.
If you don’t, they can come loose while polishing, get caught in the polishing pad and scratch up your paint.
Yes, the devil’s in the details 😉
13. Clean The Car Glass Last
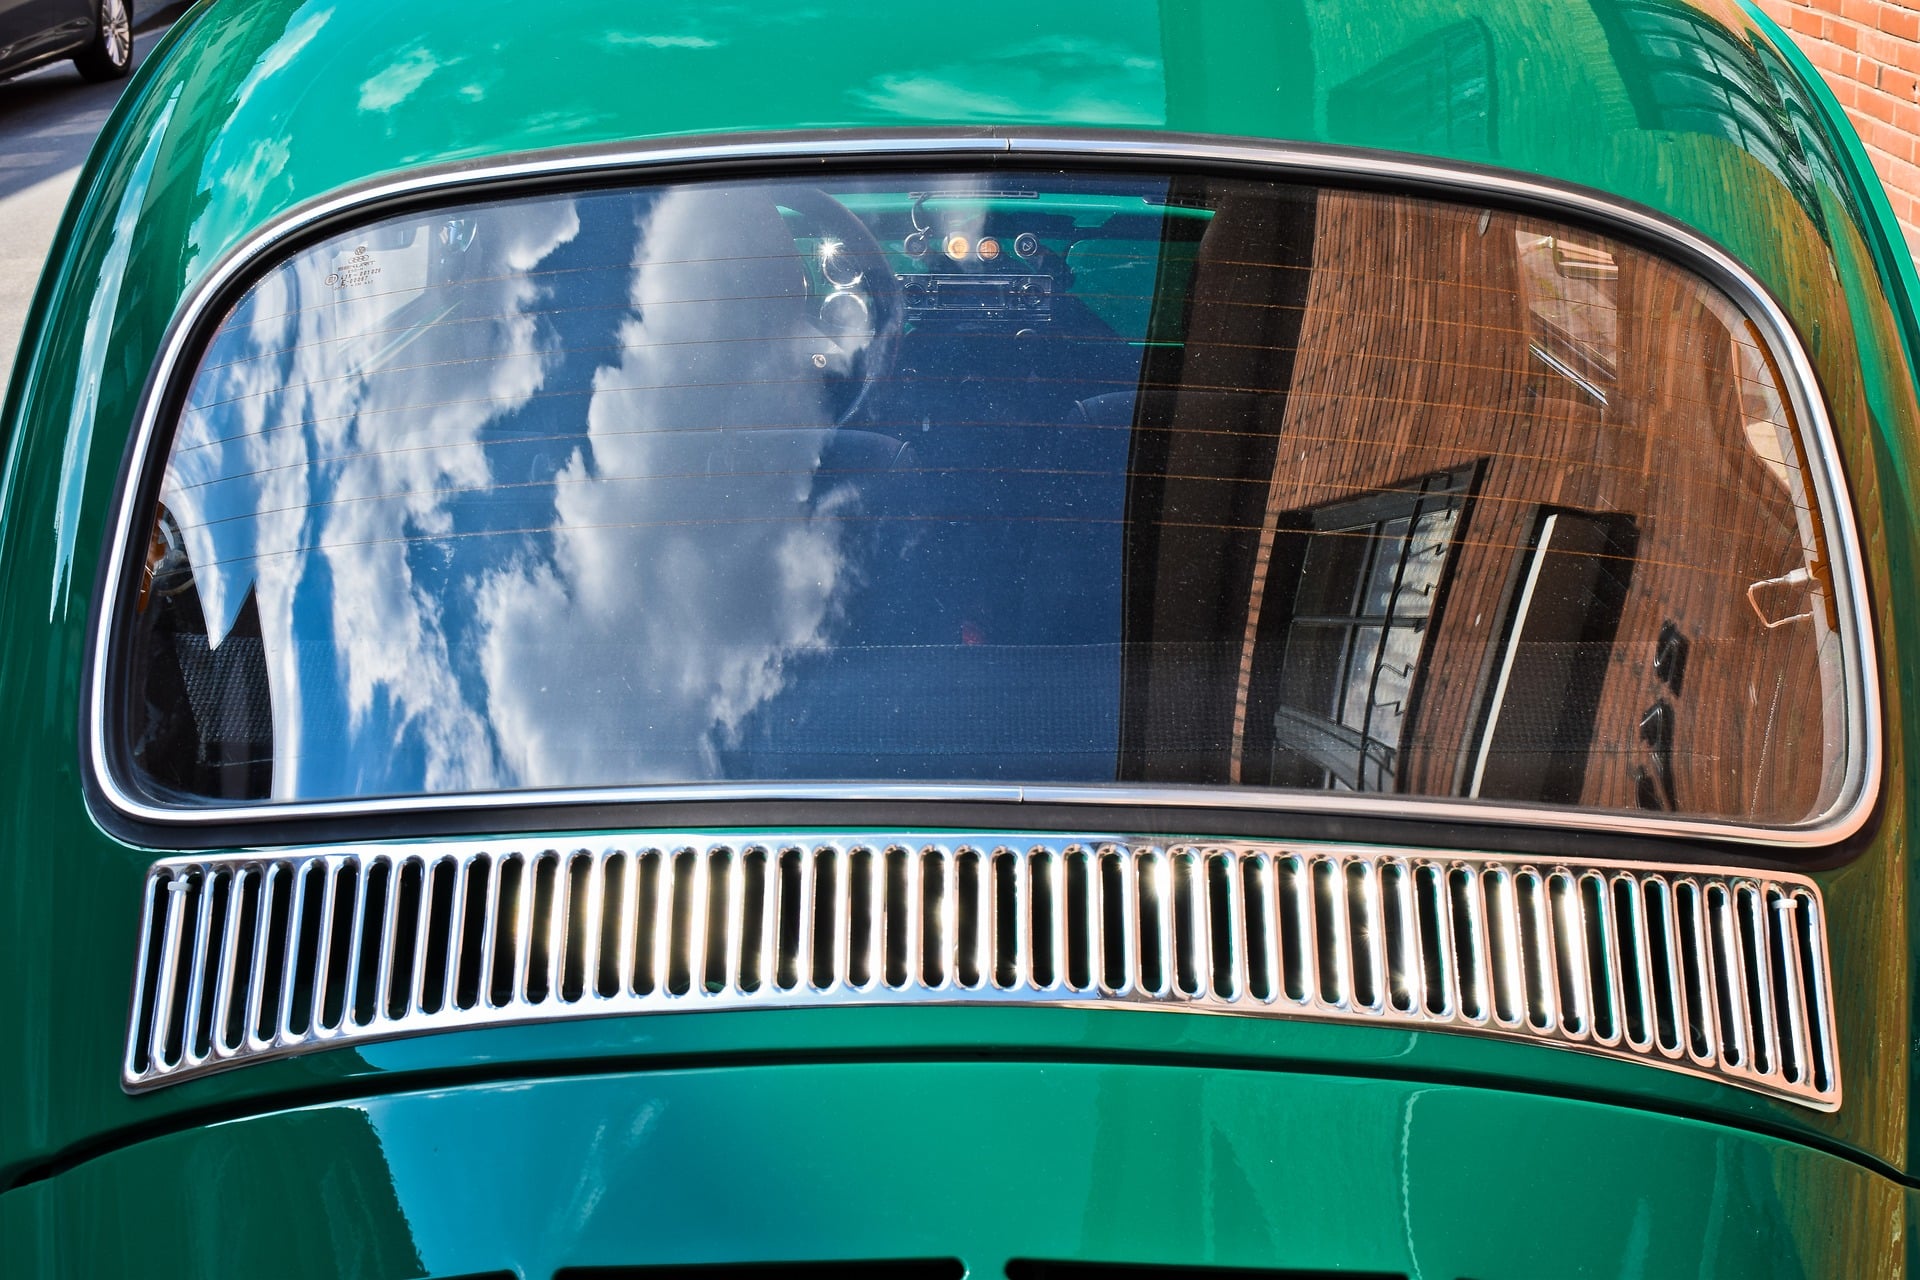
Car windows will reveal every droplet or imperfection. That’s why you should clean ‘em last.
After washing and drying your car, there will inevitably be some degree of streaking on the glass. This can easily be removed with a Diamond Weave Glass & Window towel and Stoner Invisible Glass spray. You’ll find it in most professional detailer’s arsenal.
More on the subject in How To Clean Car Glass, Plexiglass and Mirrors.
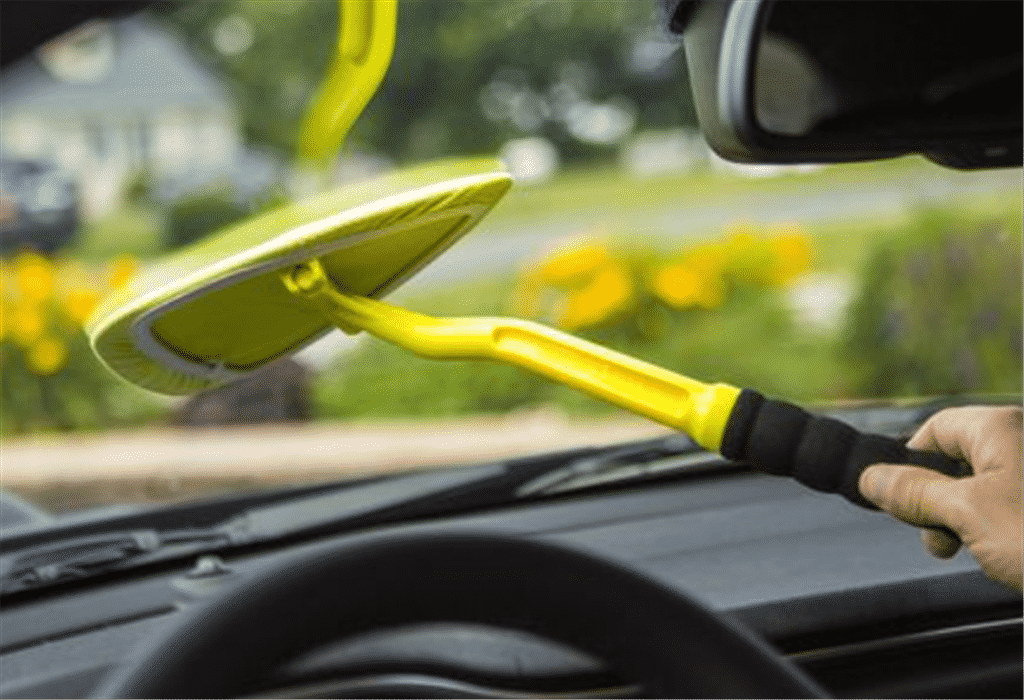
14. Use a Reach-and-Clean Tool For the Inside of Your Windshield
This is one of our favorite car detailing tips:
The majority of modern cars have a break-your-back / tear-a-muscle type of endlessly deep windshield that is impossible to clean from the inside without physical trauma.
Most large sedans have a near impossible to reach rear window too, with headrests in the way and window ends that are so narrow that even your pinky won’t fit to clean them.
Stop cursin’ and buy yourself a Reach and Clean Tool. The most hard-to-get-to car windows can be reached and cleaned to perfection with ease!
Works best with Stoner Invisible Glass.
You’ll wonder how you ever did without.
15. Make Your Tires Look Like New
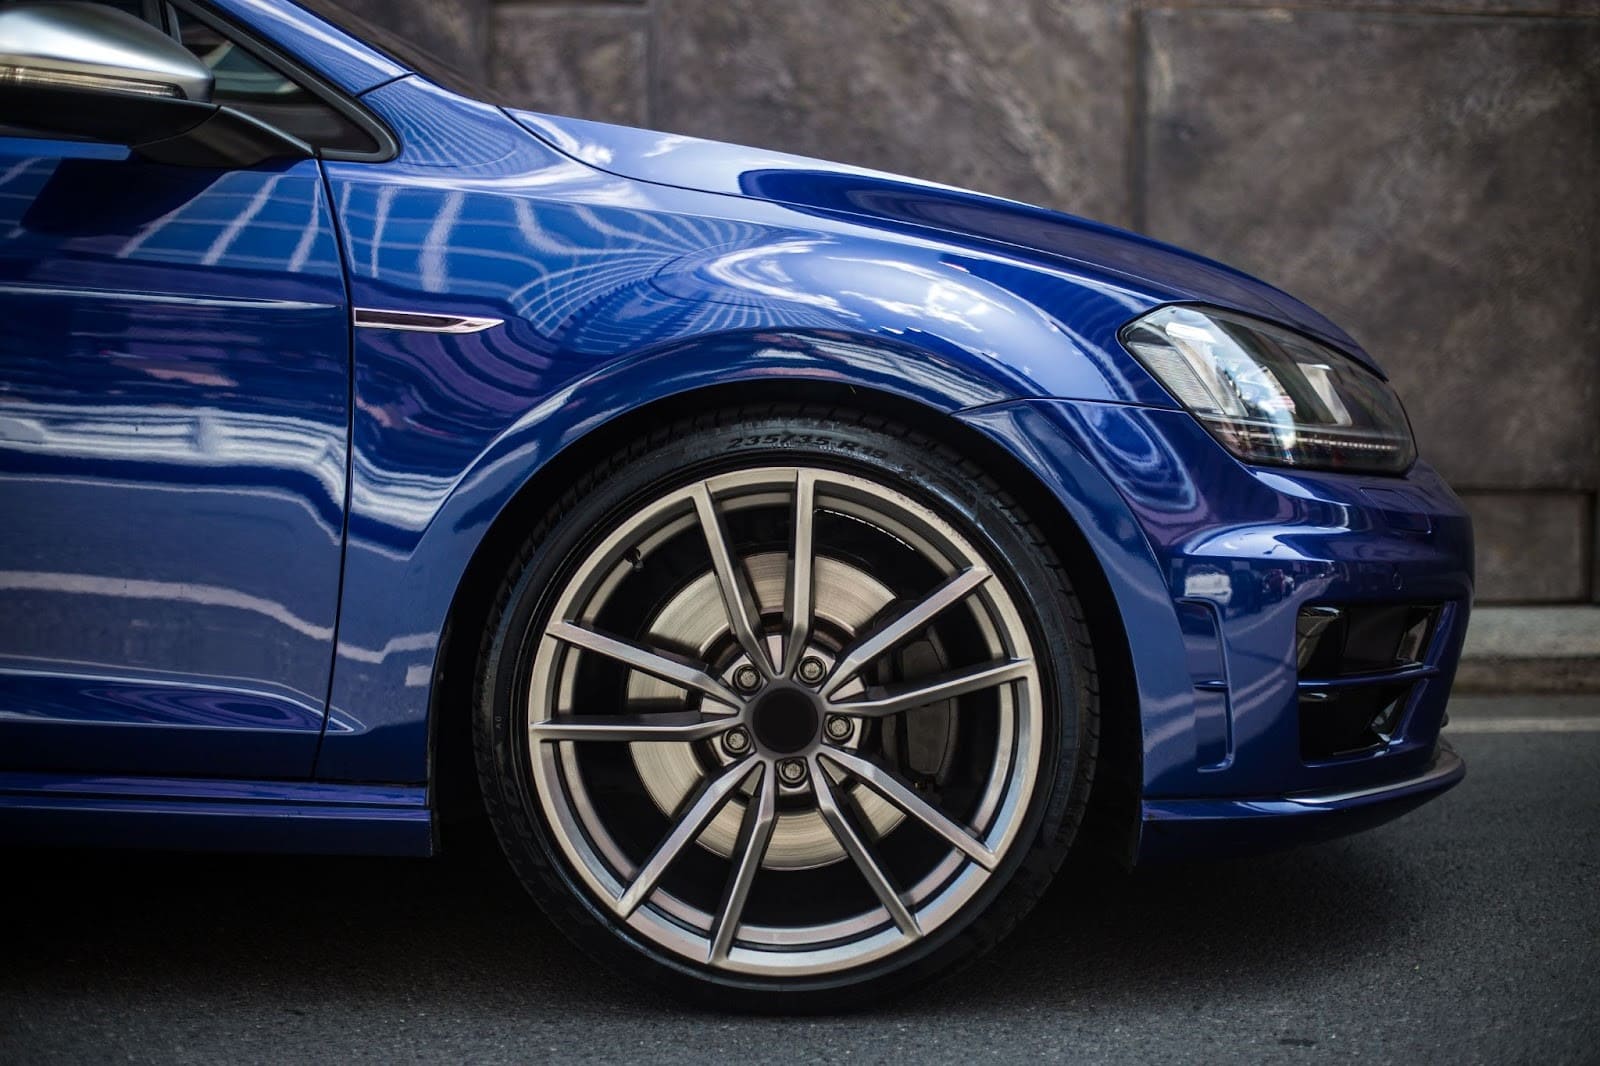
Tires that look dirty and brownish will bring your car down.
By simply detailing them with tire shine after you’ve washed them and cleaned them with a tire cleaner, they will regain that deep black factory look and stay protected against UV and the elements.
Best use a tire brush to clean your tires and an applicator sponge to apply the tire shine.
Wipe dry with a microfiber towel.
16. Make That Shine Last
Now that your car exterior is detailed to your standards, there are several ways to keep it that way for as long as possible.
By applying a wax, sealant or protective coating, your car will repel water and dirt and even be protected from minor scratches. These coatings will also enhance the paint depth, color and shine.
Some can even last up to 7 years!
This will make your car detailing efforts last much longer.
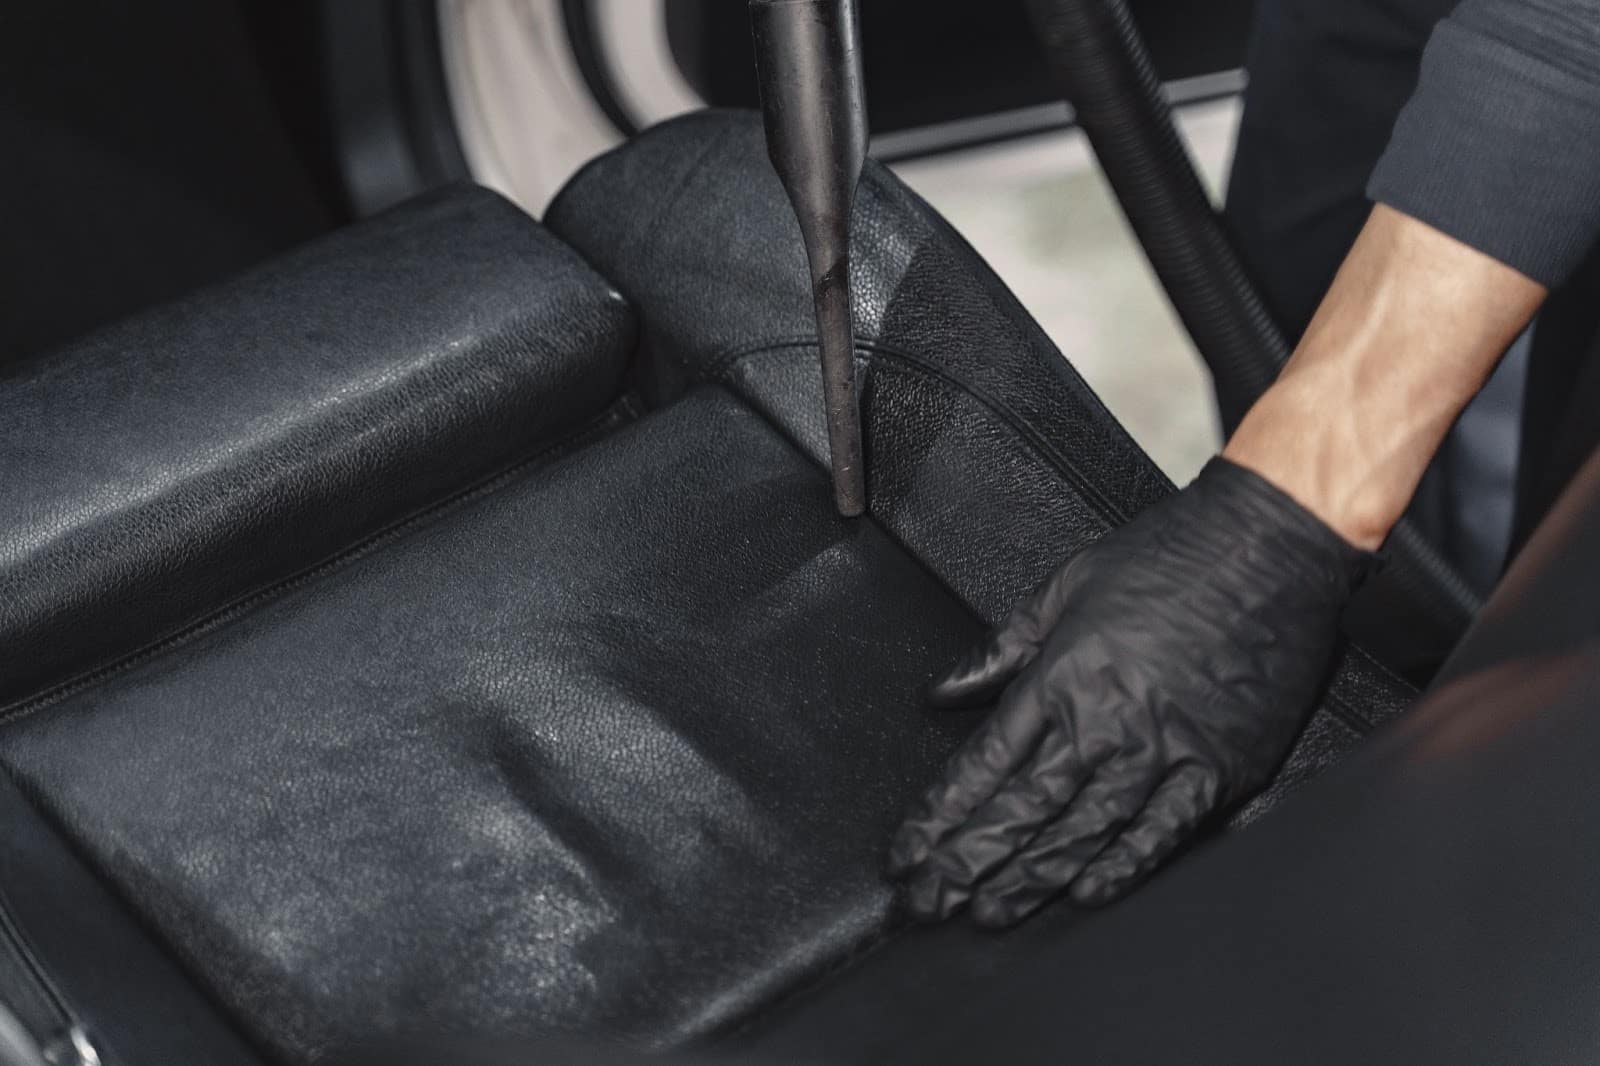
17. Use Air Pressure To Remove Dirt From Crevices And Hard-To-Reach Places
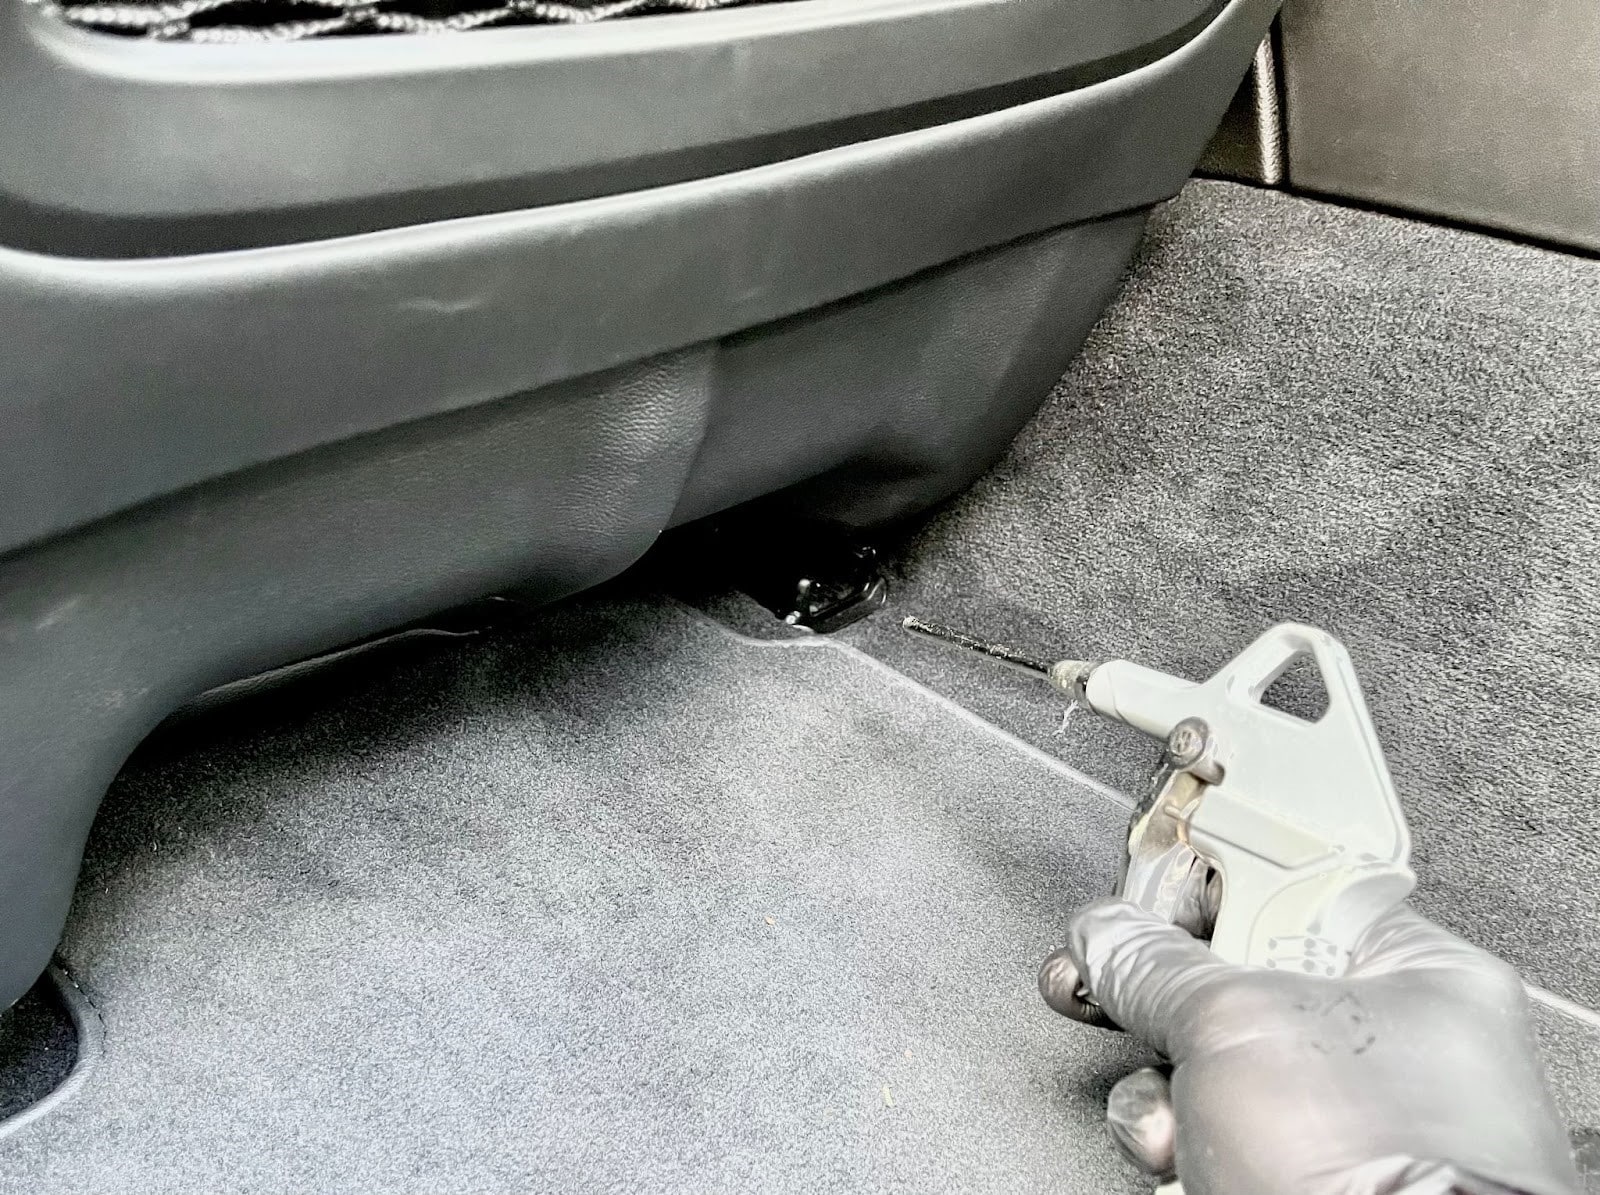
You’re wondering how professional car detailers get in all those nooks and crannies where no brush or vacuum attachment can go?
They use air pressure when vacuum cleaning doesn’t cut it.
Just attach a fine tip air gun to your compressor and shoot away!
Works awesome on the dash, door cards, seat crevices,…
What’s nice about this method is that it is completely contactless and it doesn’t scratch or harm any materials.
This is the first thing to do when you detail a car interior, because it will of course blow the dust everywhere. Preferably do it outside with all car doors open so the dust can disperse.
18. Make Your Leather Car Interior Look Factory New In Minutes
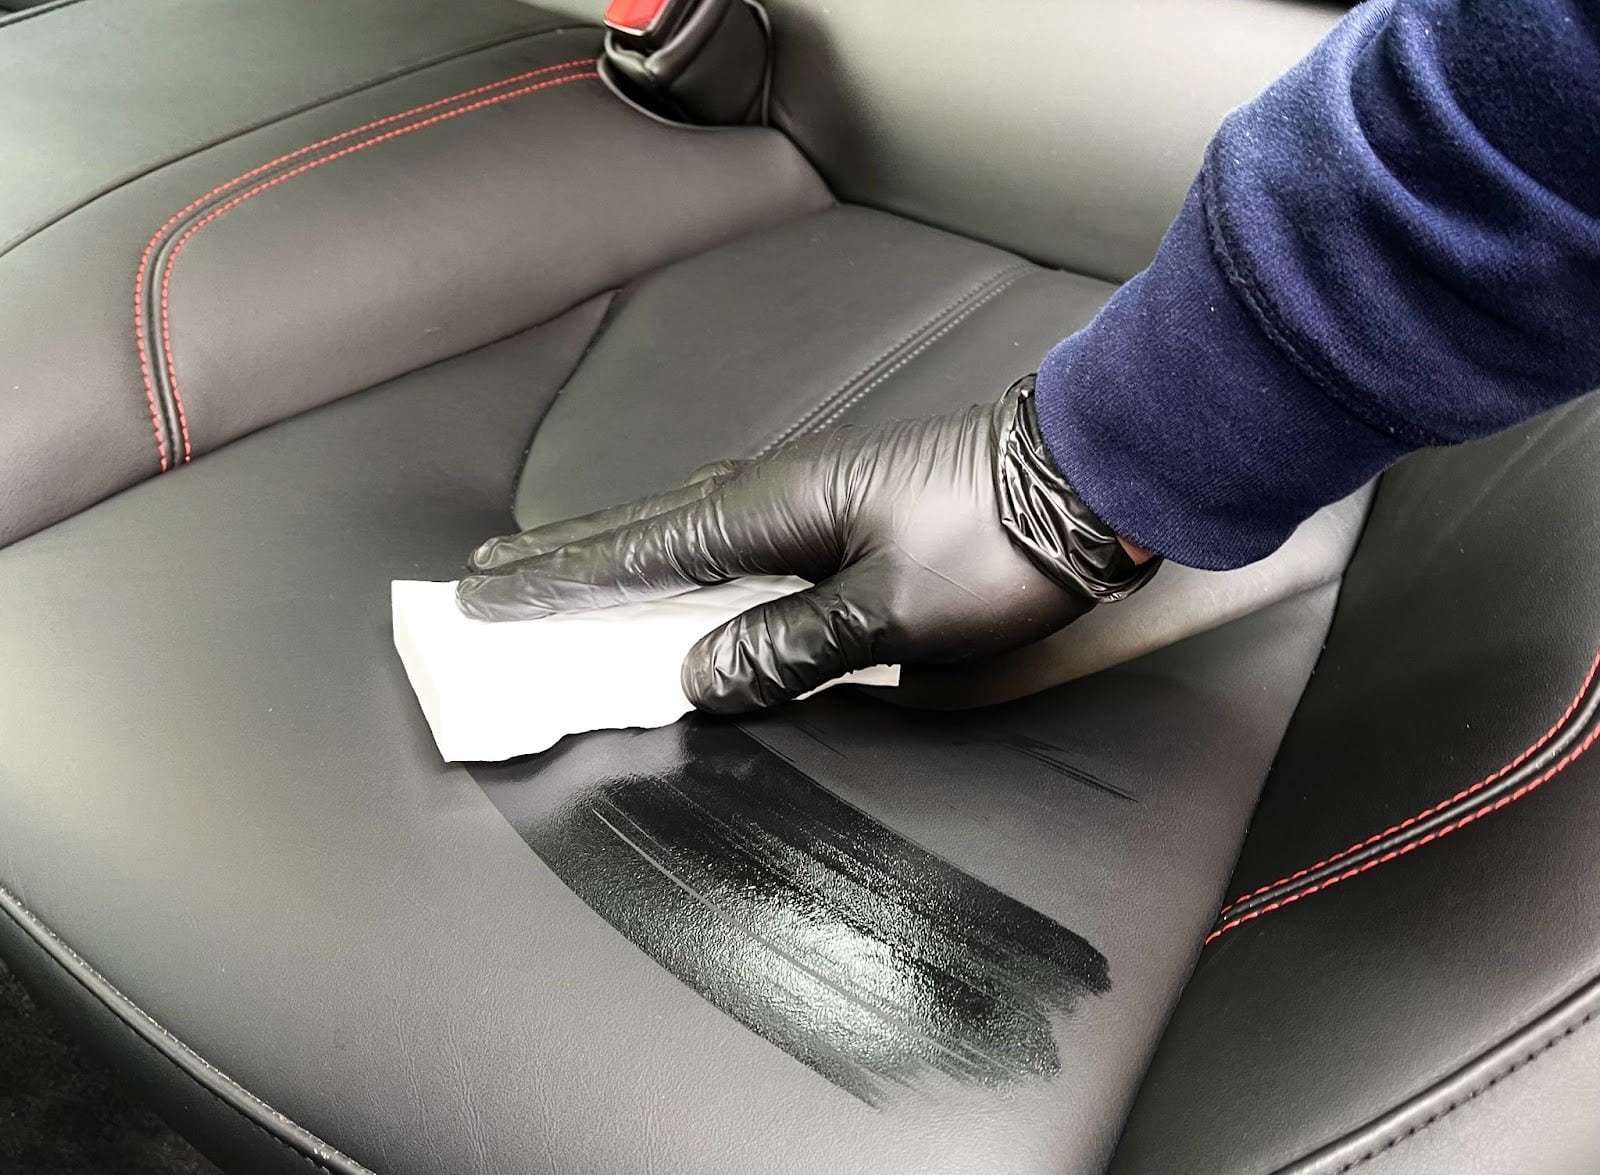
After a few months of use, even a new leather car interior will have shiny spots where the leather is frequently rubbed or touched.
A few years later, most of the leather will get that glossy appearance, especially when leather cleaning products that contain silicone have been used. This will result in a car interior that looks used, old and worn.
But it doesn’t have to be that way!
With a few minutes of elbow grease and an “investment” of a couple of bucks, you can completely reverse this tired look.
Any DIY car detailer can make his old leather car interior look factory new again.
Simply wet a Magic Eraser sponge with water and wring it out. Gently rub the leather with the sponge and wipe dry with a microfiber towel immediately after.
The leather will now have a new, matte appearance instead of that used glossy look.
That’s all that’s to it!
To nourish and protect the leather from drying, fading and UV without making it glossy again, put some Leather & Interior Dressing on an applicator sponge and gently rub it in. Wipe dry with a microfiber towel.
You’ll be wowed by the result!
19. Clean Your Car Interior From The Top Down

Gravity rules, also when it comes to detailing a car interior.
Dirt and dust will fall down, not up.
That’s why professional car detailers will always work their way down, not up, when they clean a car interior.
20. Use a Detailing Brush To Clean Hard-To-Reach Seams and Crevices
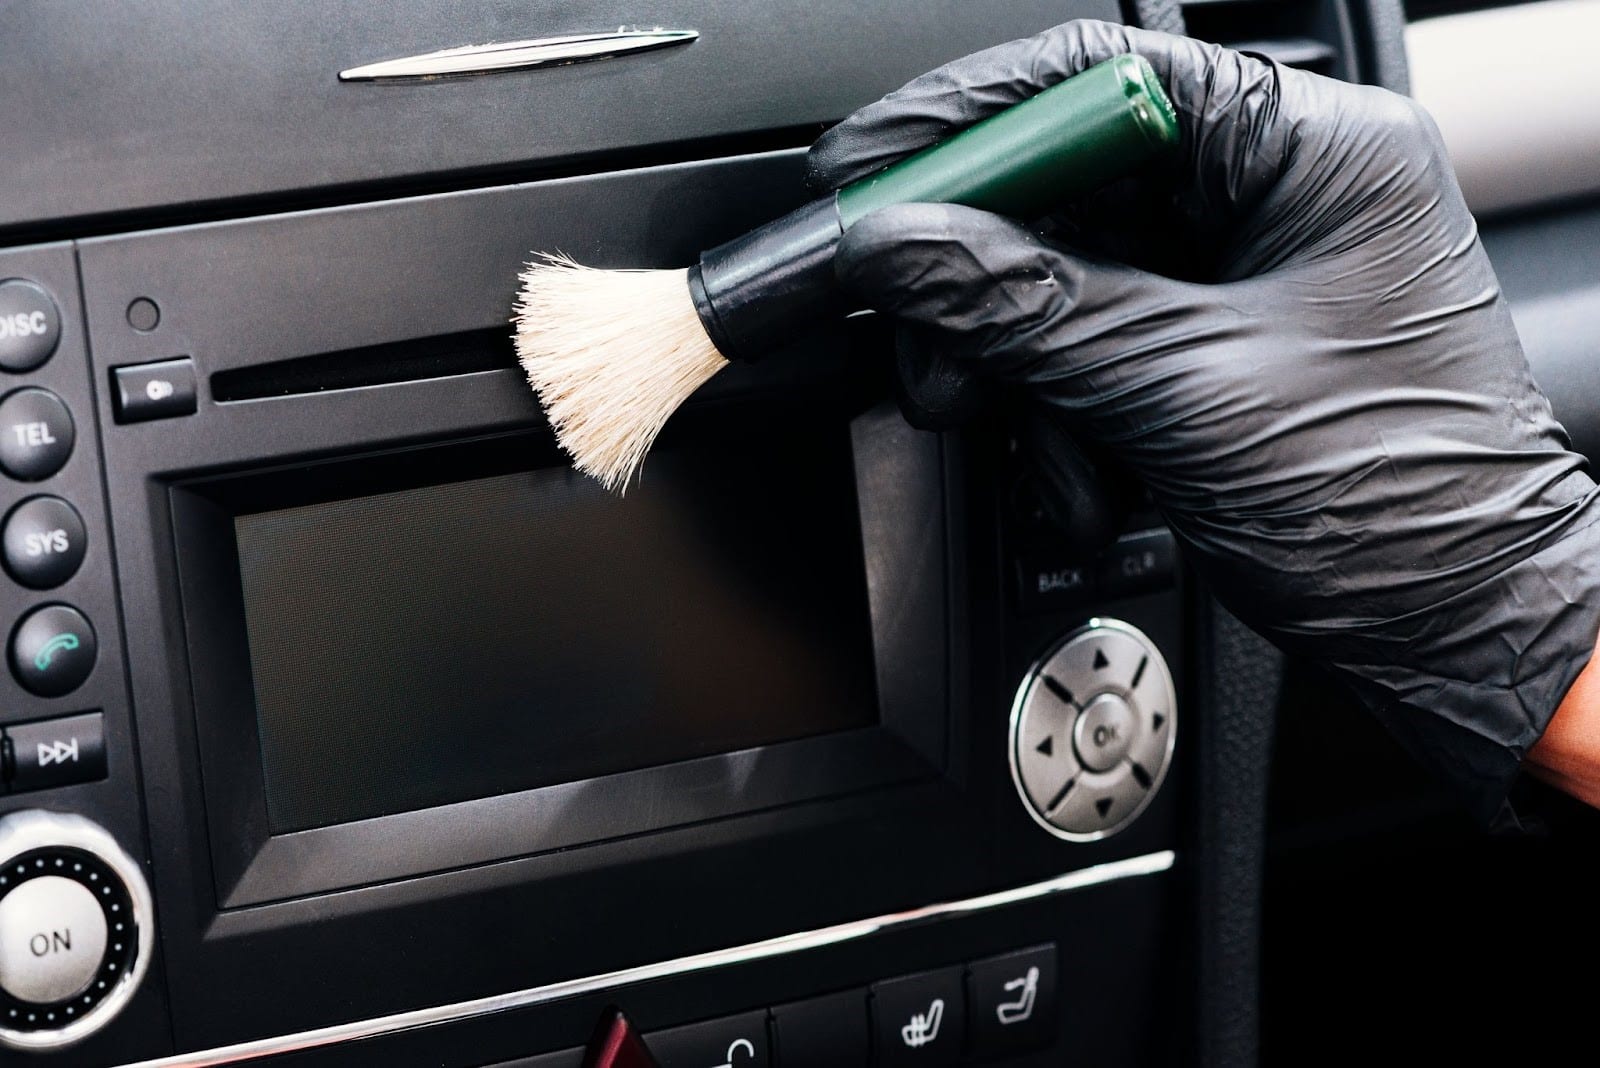
When you swipe a microfiber towel over the dash, door cards or any other part of the car interior, you will notice that dust is left behind around edges, buttons, controls and in crevices and vents.
To detail these hard-to-reach places, use a specialized brush.
This type of brush is hard enough to remove dust but it won’t scratch any car interior materials because of its ultra-soft brush tip.
21. Vacuum Your Car Interior With The Right Attachments
To get the best results when detailing your car interior, it is important to use the right vacuum attachments.
For large, easy to reach carpet areas, use a wide attachment or a dust brush attachment.
The wide attachment works best to vacuum larger areas like floor mats. A dust brush attachment on the other hand, is your best friend when it comes to working loose caked dirt or dust that is embedded deep in the carpet.
Use an extended flexible crevice tool to reach those hard-to-reach spots like between or under the car seats.
Any professional car detailer will tell you to always check your vacuum attachments for sharp edges before using them.
Use sandpaper to remove rough edges.
If you don’t, you will scratch up your leather and plastic car interior materials.
You can also tape some masking tape around the business end to make sure it won’t scratch.
22. Get Those Bad Odors Out
Sometimes bad car interior odors can’t be removed with car detailing products nor classic household tricks like vinegar or baking soda.
When you want to get rid of them once and for all, use an ozone generator.
The ozone, produced by this generator, oxidizes and disinfects.
It effectively neutralizes all smells, unlike air fresheners that only mask bad odors.
Just plug the ozone generator in and leave it in your car with the doors closed for 30-60 min. and that’s that…
Unplug and roll down your windows while holding your breath.
After a couple of hours, your car should be ready to be driven without those nasty smells…
Yes, that’s how professional car detailing works…
23. Fix That Smelly AC

A smelly car AC can be annoying as well as unhealthy.
The AC and its air ducts are dark and humid, the ideal conditions for fungi, mold and bacteria to thrive. The spores released by the mold and fungi combined with multiplying bacteria give off this distinctive, unhealthy moldy smell.
Nothing brings down a freshly detailed car interior more than a moldy AC smell…
Air fresheners are no solution, they only mask the smell.
The only way to temporarily solve this problem is to disinfect the entire AC system.
Sounds time-consuming and expensive, doesn’t it?
Well, it doesn’t have to be.
Just park your car outside on a dry day, open all the car windows, start the car with the AC on max and turn off the air recycling mode. To clean the AC, air must be taken from the outside vents.
Typically, the AC air intake is located at the outside base of the windshield, near the windshield wipers.
Cover it with your hand to make sure. With the AC running at max capacity you should feel strong suction.
Some cars have one intake, others have a driver’s and a passenger’s side air intake.
With some cars you need to open the hood to reach the air intake(s).
When in doubt, consult the owner’s manual.
Now simply spray about 1/2 a can of Lysol disinfectant spray into the air intake(s) with the engine running and the AC on at full power.
The disinfectant vapor is sucked in and will disinfect the entire AC system, killing all bacteria, mold and fungi.
Let the air conditioning run for at least a couple of minutes afterwards, so the product can do its job.
Now leave the car windows open for at least a couple of hours so the remaining product can freely evaporate before you use the car.
The next day, your AC should smell no more.
In humid, hot climates the smell may come back after a couple of months and the process should be repeated.
24. Make Your Car Smell Like New
So, you’ve washed and polished your car and thoroughly cleaned the interior.
Now that your car looks like new, why not make it smell like a new car too?
Everyone loves that distinctive “new car smell” a brand new car has when it comes straight from the dealership. It’s the smell of something new, fresh, exciting… It’s the smell of accomplishment….
Recreate that scent with New Car Smell and Leather Scent spray combo.
Just spray some under your front car seats when you’re done detailing it, until the intensity and balance between the two is to your personal liking.
Some like the emphasis on a luxurious leather smell, others a more “new interior” smell…
Don’t overdo it, a little goes a long way.
25. Lubricate Squeaky Hinges
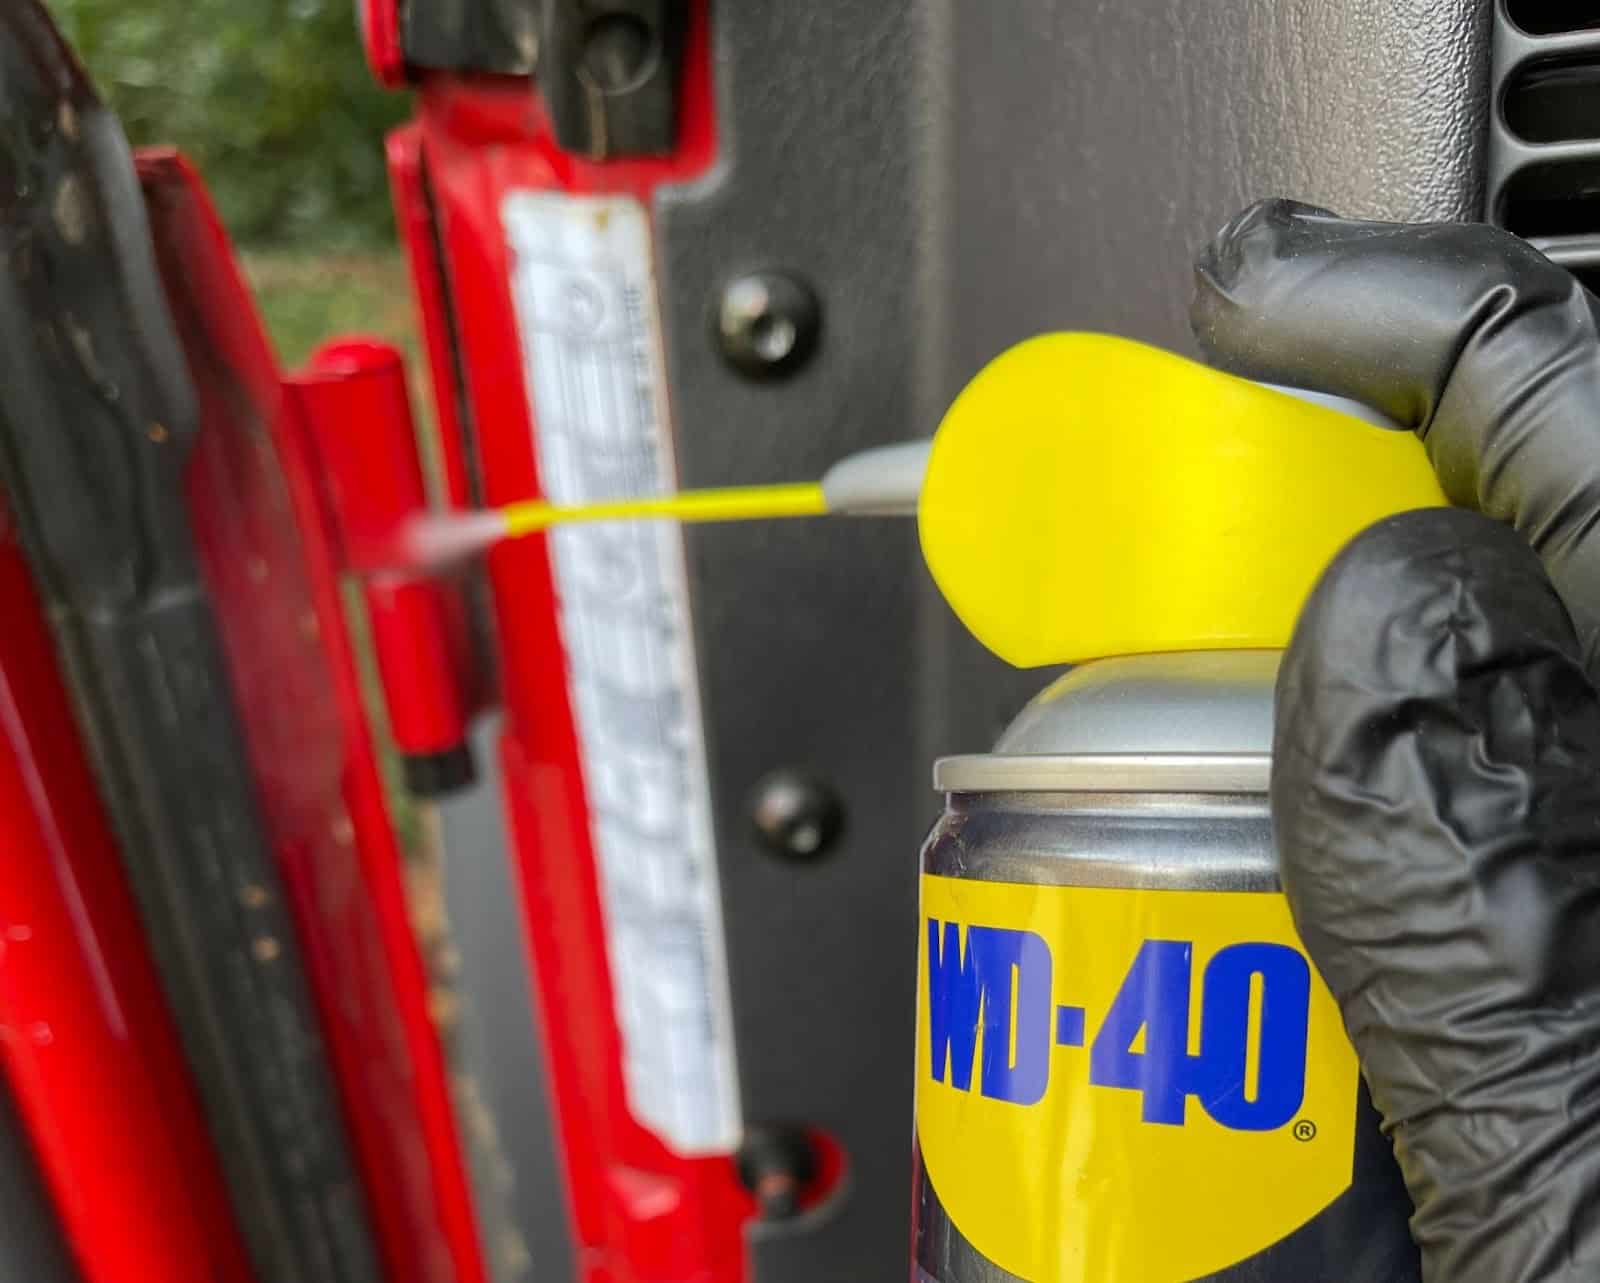
There’s nothing that sounds more like an old, worn car than a squeaky hinge.
Imagine you putting in all your effort to show off your perfectly detailed car but when you open it, it squeaks like an old barn door…
Effort: gone; new car look: gone…
Here’s a quick fix:
Lubricate all hinges with Dry PTFE spray. This professional grade Teflon-rich spray is colorless, dry to the touch and attracts no dirt.
Its straw makes it easy to aim. It can be flipped down for a wide spray pattern too.
Don’t use oil-based lubricants, they will stay greasy, attract sand and dirt which in turn will speed up wear.
26. Lubricate Door Rubbers And Window Tracks
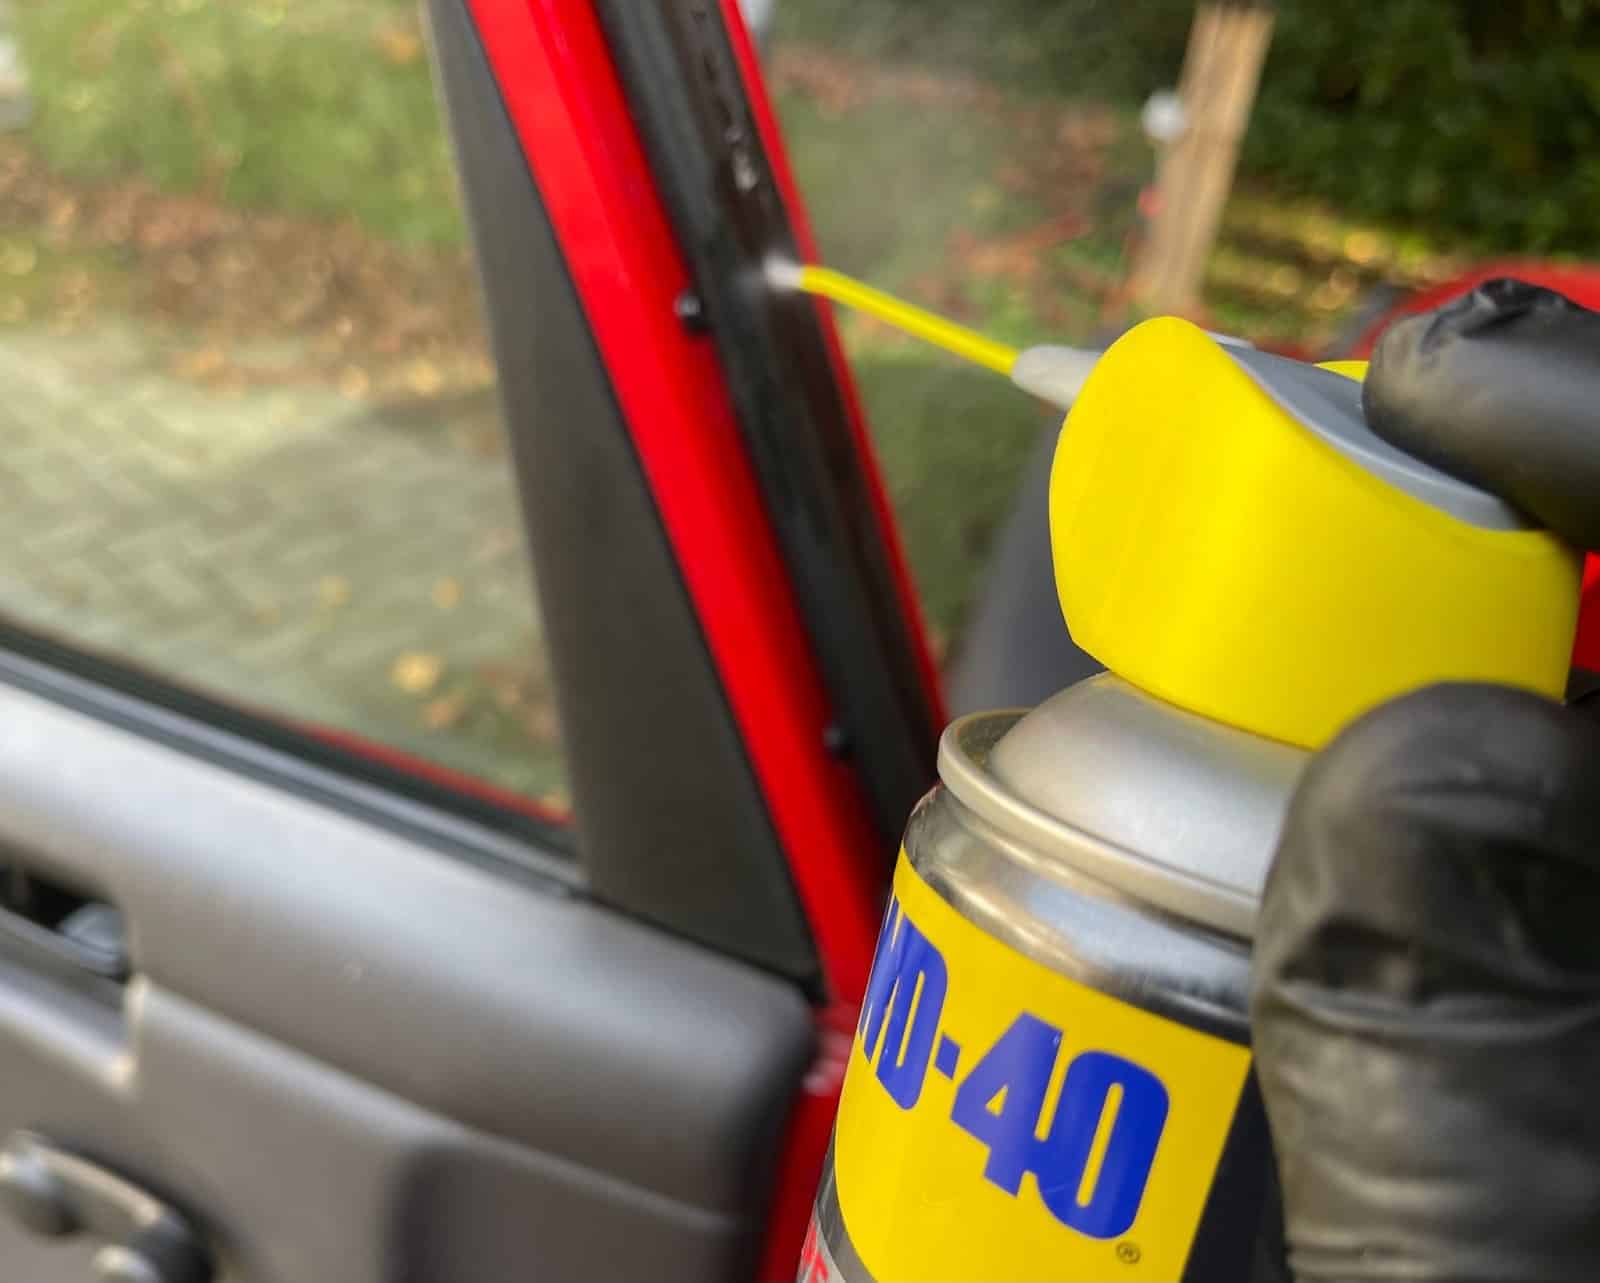
Open all your car’s doors and roll down the windows.
Spray all door rubbers and window tracks with silicone spray. It will protect rubber from deterioration, prevent doors from freezing stuck in winter and make windows operate much smoother.
27. Replace Your Wiper Blades

For safety reasons, but also for aesthetic reasons, wiper blades should be replaced once or twice a year, depending on climate and use.
Old car wipers don’t wipe as well as they should and let your car’s general appearance down. They leave streaks, have dull or flaked paint and sometimes even rust.
28. Clean And Protect Your Plastic Car Interior Parts
If your car is post 1970, it will have a lot of plastic (polyvinyl chloride = PVC) interior car parts that need to be cleaned and protected. Although some dish soap will remove most grime, it will not protect from UV discoloration.
Sunlight will also make these components brittle over time.
To detail and protect all plastic as well as leather materials, use Adam’s Leather and Interior Dressing. Put a generous amount on an applicator sponge and wipe away. Gently rub dry with an edgeless microfiber towel.
The applicator is a real product saver. Because of its internal plastic barrier it only absorbs half as much product compared to a standard sponge.
The edgeless microfiber towel is guaranteed not to scratch because it is super soft and has no sharp seams, label or edges.
Unlike silicone dressings, Adam’s Leather and Interior Dressing will not make your plastics shiny and sticky.
This product is odorless and colorless. It will clean, protect against UV damage and leave a natural matte “new”-look.
Your plastic car parts will resemble any leather finish much closer, giving a much more luxurious general appearance.
The matte finish is especially important when it comes to dashboard materials. If they are shiny, they can blind you in full sunlight, which is a safety hazard.
29. Clean Your Carpets
Here’s an easy DIY car detailing job anyone can do:
After you’ve thoroughly vacuumed your car interior and carpets, check the carpets for stains, dark spots or brownish discoloration.
Most stains and dirty discolorations can quite easily be removed and the general appearance of your car interior will improve dramatically.
Start with the removable carpets, normally those are the dirtiest:
- Remove them from your car and put them on a table or another surface with a comfortable working height. Make sure the working space is clean.
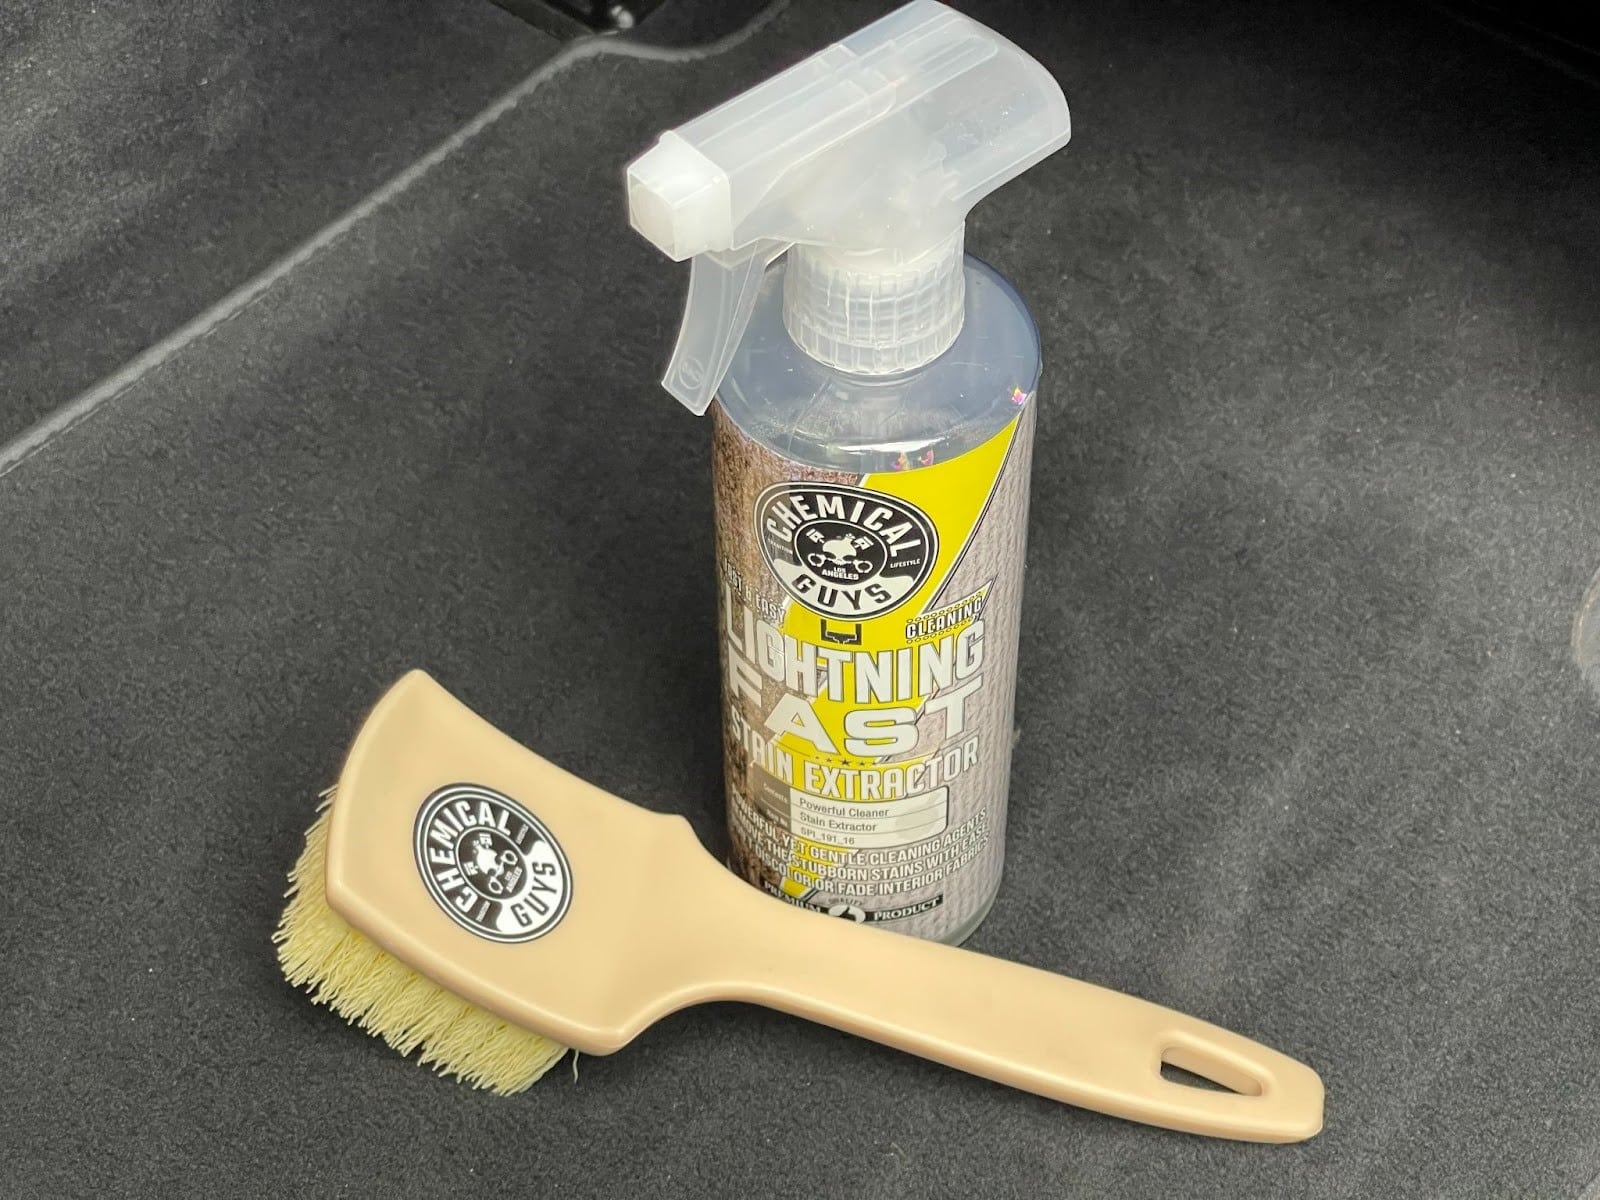
- Spray the carpet with CG Stain Extractor and work the product into the carpet in all directions with a carpet brush.
- Rub dry with a microfiber towel. Grab a fresh towel each time it’s dirty or you’ll rub the dirt back in. You’ll be amazed by the filth that rubs off!
- Repeat steps 1-3 till the microfiber towel stays (as good as) clean.
- Let the carpets dry in the open air. Put them back when they’re completely dry to the touch.
You can follow steps 2-4 to detail any fixed carpets or fabric seats.
Have a lot of clean towels handy, you’ll need them. They are key for getting the best results.
You’ll be amazed by the transformation!
Don’t wanna work that hard?
Make it easy on yourself and buy a Carpet and Upholstery Cleaner for a few bucks more.
It’s a lot cheaper than paying a professional car detailer and you get to keep the cool tool 😉
30. Restore Faded Plastic Parts
This car detailing tip is not for the faint-hearted:
There’s few things that make your interior look more shabby than faded plastic parts.
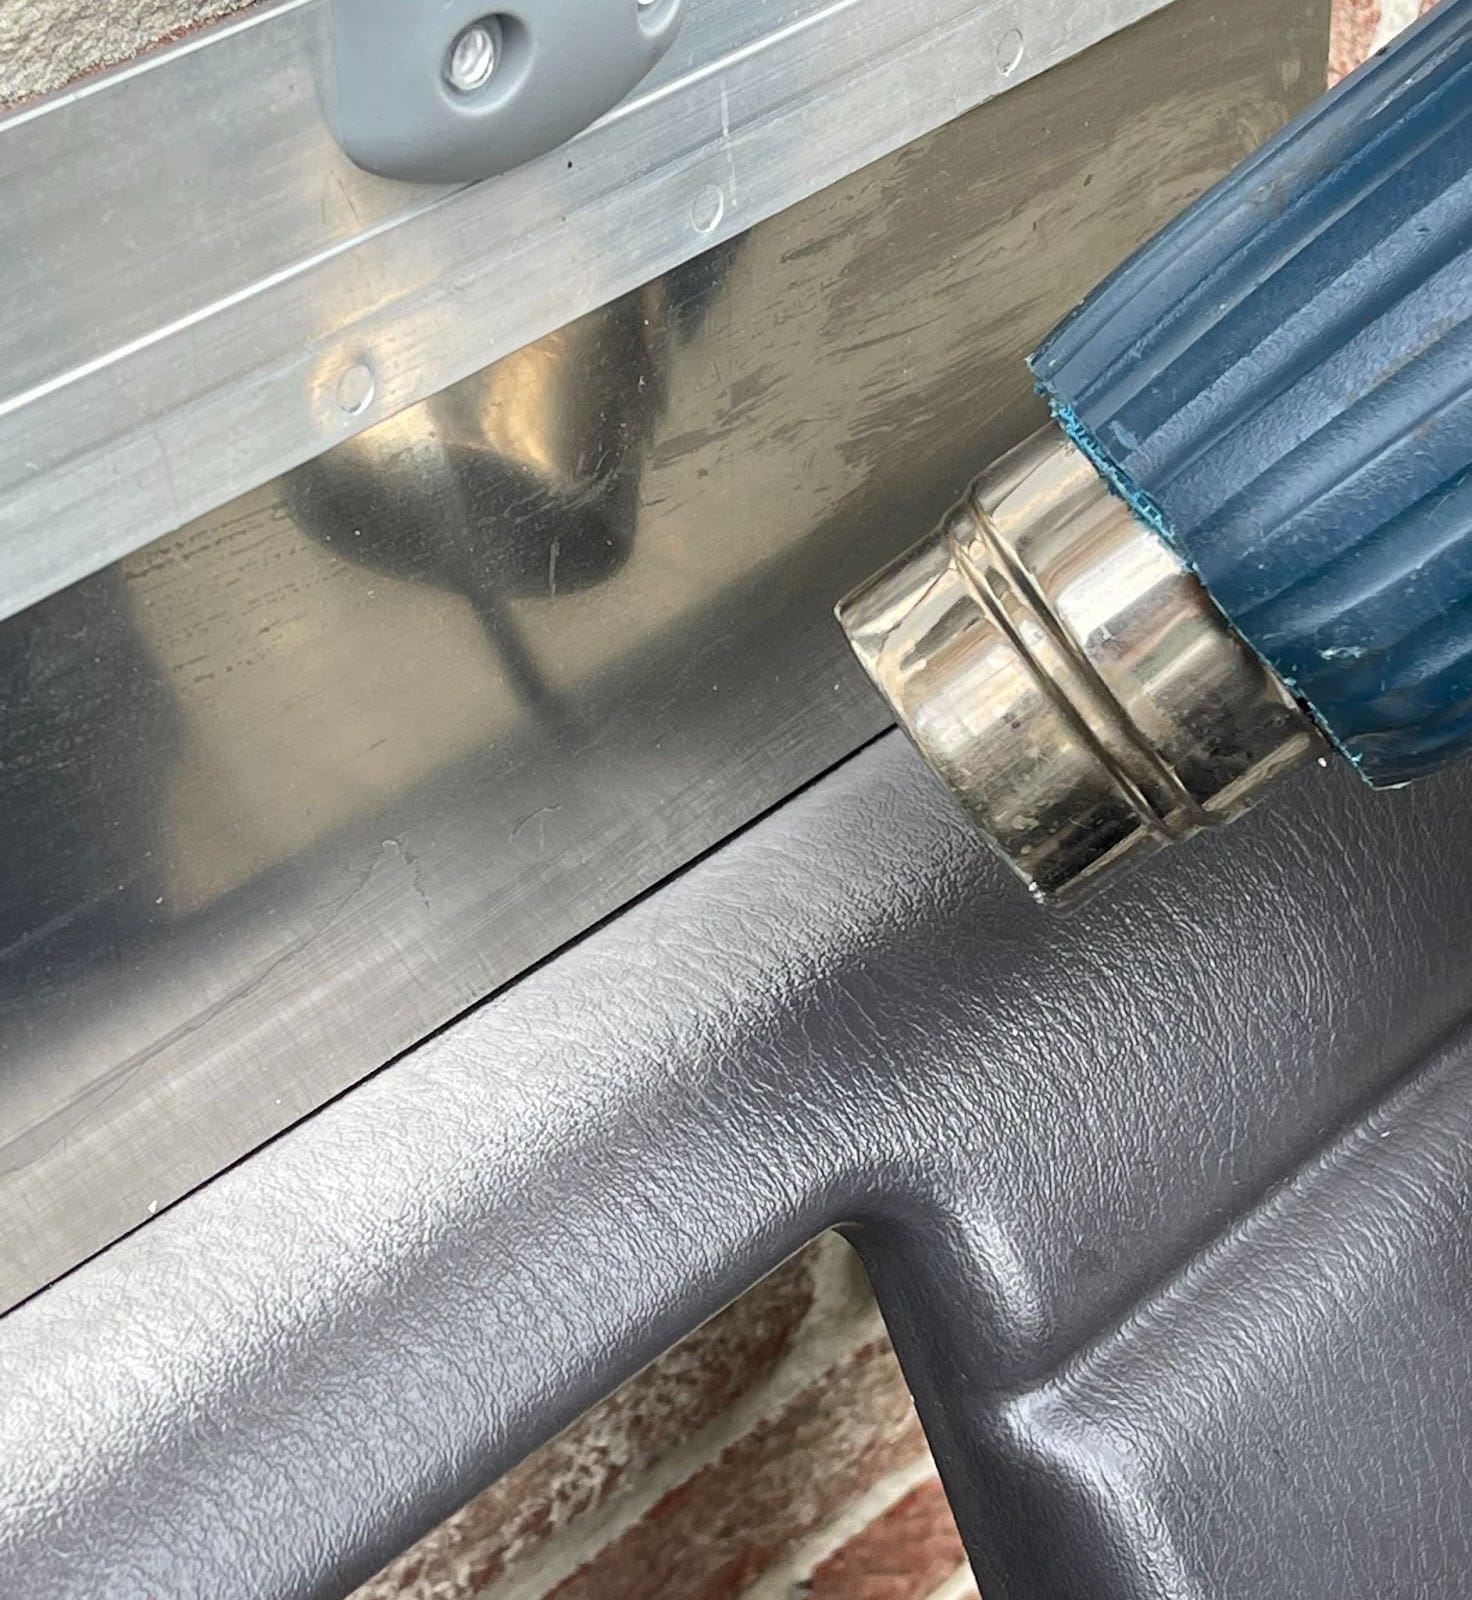
There’s a quick, cheap way to fix this, though: heat the faded parts.
Detach the part if possible or make sure that the surrounding material is shielded from the heat with a piece of sheet metal for example, or a wide putty knife before gradually heating it with a heat gun.
Heat will bring solvents and oils up from deep within the plastic, which will replenish the outer layer and return it to its original color.
The trick is to not alter the top layer structure by scorching it or by overheating it. Don’t concentrate the heat gun on one particular area. Be very careful not to melt or burn the plastic part.
Instead, gradually and evenly heat a larger area like a foot wide and fan from side to side. Work with patience while keeping a close eye on the piece.
The plastic will first start to shine. That’s when you have to ease off a bit so the texture doesn’t disappear.
Keep it heated from a few inches further off until the plastic fully returns to its factory color.
Now let it gently cool down.
If the result is too shiny, try to flatten the shine with a Magic Eraser sponge.
Now moisten and protect the plastic part with Leather & Interior Dressing. It will protect the plastic from future UV damage and give it a matte, factory appearance.
Scared of melting your trim? Why not try Solution Finish Trim Restorer? Available in black or grey and works great!
31. Restore Your Faded Black Plastic Outer Trim
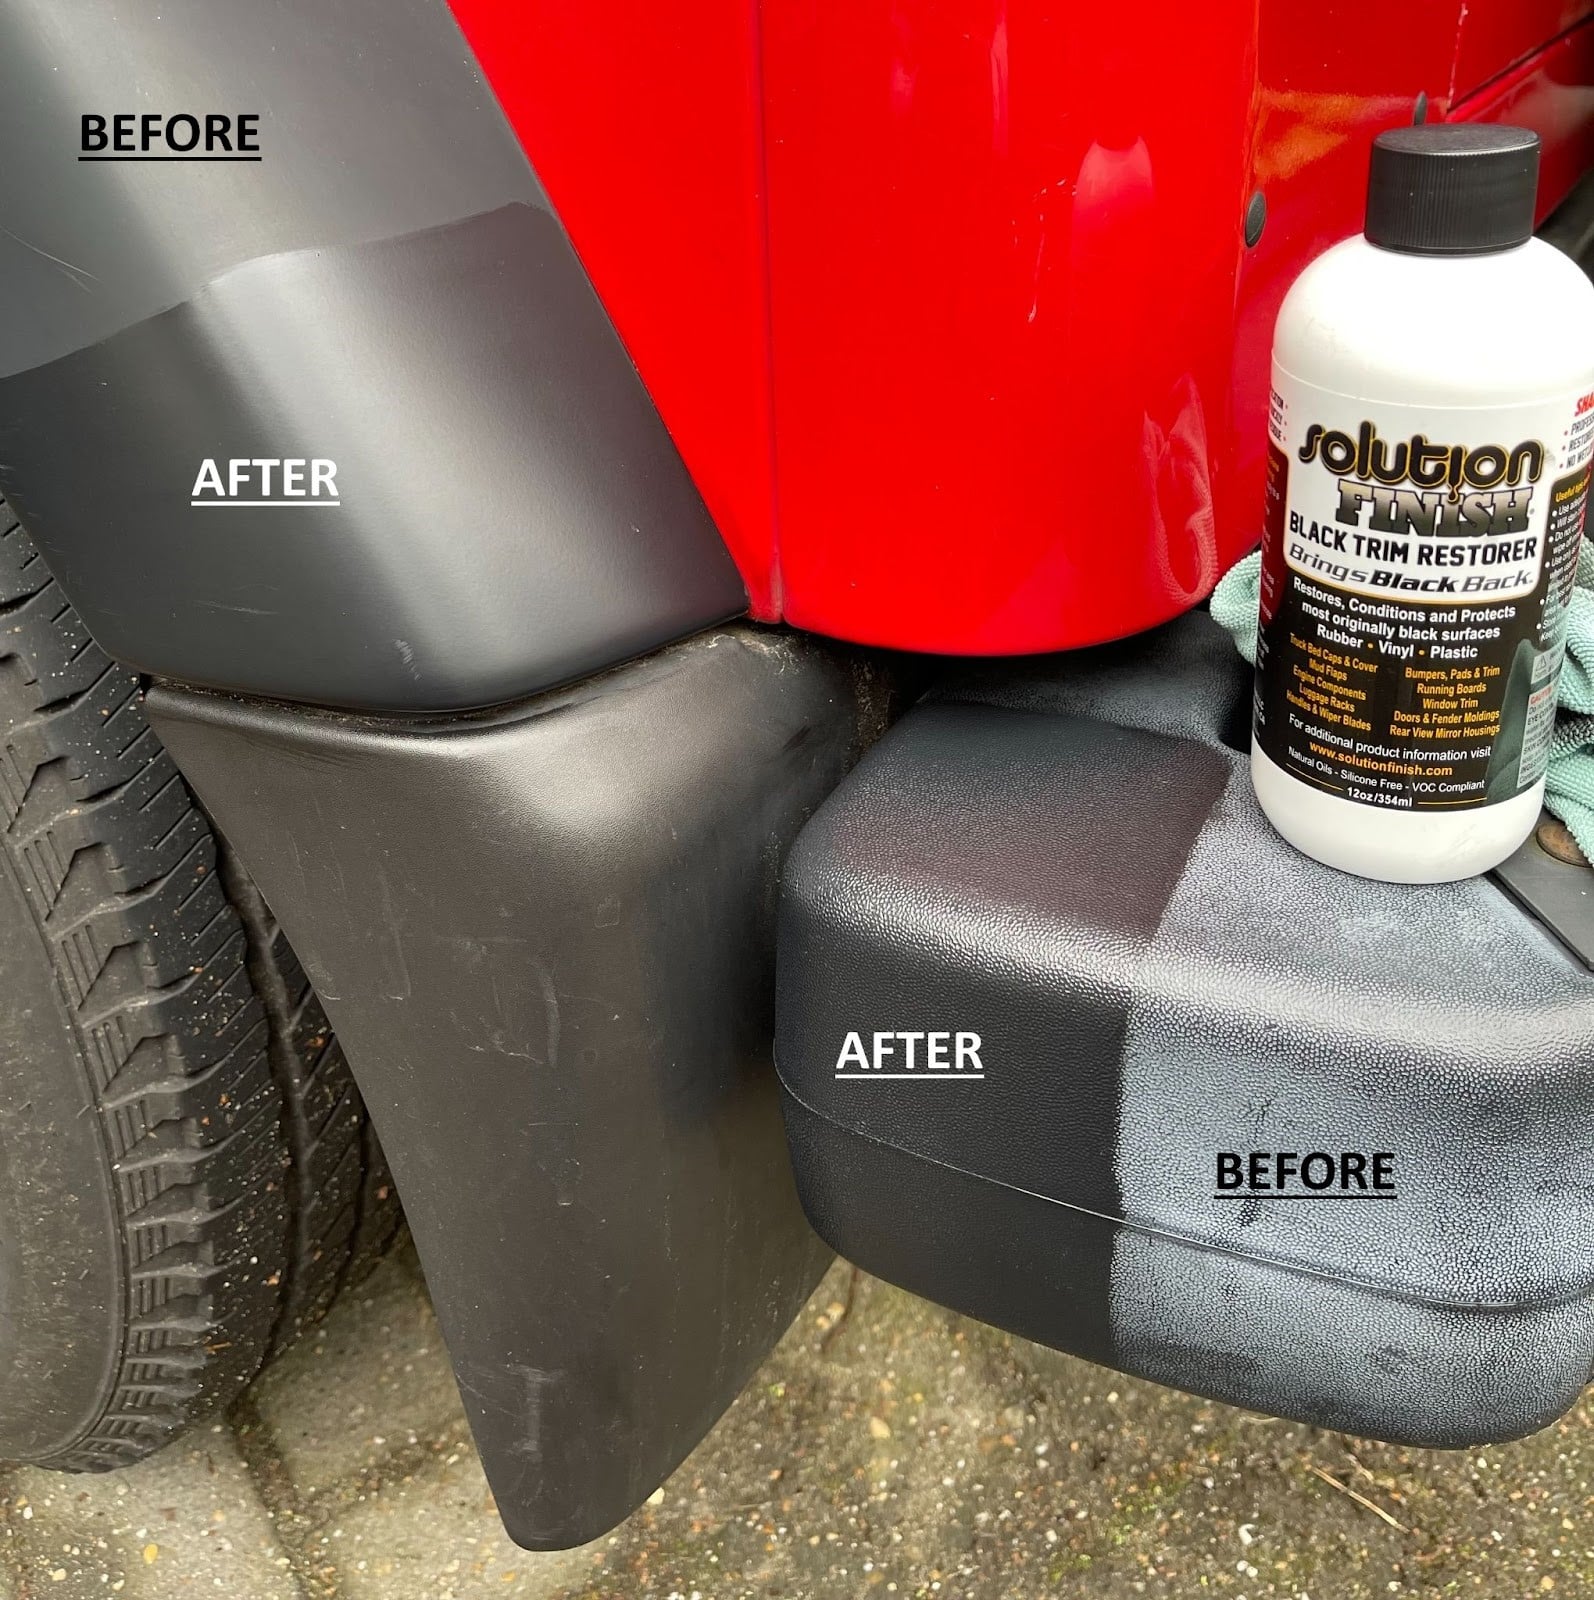
Exterior plastic car parts like fenders, bumpers and skirts will fade with age. Black parts will turn grey because of UV damage.
It makes your car look tired and worn, but this can easily be fixed by this DIY car detailing tip:
- Wash the plastic parts thoroughly with a wash mitt and a bucket of hot water with 2 oz of Strip Wash or Dawn.
- Rinse, then wipe dry with a microfiber towel.
- Decontaminate and degrease the parts with a microfiber towel dipped in isopropyl alcohol.
- Apply Solution Finish Trim Restorer with an applicator sponge. A fingertip applicator works great to work the edges without smearing the car paint.
- Let it dry for a couple of minutes and wipe off evenly with a microfiber towel.
- Check your work and if necessary apply a second coat. Again wipe dry after a couple of minutes.
Applying Solution Finish Trim Restorer is as easy as it gets. It penetrates deep into the plastic because it is solvent based.
Solution Finish will last for months up to a year and has a natural factory look, like it’s done by a professional car detailer.
Because this product is polymer based, it does not peel or crack. It can be reapplied frequently if required. It’s even available in grey.
Any smudges on your car paint can easily be removed with isopropyl alcohol, even when dry.
Solution Finish Trim Restorer does an awesome job on all other plastic and rubber trim too, like under-hood plastic parts or covers, rubbers, car tires or even faded plastic interior trim.
32. Polish Those Shiny Metal Parts
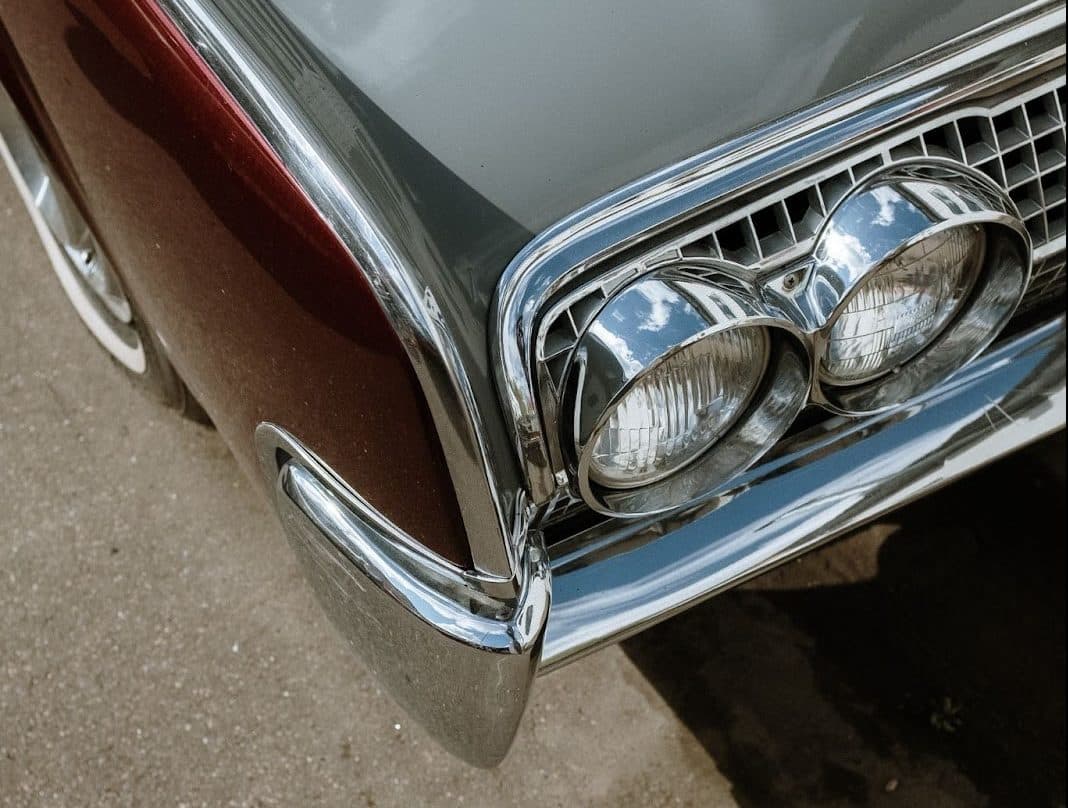
Whether those parts are stainless, chrome or aluminum, they should always steal the show.
When they are in good shape, you can easily detail them by hand.
If they haven’t been polished for a long time or are in really bad shape, you should consider machine polishing them.
With a little effort, they should shine like a mirror and take your beautiful ride to the next level.
Happy detailing!

3 thoughts on “32 DIY Car Detailing Tips for Professional Results”
I read your blogs regularly. Your humoristic style is witty, keep doing what you’re
doing!
I have learn several good stuff here. Certainly value
bookmarking for revisiting. I wonder how so
much attempt you put to create the sort of wonderful informative site.
It is actually a nice and useful piece of info. I am glad that
you just shared this useful info with us. Please stay
us up to date like this. Thanks for sharing.