
There’s a lot of horror stories going round on social media and Youtube about ceramic or graphene coatings gone terribly wrong. People are sometimes devastated after applying a protective coating when they find their car’s paint is streaked and smudged beyond belief. Many of them claim that they had to spend thousands putting it right. In some cases they supposedly even had to have their car completely resprayed to fix it.
Let me set this straight once and for all: this is absolute and complete BS in capital letters! Can things go wrong when you don’t respect the coating manufacturer’s guidelines? Absolutely!
But even in the worst imaginable scenario any badly applied coating can be corrected with a simple polisher and some elbow grease.
Again: if you use the tools and products recommended by the manufacturer and apply the coating as instructed, you can’t ruin your car paint with any quality ceramic or graphene car coating to the point that your car has to be resprayed. There’s just no way!
The bottom line is that if you follow our guidelines, combined with the product manufacturer’s instructions, you need not worry.
However, when you choose a protective coating, you should be aware that there is a big difference in ease of application between different products. In our posts about the Best Ceramic Coatings for Cars and Best Graphene Coatings for Cars we’ve specifically chosen top range products that are easy to apply for anyone, even newbies. They are all as close to “monkey proof” as can be.
Now, let’s get started. It’s important to know that to get the best results, preparation is key!
If you’ve already finished prepping your car, you can skip this part and go right to the step-by-step guide on how to apply a ceramic or graphene car coating, if you haven’t, continue to the next step:
Make Sure Your Car is Clean and Ready
Some cars only need a little paint correction to get them right, others can be a chore. How far you want to go with paint correction is your personal choice. You can spend some hours or even a couple of weeks, depending.
However, you should know that the end result is mainly determined by the way the car paint was prepped. A protective car coating is there to protect the paint as is, it will not rectify any flaws except maybe the tiniest marring.
To date, no transparent protective coating can rectify any significant swirls, scratches, dings and stone chips.
Things You Might Need to Clean Your Car
- decontaminating car shampoo
- Bugs N’ All Spray
- iron remover spray
- Carpro Eraser or isopropyl alcohol (IPA)
- microfiber towels
Clean And Prep Your Car Paint
If you want to do it right, these are the steps you need to take to prepare your car before applying a ceramic or graphene coating:
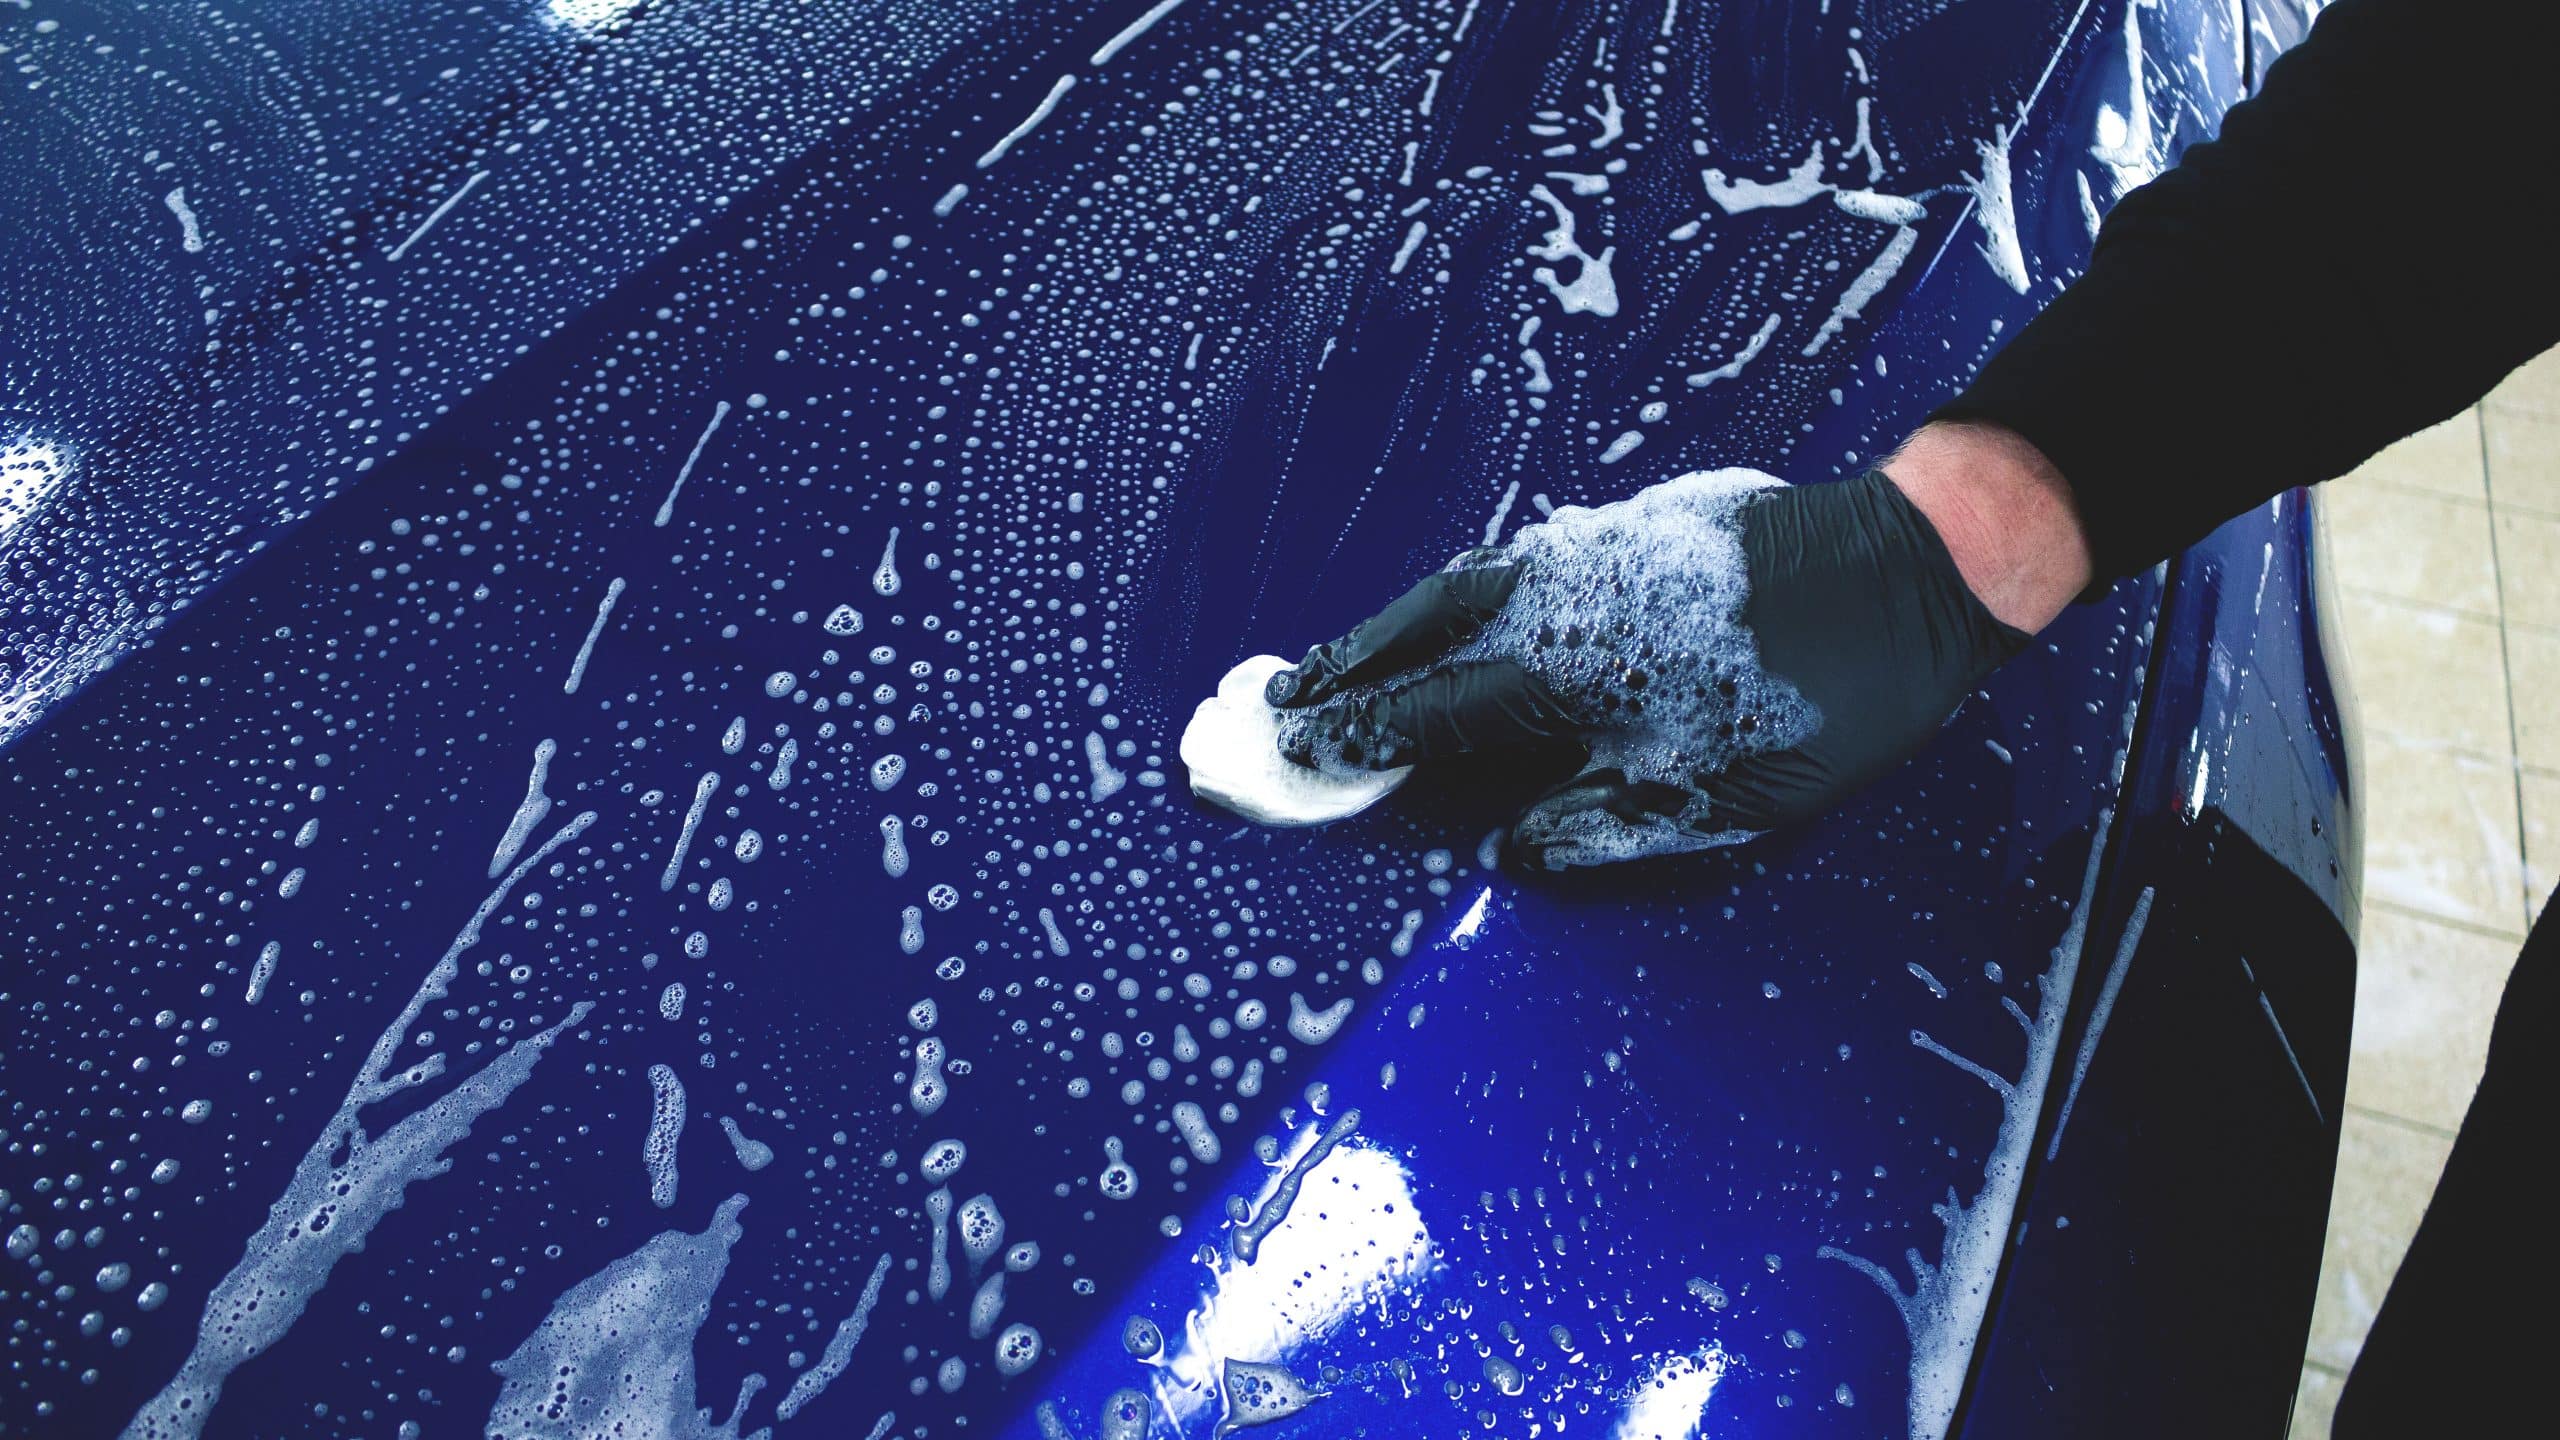
1. Wash your car thoroughly
Use a decontaminating car shampoo that will remove most dirt, grease, road grime and previously applied waxes and sealants.
For tips and tricks check our guide on how to wash your car.
Note: shampoo will not remove old graphene or ceramic (SiO2) based coatings but if they are well decontaminated they need not be removed, the new coating will adhere to them perfectly.
2. Remove any remaining dirt
You wanna remove contaminants that didn’t wash off like bugs, bird droppings, tree sap and tar without damaging your car’s paint.
Our tests show that Bugs N’ All Spray does the best job at being efficient with a gentle touch.
3. Spray your car paint with iron remover spray
You wanna focus on the wheels, the areas around the wheels and on the lower end of the car where the brake dust settles. Iron remover spray will loosen and remove iron brake dust that is embedded in the paint. If you don’t remove them, they will rust and deteriorate your car paint over time.
Avoid spraying areas with damaged or cracked paint because this spray is corrosive to bare metal. It will not harm your car paint though.
The product will turn purple where it reacts with iron particles.
Don’t let the iron remover dry.
After a couple of minutes, rinse your car thoroughly with water. The spray will have dissolved the iron dust whole or partially so it can easily be washed away.
If you don’t use an iron remover spray, the iron particles can come loose during the clay barring (step 5) or polishing process (step 8), which might cause marring and scratches. That’s another important reason why they should be removed first.
4. Wash the areas where the iron remover spray reacted once more
You wanna wash away any left-behind loose iron particles. Rinse clean afterwards.
5. Clay bar your car
After having washed your car and the iron particles are removed from your car paint, you wanna clay bar your car to address the contamination no car shampoo or iron remover can remove.
Although your paint may look spotless, you might be surprised how rough the paint surface still is because of thousands, maybe millions of rock-hard tiny specks of caked-on road splash, exhaust fumes, tar, tree sap, bug guts, mineralisation, chemical fallout,… These contaminants will attack and deteriorate your car paint over time if you leave them be, with rust as a result. Don’t believe they’re there? Check for yourself: Gently caress your car paint with a plastic zip-bag around your hand. You’ll feel and hear a rough scratchy sensation, your car paint does not feel smooth at all. That’s because of the contamination on top of your car paint.
After clay barring, the roughness will be gone. If you don’t clay bar your car, these rock-hard tiny specks will make polishing much harder than it should and these tiny gritty impurities may even mar your paint when they dislodge and get caught in your polishing pad.
Don’t worry, claying is no black magic. Anyone can do it.
Just follow our guidelines in How To Clay Bar Your Car.
6. (Optional) Touch up stone chips and deep scratches.
You wanna degrease the general areas you want to touch up with Carpro Eraser or isopropyl alcohol (IPA) and some microfiber towels first.
Chips and scratches are best addressed before coating your paint. Remember that any imperfections will be semi-permanently “frozen” in time.
Although it is perfectly possible to correct your car paint after applying a protective coating, this will inevitably make things more complicated because you’ll have to locally remove the coating with a polisher before you can correct the chip or scratch with fresh paint.
Afterwards this area will need fresh coating too, of course. You will also have to make sure that your vial of left-over coating is still fresh (approx. 1yr) or buy new touch-up paint.
For more detailed information on the subject check out How To Touch Up Car Paint.
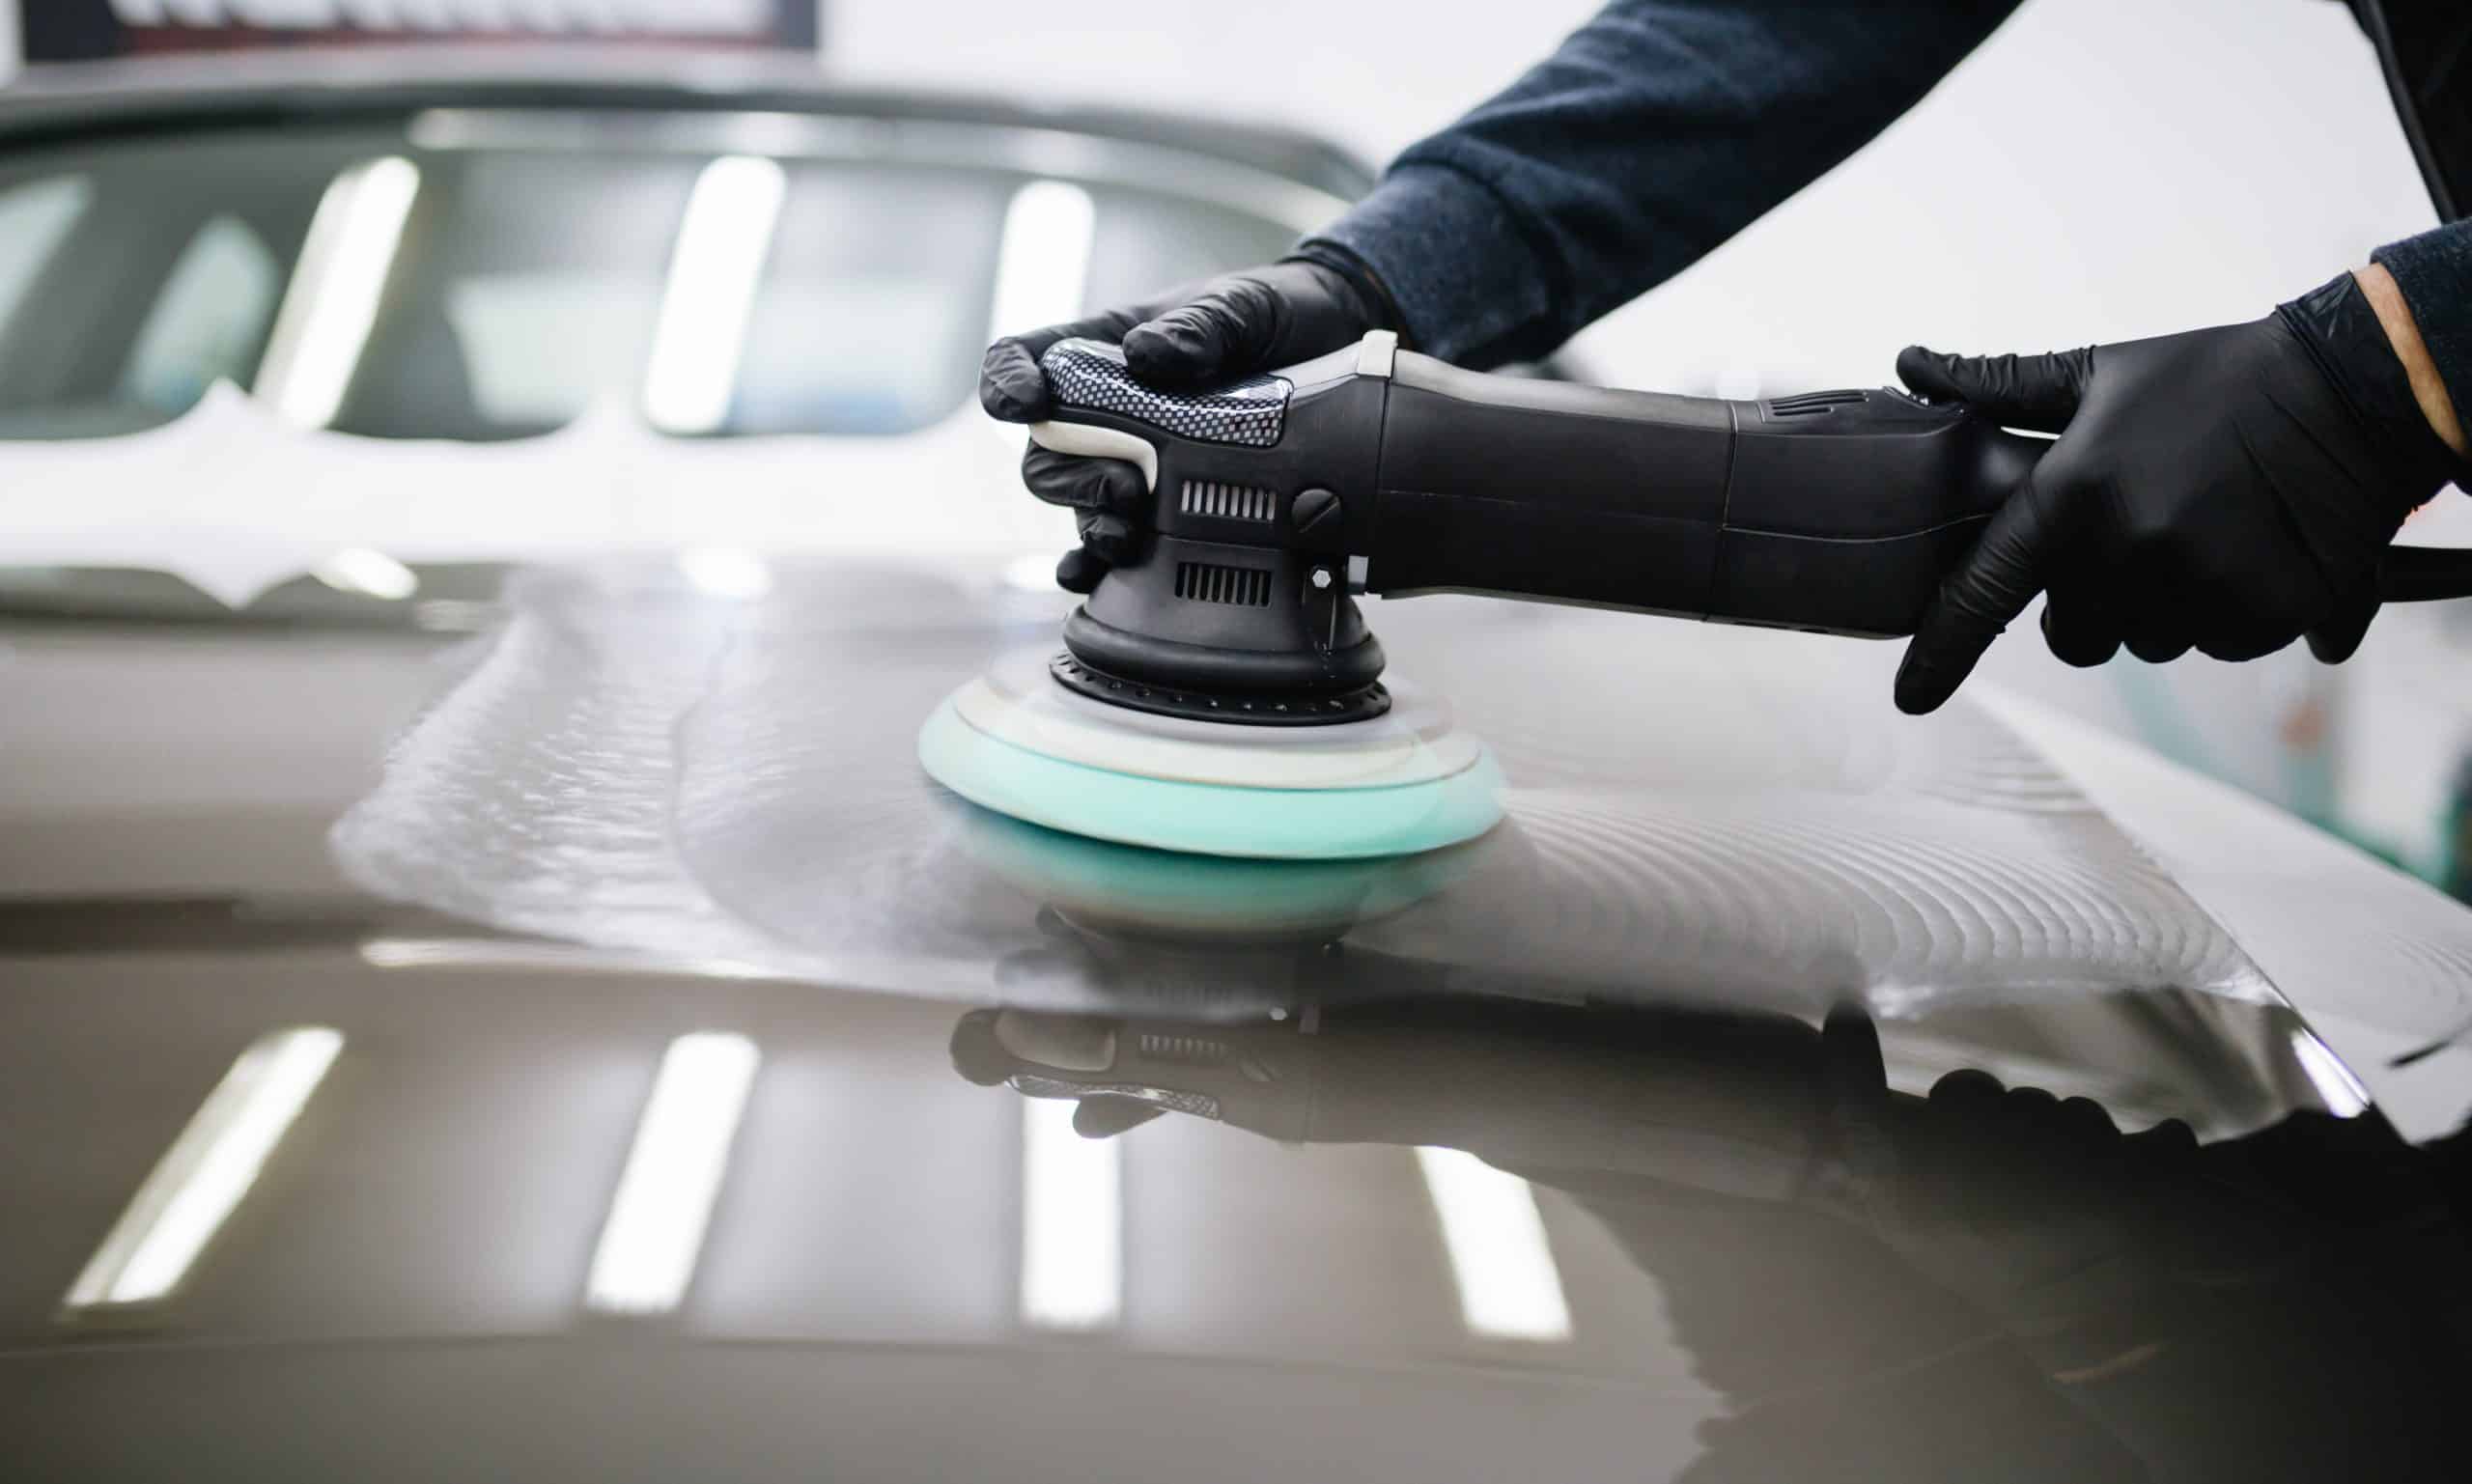
7. (Optional) Polish your car paint to the desired level.
This step is not necessary from a strictly practical point of view. The coating won’t last any longer when you polish it first.
It does however make a huge difference in shine and depth after the coating is applied. A polished surface has a much more mirror-like appearance and a warmer glow.
How much effort and time you want to put in and the level you want to achieve is of course entirely up to you.
To get the best results visit How To Polish Your Car.
Here’s How to Apply a Ceramic or Graphene Car Coating
Contrary to general belief, a quality ceramic (SiO2) or graphene car coating can be applied quite easily if you methodically follow our simple guidelines and respect the manufacturer’s instructions.
The trick is to analyze and assess step by step and to never panic should hiccups occur.
It is essential to not rush things and to make sure that you reserve more than enough time to correct problems if necessary.
Preferably start early in the morning when you have a complete day off, not late at night on a Sunday evening before a busy workweek. Nights are surprisingly short when working on a project…
Don’t rush to get the job done. Take your time and enjoy the process.
Important! Finish the coating in one go
We strongly advise to apply the coating to your entire car in one go, because if you spread the coating process over several days, you will run into some issues and extra work:
- First of all, even if your car is stored during the ongoing coating process, with each coating session the panel you will work on has to be decontaminated with IPA first in order to remove dust that will inevitably have settled. The problem is that if the IPA comes in contact with coating that has only partially cured, which is hard to avoid, it may affect the coating quality and appearance.
- Secondly you will need clean applicator sponges and towels with each new application because if left to dry they will harden and scratch.
- Finally you will have to overlap the fresh with the previous coating to have it blend seamlessly.
In optimal circumstances this is done when the previous area’s coating is freshly applied because when two coated areas are fresh, they blend best.
With most products requiring 48 hours up to a week to fully cure, the previous coating will certainly not have fully hardened but it won’t be fresh either. This may make it tricky to get a perfect result.
Preparation
Prepare your Working Area
Avoid Dust
To avoid wind blowing dust and debris in the wet coating you wanna coat your car in an enclosed, controlled environment like a garage or barn. Outside, you’ll have much less control of your surroundings like the wind picking up and blowing up dust or unexpected showers, leaves or bird droppings falling on your fresh coating, insects… It’s a recipe for disaster…
Even in an enclosed building however, precautions should be taken to make sure the environment is as dust-free as possible. The most important thing is to first clean the floor with soapy water to avoid stirring up dust during the coating process or from the air circulation blowing up dust when opening a door.
Optimize Lighting Conditions
To work accurately it is very important to maximize lighting conditions. Grab every light available so you can check your work in detail from all angles. This will avoid nasty surprises when you first see your car in full sunlight after you have finished the coating.
Ensure Proper Ventilation
When working with any type of chemical it’s always wise to ventilate the area for your health, even if you’re wearing respiratory protection. You wanna pull air out of the room instead of blowing air in to avoid stirring up dust. This is to prevent dust messing up your coating.
If proper ventilation is not an option because of outside temperature or other reasons, make sure to at least wear a half face respirator. The moment you start smelling the product through the mask, the filters are saturated and need to be replaced.
What To Do When Outdoors
If you have no choice but to work outdoors, then pick a shady place on a dry, windless day with outside temperature between 65°F (18°C) and 77°F (25°C).
Choose your timing right so that it doesn’t rain the next couple of days after, while the product is curing.
You don’t wanna work under trees. Chances are that falling dirt, bird droppings or falling leaves will ruin your work.
Decontaminate and Degrease Your Car Paint Before Applying the Coating
It’s very important to thoroughly degrease your entire car with Carpro Eraser or isopropyl alcohol (IPA) and some microfiber towels so you can start coating with a perfect blank canvas.
Everything You Might Need To Apply Your Car Coating
Now that your car’s paint is prepped and ready for a durable protective coating, the first thing to do is to get everything you’re gonna need within reach:
- Your ceramic or graphene coating of choice.
- Ceramic/graphene coating applicators for lint-free, scratch-free economical application.
- Lint-free, edgeless, labelless pearl weave microfiber towels that don’t streak, specially designed with ceramic coating application in mind.
- A handheld led light for inspection. (a UV light in case of Adam’s graphene coatings)
- A garage stool to comfortably and accurately coat the lower panels.
- Nitrile gloves to protect your skin.
- A half face respirator (especially in poorly ventilated conditions)
- (optional) masking tape, masking tape for curves
Right, the car paint is prepped and the stuff you’re gonna need is within reach.
Let’s get crackin’!
Step-by-step Application Guide
Although drying and “flashing” time as well as buffing timing may slightly vary between products, the following step-by-step guide can be used to apply any ceramic or graphene coating.
IMPORTANT: Most ceramic and graphene coatings are safe to use on all automotive materials but to be 100% sure, check your product’s instructions.
All materials that you don’t want to coat can best be taped off on beforehand with masking tape for straight edges and masking tape for curves to tape off curved edges.
Step 1: Carefully read your product’s instructions
It’s crucial to check if product- specific deviations from the standard procedure are needed (e.g.: drying or flashing time). If so, always follow the manufacturer’s instructions.
Step 2: Put on your protective nitrile gloves
Remember, these products are designed for car care, not skin care. They can be very hard to get off your hands too.
Step 3: Shake the vial rigorously for a minute
You wanna mix it up real good. Then open the vial very carefully.
Step 4: Put two lines of product on the applicator
Squish the applicator sponge gently until the contact area is evenly covered with product.
Don’t overdo it, a little goes a long way.
Step 5: Start with 1/4 of your car’s hood
To get the feel of the application process, 1/4 of your car’s hood is a manageable size and a comfortable oriented surface to start with. Work inside these imaginary lines but overlap the surrounding areas by a few inches.
Step 6: Apply the coating in a horizontal line
You wanna make two passes: back and forth.
Step 7: Now coat the next strip
Slightly overlap the previous pass and make sure not to leave uncoated spots. Check with your LED or UV light to make sure. During the coating process, keep an eye on the treated surface: if the applicator gets too dry, replenish it with just one line of product. Again: don’t put on too much. The objective is to just leave a thin coat.
Coat the next strip and so on until the whole 1/4 hood panel has been coated in a horizontal pattern.
Step 8: Immediately repeat the same process without delay, but in crosswise vertical lines
Repeat steps 6 and 7 but this time in an up and down motion instead of back and forth. Continue until the whole 1/4 hood panel is covered for the second time. Just like before, you wanna overlap the surrounding areas a few inches.
Step 9: Wait for the coating to “flash” or “rainbow”
When you’re done with the vertical lines, wait a minute or two until a multicolor hue appears (called flashing or rainbowing).
Step 10: Immediately start buffing the coating when you see this rainbow hue
Gently buff with a pearl weave microfiber towel until the coating has an even, spotless appearance.
Step 11: Check for imperfections with a handheld light
Check for high spots (unevenness) or streaks in the coating with a LED light (or UV light for Adam’s graphene coatings).
When the coating is still fresh, it’s easy to buff ‘em out.
If you can’t buff ‘em out, just apply some product with the applicator to soften the semi-dried coating and buff again immediately after, without waiting for it to dry or flash. The fresh solvents in the liquid coating will now make imperfections very easy to correct.
Step 12: Move on to a neighboring area
Repeat the process on the next adjacent area starting from step 5. With each new area, again repeat steps 5 to 10 until the entire painted surface of your car is coated.
Ceramic and graphene coatings can also be applied to glass, aluminum, chrome and painted plastic car parts, but not on bare plastics.
Step 13: Immediately perform a last thorough inspection
Without delay, you wanna inspect your car’s paint (in full daylight preferably) while the coating hasn’t fully cured and is still easy to correct.
If it is nighttime (already) or the weather doesn’t permit, perform the inspection indoors with your handheld light or UV light.
Should you discover some streaks, smudges or “high spots”, at this stage in the hardening process it will be quite easy to soften the coating where needed by reapplying liquid coating and buffing it off until the high spot or streak has gone.
So, no need to panic!
Step 14: Don’t use your car for the next 48 hours
When you’re done applying your car coating, don’t wash your car for at least one week so that the coating can harden to a protective shell.
In the unlikely event that you only notice a high spot or streak after a week or so when the coating has hardened, you can still correct it, but you’ll have to use a polisher.
Congratulations, a job well done!
You’re ready to enjoy that concours gloss with much less maintenance for years to come!
Happy detailing!

2 thoughts on “How To Apply a Ceramic or Graphene Coating for Cars”
Pretty! This was an incredibly wonderful post. Thank you
for providing this info.
You’re welcome!