If you ask most people, they will probably tell you that clay barring or claying a car is some mumbo jumbo invented by professional detailers to charge some extra cash. Chances are they are convinced it is completely unnecessary.
They probably think that after treating their car to an extensive pro-level hand car wash using only the best stuff out there, all the gunk and grime is washed off their car and there’s nothing to improve. Well, they should think again!
Simply do the “zip-bag test”: put a zip-bag or any other plastic bag over your hand and gently stroke your freshly washed car paint. You’ll notice a rough scratchy feel and sound. That’s because there are thousands, probably millions of tiny nearly invisible contaminants sticking to your car surface that can’t be washed off.
If I didn’t notice them, why should I care? You might argue…
Well, first of all because these chemical contaminants come from road splash, exhaust fumes, tar, tree sap, bug guts, mineralisation, embedded brake dust, chemical fallout,… and they will attack and deteriorate your car paint over time if you don’t remove them, with rust as a result.
Secondly and maybe the most important reason you should remove them is because when you polish your car paint or use a power tool to wax your car, some of these contaminants will come loose and get caught in your polishing pad. Because these minute particles are sharp and hard, they will mess up your car paint, leaving swirls and scratches. Guess that’s not the intended outcome…
Thirdly, should you put wax, sealant or any other protective coating over these contaminants, over time some will work loose leaving potentially thousands of unprotected spots that are vulnerable to the elements. That’s far from ideal…
If you want to remove these nasty contaminants once and for all, clay barring is the solution!
The most popular and arguably most effective tool to use for clay barring is… well… a clay bar. The name says it all: it’s a clay bar, made up of natural or synthetic playdough-like material that removes and encapsulates these particles without scratching your car paint. It’s the preferred claying tool for most professional detailers.
The past few years clay mitts and clay towels have become popular. They work just fine too and some people prefer these over the traditional clay bars. It’s a matter of personal preference, I guess…
For more information on different claying tools, check out our post on clay bars, mitts and towels. We’ve tried and tested the most effective ones in a comprehensive review.
Contrary to what people think, clay barring isn’t some dark art that is very hard to master. In fact it’s easy and even fun to do. Anyone can do it!
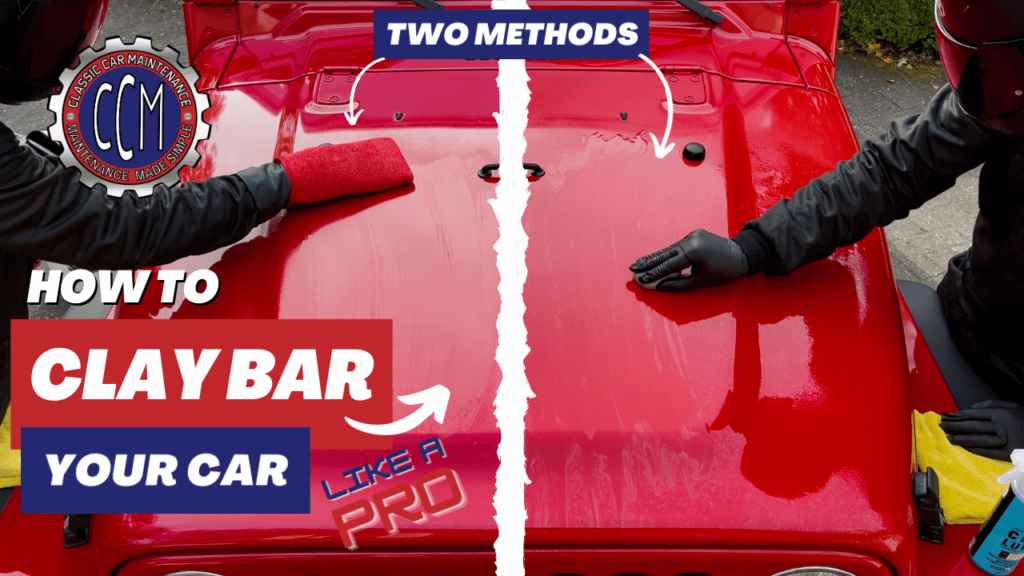
Check out our video on “How To Clay Bar Your Car Like A Pro”, or if you prefer reading, you can follow the steps below the video:
How to Clay Bar your Car like a Professional Detailer
Preparation
1. Park your car in the shade, away from trees

The heat from direct sun softens your car paint in summer, making it more prone to abrasion and scratches.
Intense sunlight will also evaporate your product before you can work it, potentially leaving marks and spots. That’s why you should never wash or clay bar your car in direct sunlight on a warm summer’s day.
However, in late autumn or early spring the sun is too weak to heat your car paint, so you should be OK. Gently touch the car surface to make sure it isn’t hot and use common sense.
If you don’t have a place in the shade, it’s better to wash and clay bar your car on an overcast day or early in the morning when it’s cool.
It’s not a good idea to park your car under trees when you’re washing or clay barring it either. There’s always stuff falling from trees like tree sap, dead foliage, bird droppings… If this stuff accidentally gets caught in your towel or clay bar while cleaning, it will scratch your car paint.
2. Wash your car

The first thing to do before you clay bar your car is obvious: you need to wash your car very thoroughly to remove as much dirt and grime as possible.
3. Get everything you need to clay bar your car

This is the stuff you’re gonna need:
- clay bar, clay mitt or clay towel (fine or medium grade, depending on your car’s condition)
- clay lubricant
- 4-8 edgeless microfiber towels
- car wash bucket with grit guard filled with water (only if you use a clay mitt or a clay towel)
- nitrile gloves
Optional:
Here’s How To Clay Bar Your Car in 6 easy steps
Step 1: Remove embedded iron particles (optional)
Although not strictly necessary, we recommend spraying your car paint with iron remover spray before clay barring. This should be done right after you’ve washed your car.
Most embedded iron particles are situated on and around the wheels and on the lower end of the car where the brake dust settles.
The iron remover will loosen and remove all iron brake dust that is embedded in your car’s clear coat. If these small particles are left stuck in the car paint, they will rust, expand and deteriorate your car paint over time. This spray dissolves them whole or partially so they loosen and can easily be washed away.
Without using an iron remover spray, most of these iron particles will come loose during the clay barring process which might cause excessive marring and scratches.
Avoid spraying areas with damaged or cracked paint because this spray is acidic and corrosive to bare metal. It will not harm your car paint though.
1.1. Just spray the product on your car paint and wait until it turns purple where it reacts with iron particles.
Don’t let the iron remover dry.
CAUTION: Use eye and hand protection, iron removal spray contains muriatic acid.
1.2. After a couple of minutes, rinse thoroughly with your pressure washer.
1.3. Wash the treated areas with a wash mitt using plain tap water to wipe off any remaining iron particles.
1.4. Rinse thoroughly with your pressure washer once more.
You don’t have to dry your car before clay barring it, you can continue to the next step right away.
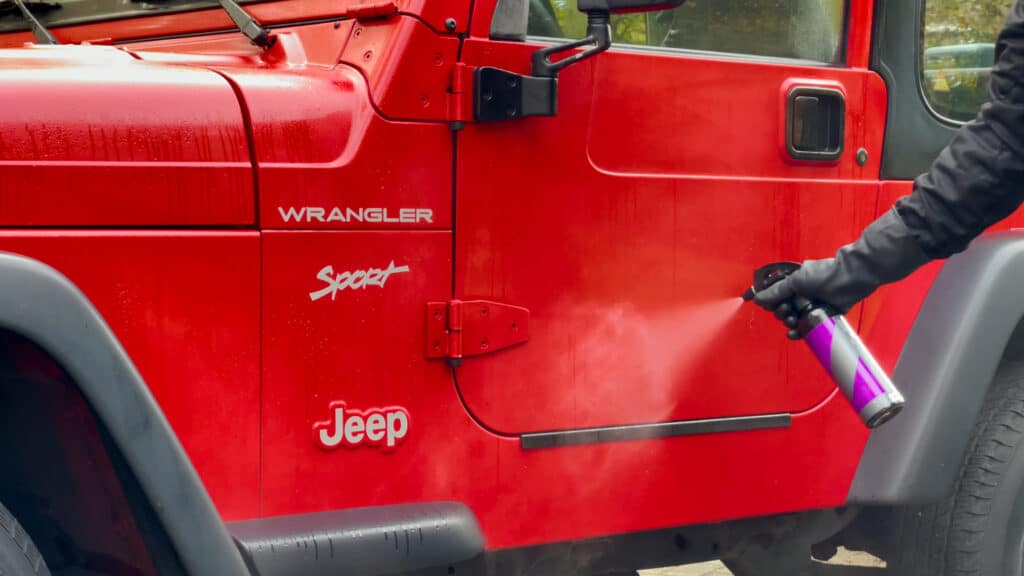
Step 2: Spray a 2’x 2’ working area abundantly with clay bar lubricant

2’x 2’ is a manageable size surface to clay bar in one go. Don’t be stingy, the lubricant provides scratch protection for your car paint. Using too little will result in scratching and marring.
Step 3: Rub the clay bar, towel or mitt over the lubricated surface
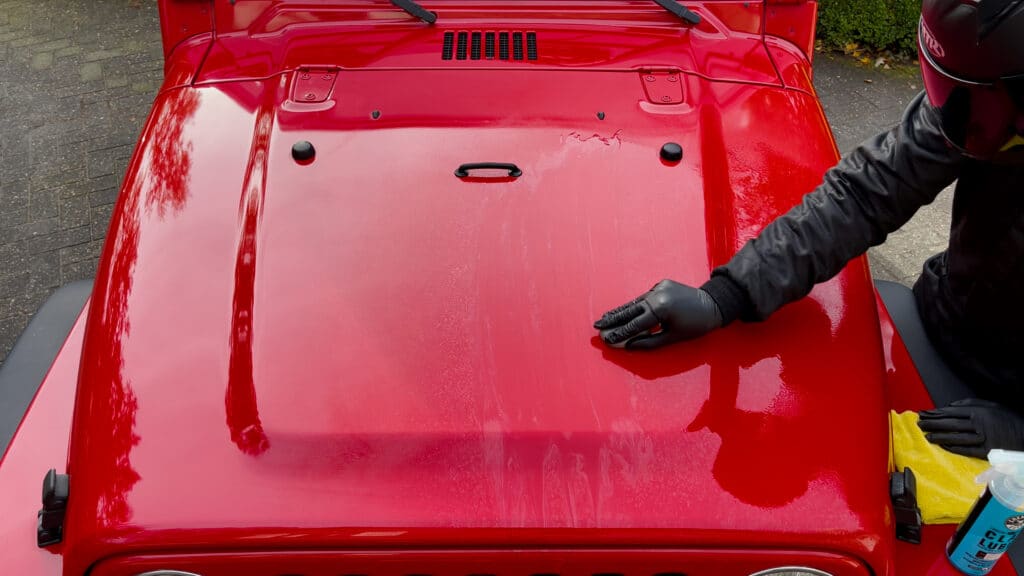
Put on a pair of nitrile gloves to prevent skin contact with chemicals and lubricants.
If you use a new clay bar for the first time, stretch, fold and shape it in a shape that sits comfortably in your hand.
You can also cut or tear a clay bar to a smaller size to get in tight spots or join two or more pieces together to clay a large surface. Whatever works best for you.
A clay mitt or a clay towel on the other hand, is ready to use straight out of the blister or wrap.
With your clay bar, mitt or towel, rub in controlled straight lines rather than in swirls to visually minimize possible light scratch patterns.
Only apply light to moderate pressure, starting with two passes per line: up and down, or side to side. You can always come back and rub some more if needed. You will clearly feel the surface friction diminish. That means it’s working.
Once you get the hang of it, you’ll be able to feel whether the surface is clean while working it. It’s easier to feel what’s going on with a clay bar than with a clay mitt or towel though. That’s because textile and rubber resonate less than compact clay.
Continue until the whole 2’x 2’ area is clayed. Wipe clean with a clean, dry edgeless microfiber towel to remove the tarnished lubricant.
Step 4: Check for impurities

Before moving on to the next 2’x 2’ area, always check the clay bar surface for black specks and impurities. Use common sense: if it looks dirty, it will scratch your car paint thus should be refreshed.
Do this by folding the clay bar’s rubbing surface inward and kneading it to the desired shape so you have a fresh, clean rubbing surface to work with.
If your clay bar stays ash gray and is dotted with little black specks no matter how you fold it, discard it.
Clay mitts and clay towels on the other hand, should be rinsed in clear tap water after each 2’x 2’ area to remove impurities and again to prevent dirt scratching your car paint.
Step 5: Move on to the next area

Clay bar the adjacent 2’x 2’ area, again starting with plenty of lubrication. Always overlap the previous area slightly to make sure no spot is left “unclayed”.
Car glass also greatly benefits from a clay bar treatment because it will smoothen the glass surface by removing caked dirt and mineralization, making rain roll off much faster.
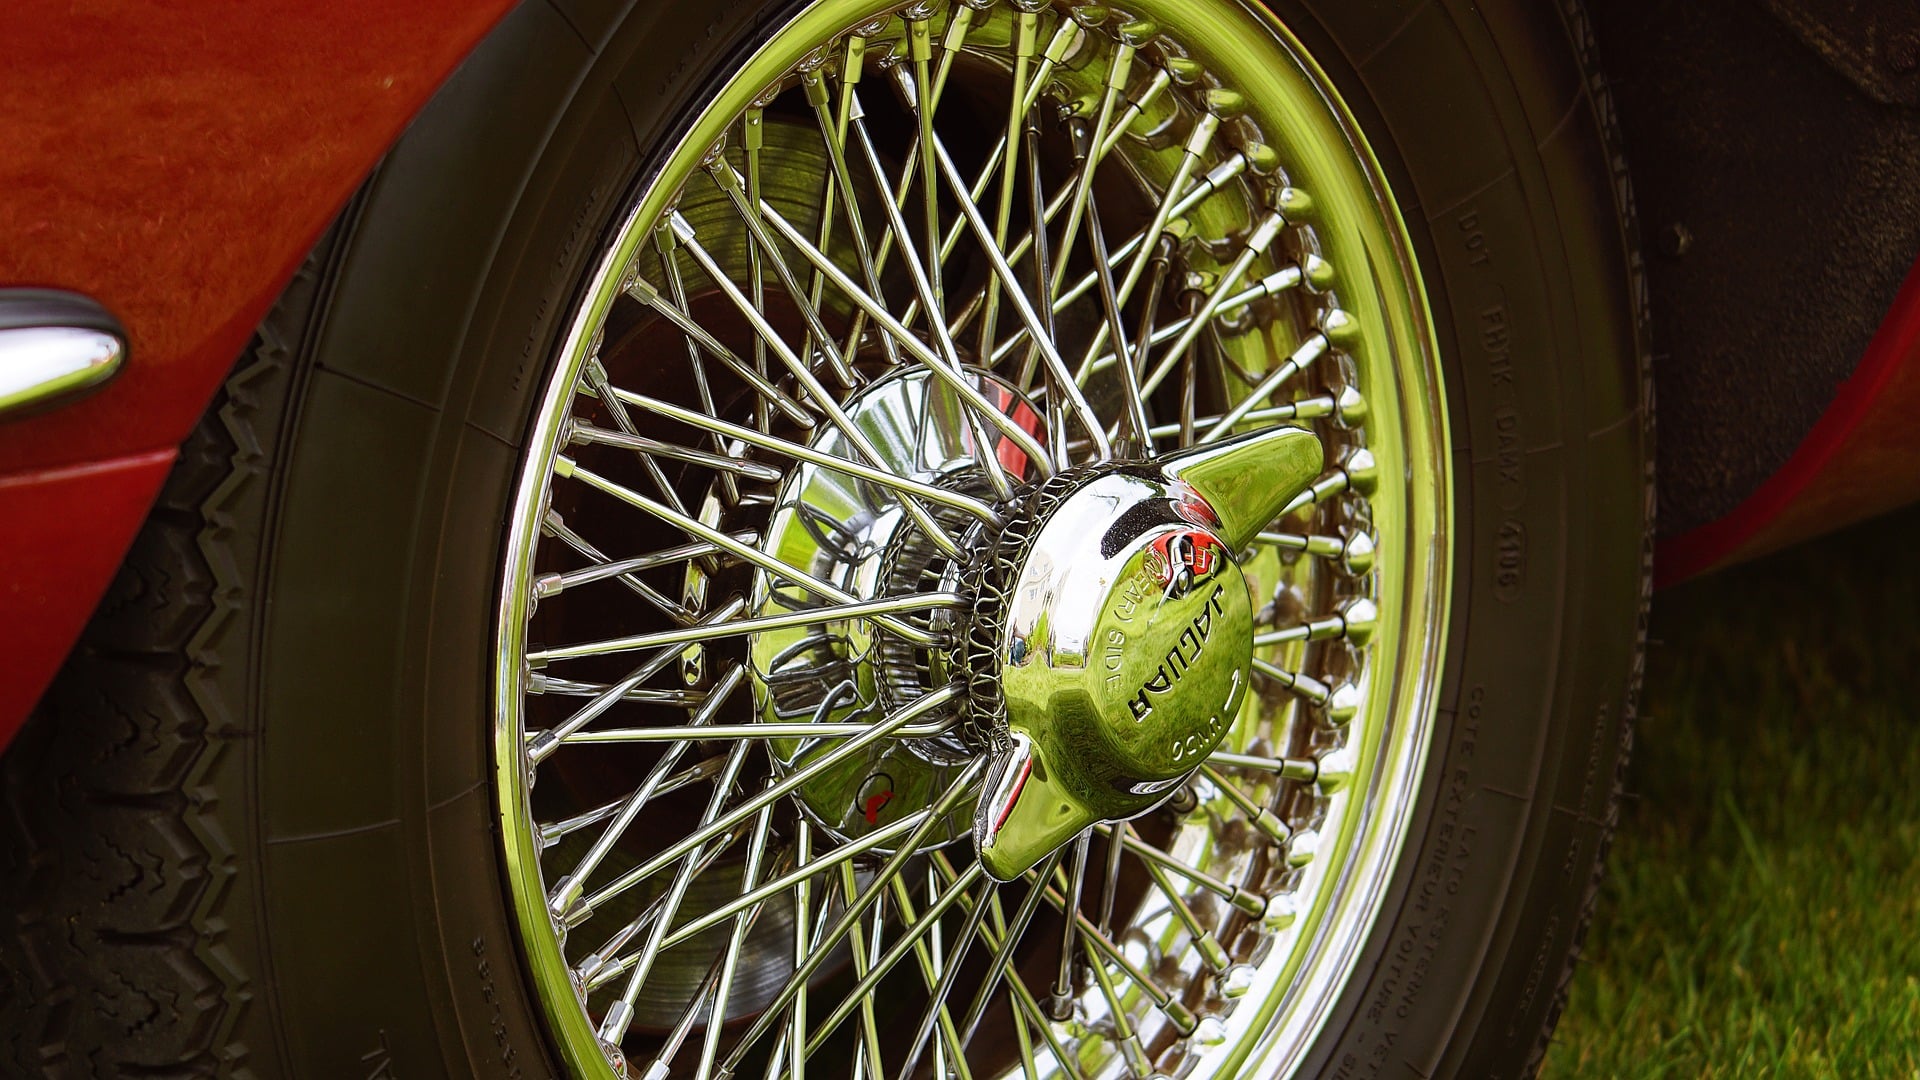
Chrome, aluminum and stainless steel can also be clay barred as well as glass headlights.
Stay away from plastics, unless they are coated.
Continue claying until you’ve done the whole car.
Step 6: Check that smoothness

Gently rub a plastic zip bag wrapped around your hand over your car paint. It should feel like silk and the scratchy noise should be gone.
If you’re not satisfied, clay some more. Some areas like around the exhaust (soot), behind the wheels (brake dust) and the front bumper area (bug splat) may need extra claying.
You’ll be amazed by the result!
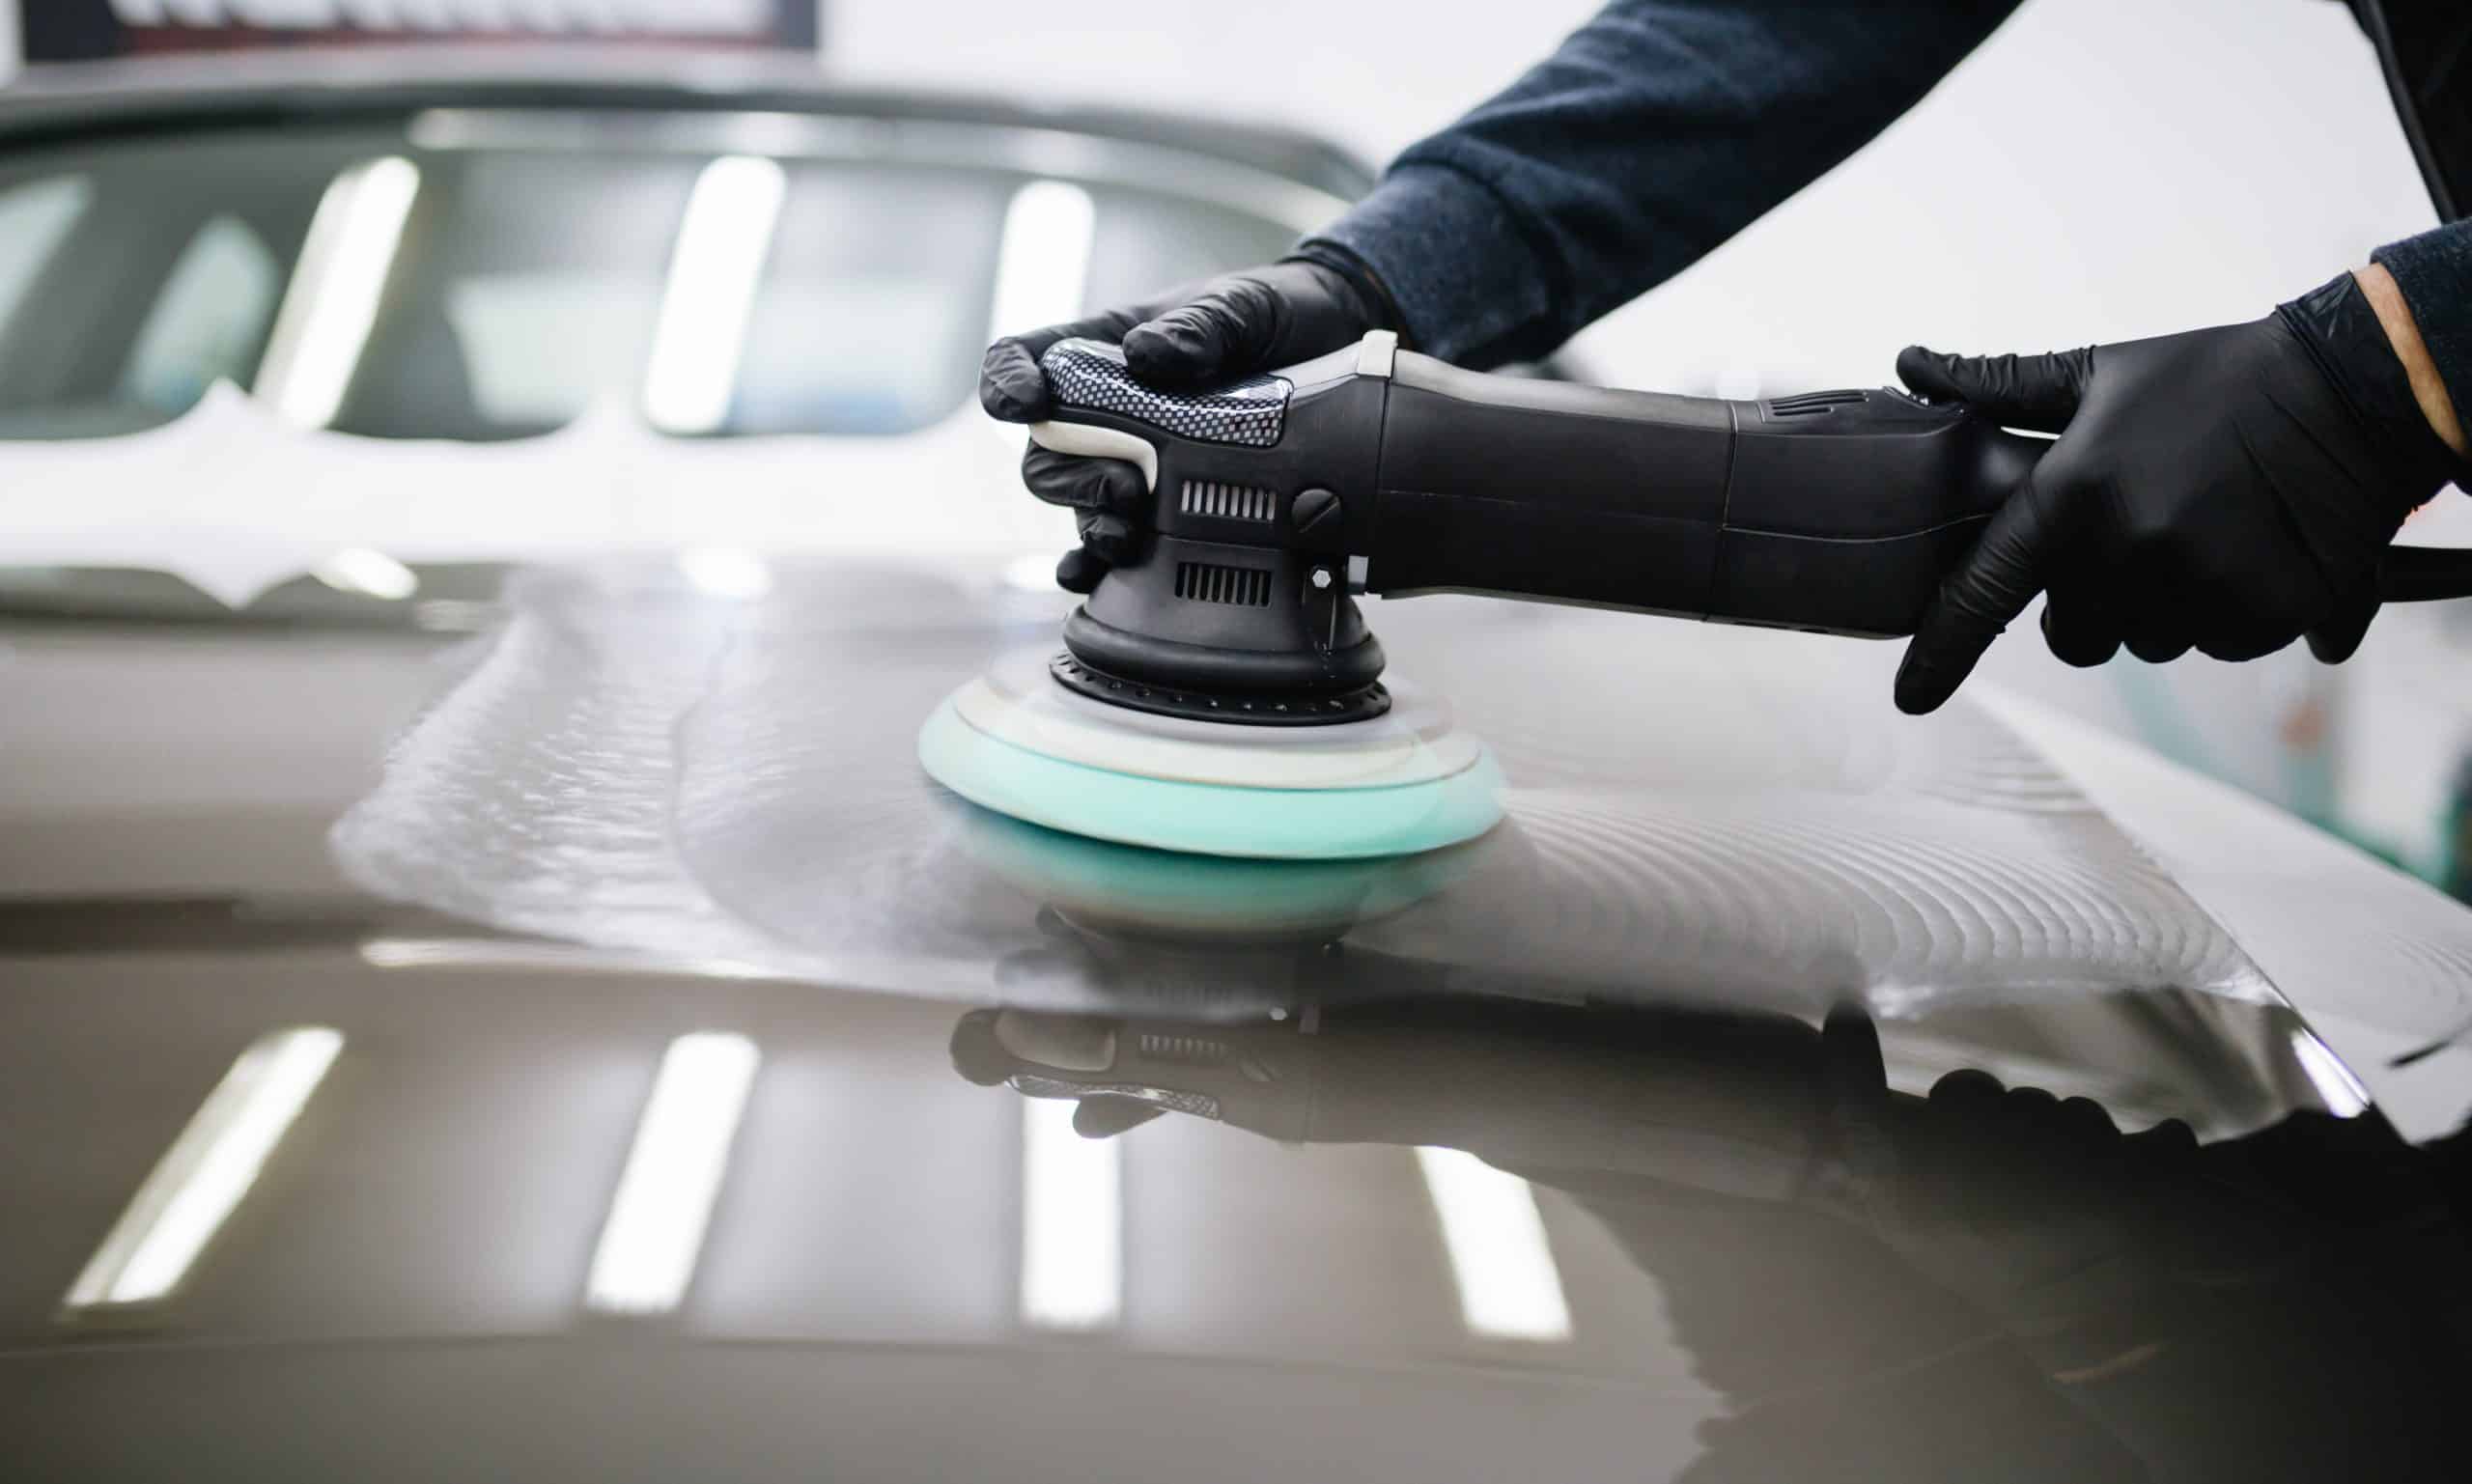
After claying, it’s the ideal moment to polish your car to lift your car paint to the next level and remove possible minute micro marring as a result of the claying process.
To protect your perfect paint you can add a protective wax, ceramic or graphene coating.
It will make the result of all that hard work last much longer.
Happy detailing!