CCM is reader-supported. When you buy via links on our site, we may earn an affiliate commission at no cost to you. Learn more.

How To Lift Your Car

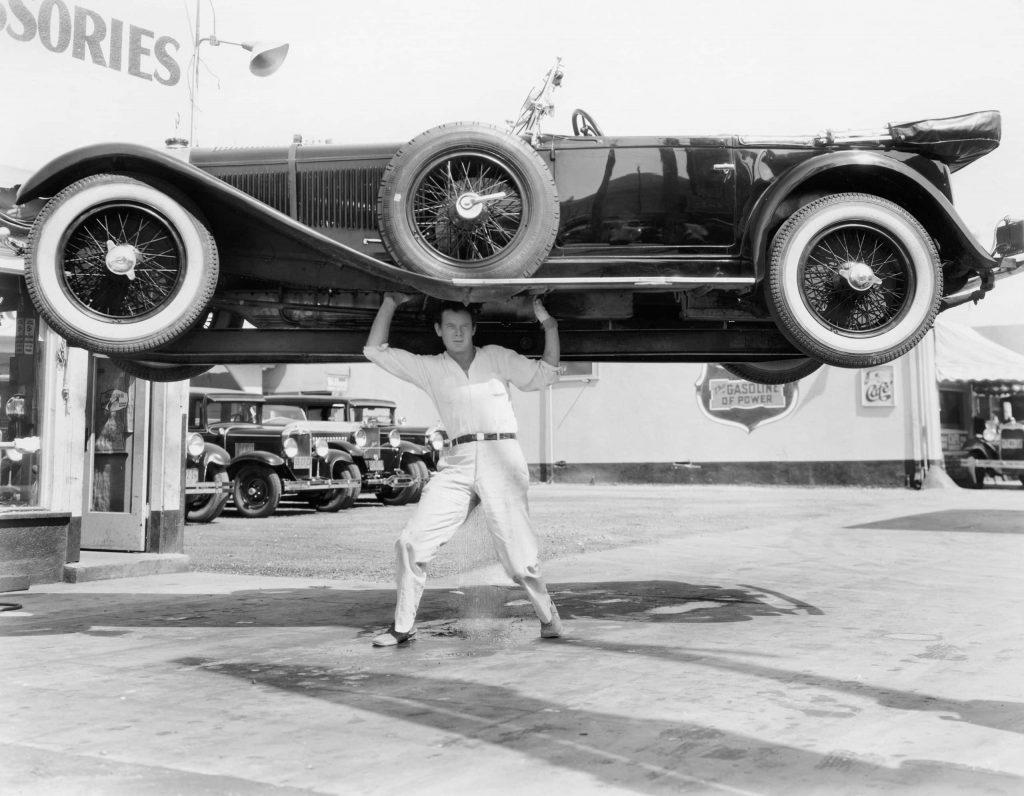
Man lifting pre war car over his head
Share
Tweet
Share
Email
Share

Table of Contents

Reaching a Higher Level

In many cases it is handy or even necessary to support, raise or even lift your car for inspection or maintenance. This can be achieved in many different ways depending on the working clearance needed, the available working space and the budget you want or have to spend. You will also have to ask yourself if you need a compact stow-away type of solution or a full size permanent one. A compact stow-away solution is the least expensive and intrusive and takes less free space. A big disadvantage is that you will have to set it up each and every time you use it. It will have to be stowed away afterwards too, taking up storage space. A permanent car lift on the other hand, is always there when you need it with no hassle. It can also double as an extra car or equipment storage level. This makes up for the space you’ll lose when it’s not in use. Before considering a permanent car lift you will need to check available height, length and width though. Any solution you choose should be considered very carefully because all solutions have advantages as well as disadvantages. Do not underestimate the necessity and frequency of use. Once you have access to a lifting solution, you’ll ask yourself how you did so long without! Difficult, sometimes dangerous inspection, maintenance or repair jobs you had to outsource (and pay a lot of money for) suddenly are literally within reach and even fun. It will give a boost to your abilities and skill set.  Your maintenance skills will “reach a higher level”, so to speak… There are many car lifting solutions out there. It’s really hard to choose between them. Some work well, some not so well, some are outright dangerous. With the selection we recommend, you can’t go wrong. No matter what budget or situation, there’s something for everyone:

CCM’s Top 4 Best Car Lifting Solutions:

Car ramps

➜ Skill Needed: IIIII   ➜ Budget: IIIII Car ramps are the cheap, fast and easy way to safely crawl under your car with more head and arm space without killing yourself. You simply drive on ’em to get more clearance to work under your car. HOW TO:
  • Put the wedge shaped ramps in front of the car (2 or 4 pcs.) and very gently drive on ‘em and stop when you feel resistance from the ramp edge.
  • Check that all wheels are sitting in the center of each ramp.
  • When work is done, drive off in the opposite way.
Easy peasy!  PROS:
  • Cheap.
  • Fast.
  • 100% “monkey-proof”.
  • Can be used to lift one or both sides (1 pair / 2 pairs).
  • Lightweight.
  • Easy to store even in wet conditions.
  • No power supply needed.
CONS:
  • Limited to about 8” lift.
  • Non-adjustable.
  • Very low cars may have trouble driving up the ramps without rubbing their “nose”.
  • Only vehicles with +8” ground clearance can be lifted using 4 ramps! Lower cars can only be raised at one end.
MUST-HAVES: car creeper, car creeper tool tray, very wide angle led headlight

Wheel Cribs

➜ skill needed: IIIII   ➜ budget: IIIII Wheel cribs are a very safe, simple and “monkey proof” way of putting your classic on sturdy 12” high super light blocks using a long reach jack. HOW TO: SAFETY WARNING: Work on a level, stable surface!! If you are not familiar with your (new) jack, first practice jacking the car up under load a few inches and lowering it down very gently a couple of times to get the feel. Jack your classic car up at one end of the car in the center on a sturdy chassis beam, jacking point or under the back axle differential (the bulge in the middle of the back axle) until it’s high enough to fit the race ramps under the wheels. A rubber jack pad should be placed between the jack saddle (the round metal part that comes in contact with the car) and the contact point to prevent it from slipping off the jack saddle and to prevent surface and coating damage. A short wood beam (e.g. 1’ x 2” x4”) should be placed in between the jack and the chassis beam. This is to spread the load and prevent denting or damaging the contact point. When in doubt consult your car’s workshop manual for suitable jacking points. For classic cars with very little ground clearance, Two-Piece Wheel Cribs allow you to jack up your car in two stages, avoiding that while jacking one end of the car to full height in one go, the opposite end of the car touches the ground or gets too low for your jack to pass underneath. First jacking to half height before jacking to full height solves this issue. When the car is raised to the correct height, put the race ramps under the wheels, then lower the jack very gently. Check that the wheels are centered on the racing ramps and the car is stable. Remove the jack. Repeat this process on the opposite side if you want full access. CHECK STABILITY before working under your car! Your car is now off the ground and ready to inspect or to be worked on! PROS:
  • Fast.
  • 100% “monkey-proof”.
  • Can be used to lift one or both sides (1 pair / 2 pairs).
  • Lightweight.
  • Easy to store even in wet conditions.
  • No power supply needed.
CONS:
  • Limited to about 12” lift.
  • Non-adjustable.
  • A long reach jack is needed to jack your car this high.
MUST-HAVES: long reach jack, rubber jack pad, adjustable car creeper, car creeper tool tray, very wide angle led headlight, wheel cribs, two-piece wheel cribs

JACK + JACK STANDS

➜Skill Needed: IIIII   ➜Budget: IIIII Using a jack and jack stands is the budget way to have access to all four wheels, brakes and underside while working safely under your classic. You can use a standard jack and jack stands (2pcs or 4pcs) for up to 16 inch working clearance or use a long reach jack and high jack stands (2pcs or 4pcs) to get up to 28 inch working clearance. HOW TO: SAFETY WARNING: Work on a level, stable surface!! If you are not familiar with your (new) jack, first practice jacking the car up under load a few inches and lowering it down very gently a couple of times to get the feel. Before you jack up your classic at a chassis beam, it may be a good idea to put a short wood beam (e.g. 1’ x 2” x4”) or a rubber jack pad in between the jack and the chassis beam to spread the load and prevent surface or coating damage. FYI: As a safety margin, when we say “maximum axle stand height” it means one click below the highest setting. This guarantees extra safety and stability. Jack your classic car up in the center at one end on a sturdy chassis beam, jacking point or in the middle of the back axle (the bulge in the middle=differential). When in doubt consult your car’s workshop manual for suitable jacking points. For the first pair of axle stands, stop halfway their maximum height and gently lower the car onto them. Put the axle stands at the widest possible position on your axle or on the chassis beam with an old rag or rubber strip in between to prevent damage. Proceed by lifting the opposite side of your vehicle to a little above maximum axle stand height. Put the second pair of axle stands underneath that end at maximum height and gently lower it. Again put an old rag or rubber strip in between to prevent damage. Now also lift the first side to full height. Very gently lower the jack until the jack stands carry all the load at maximum height and the jack comes free. During the process, constantly monitor stability! Lifting the car in two stages prevents it becoming unstable at a dangerously steep incline. Again check that the jack stands are stable and in the right position. PROCEED WITH EXTREME CAUTION: Your car is now off the ground at both ends! To lower the car, follow the same procedure but in reverse. Always keep a close eye on stability and safety. SAFETY WARNING: Lowering the car also has to be done in two stages in a controlled manner and with due diligence!! When lowering the jack: SLOWER = BETTER!! PROS:
  • Easy access to the underside, wheels and brakes of your classic at a budget price.
  • lightweight.
  • Flexible setup.
  • Easy storage.
  • Simple mechanics.
  • Never breaks down.
  • No power supply needed.
  • A jack and jack stands are basic garage tools that you can use for other jobs too.
CONS:
  • Far from “monkey-proof”.
  • Setup has to be on a level, stable surface.
  • Maximum working clearance of about (16 inch) 28 inch.
  • Some skill and experience are needed to assure safe setup and removal.
  • Takes some time and patience.
MUST HAVES: adjustable car creeper, car creeper tool tray, very wide angle led headlight

4-Post Moveable Car Lift

➜Skill Needed: IIIII   ➜Budget: IIIII It’s the full option package: you can use it as a car storage lift, drive-on service lift and move it around on its own wheels! HOW TO: SAFETY WARNING: Work on a level, stable surface!!
  • Drive on the ramps in the lowest position, lift it to the desired working height, get the job done, lower it to the lowest point, drive off.
  • This is as simple, safe and ergonomic as it gets!
When not in use as a maintenance lift, it also serves as an extra parking space: one car on the lift, one car underneath. PROS:
  • Fast.
  • Suitable for any car.
  • 100% “monkey-proof”.
  • Roll-on roll-off.
  • In- and outside use.
  • Moveable on its own wheels.
  • Fully adjustable from floor to full height.
  • Working on a car at standing height is the ultimate luxury!
CONS:
  • Needs power supply
  • does not roll over uneven or soft surface or over cables.
MUST HAVES: A hydraulic sliding center jack makes working on wheels and brakes so much easier, highly recommended! A very wide angle led headlight might come in handy.
Share
Tweet
Share
Email
Share

Subscribe To Our Newsletter. It's 100% Free!

* indicates required

Leave a Comment

Your email address will not be published. Required fields are marked *

Leave a Comment

Your email address will not be published. Required fields are marked *

Scroll to Top