There’s a lot to be said about engine and engine bay cleaning or detailing.
The question you have to ask yourself is what your expectations are and how much time you want to put in.
Cleaning the engine bay of a cherished classic car is totally different from cleaning a modern daily driver’s engine bay, if you want it done right. You don’t go to a car wash with your classic either (I hope)?
The main reason why you shouldn’t is the fact that decent rustproofing is a modern thing which “came into fashion” only in the mid 70’s at best. Before, it simply wasn’t a priority for car manufacturers. Rustproofing techniques and products just weren’t available or too expensive to market. Cars just rusted like there was no tomorrow.
Today’s classics are survivors from that era. Most of them have been resprayed numerous times, at least partially. At best your classic is in great shape and has had a respray recently.
No matter what the body shop said or what efforts they put in, the rustproofing will be far below modern standards. The (rust) devil is in the little tight spots, nooks, cracks and crannies.These are typical for classic cars, and they fill with moist or water. The water gets trapped and eats away at the metal. This is where rust and rot starts and spreads from.
Knowing that a classic’s engine bay has many rust prone, unreachable spots it is not a good idea to use water to clean it. Water can also cause havoc on old electrics.
Cleaning in 5 easy steps
To clean the engine and engine bay without causing rust or electrical problems follow these 5 steps:
1. Drive your car until it reaches normal operating temperature, let it cool until it’s safe to work on. Hot dirt and grime dissolves and comes off easier than cold.
2. Clean the underside of your classic’s hood. It’s one of the first things you notice when you open the engine bay. Make sure it looks nice and clean.
It makes sense to clean it first because it is situated over the engine. Anything dripping from the underside of the hood will soil the engine bay.
Start by degreasing any oil, grease or dirt that is splashed on. Often the most dirty part of the hood is the front side that is located above the engine fan.
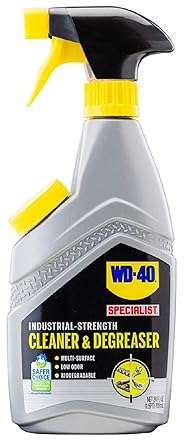
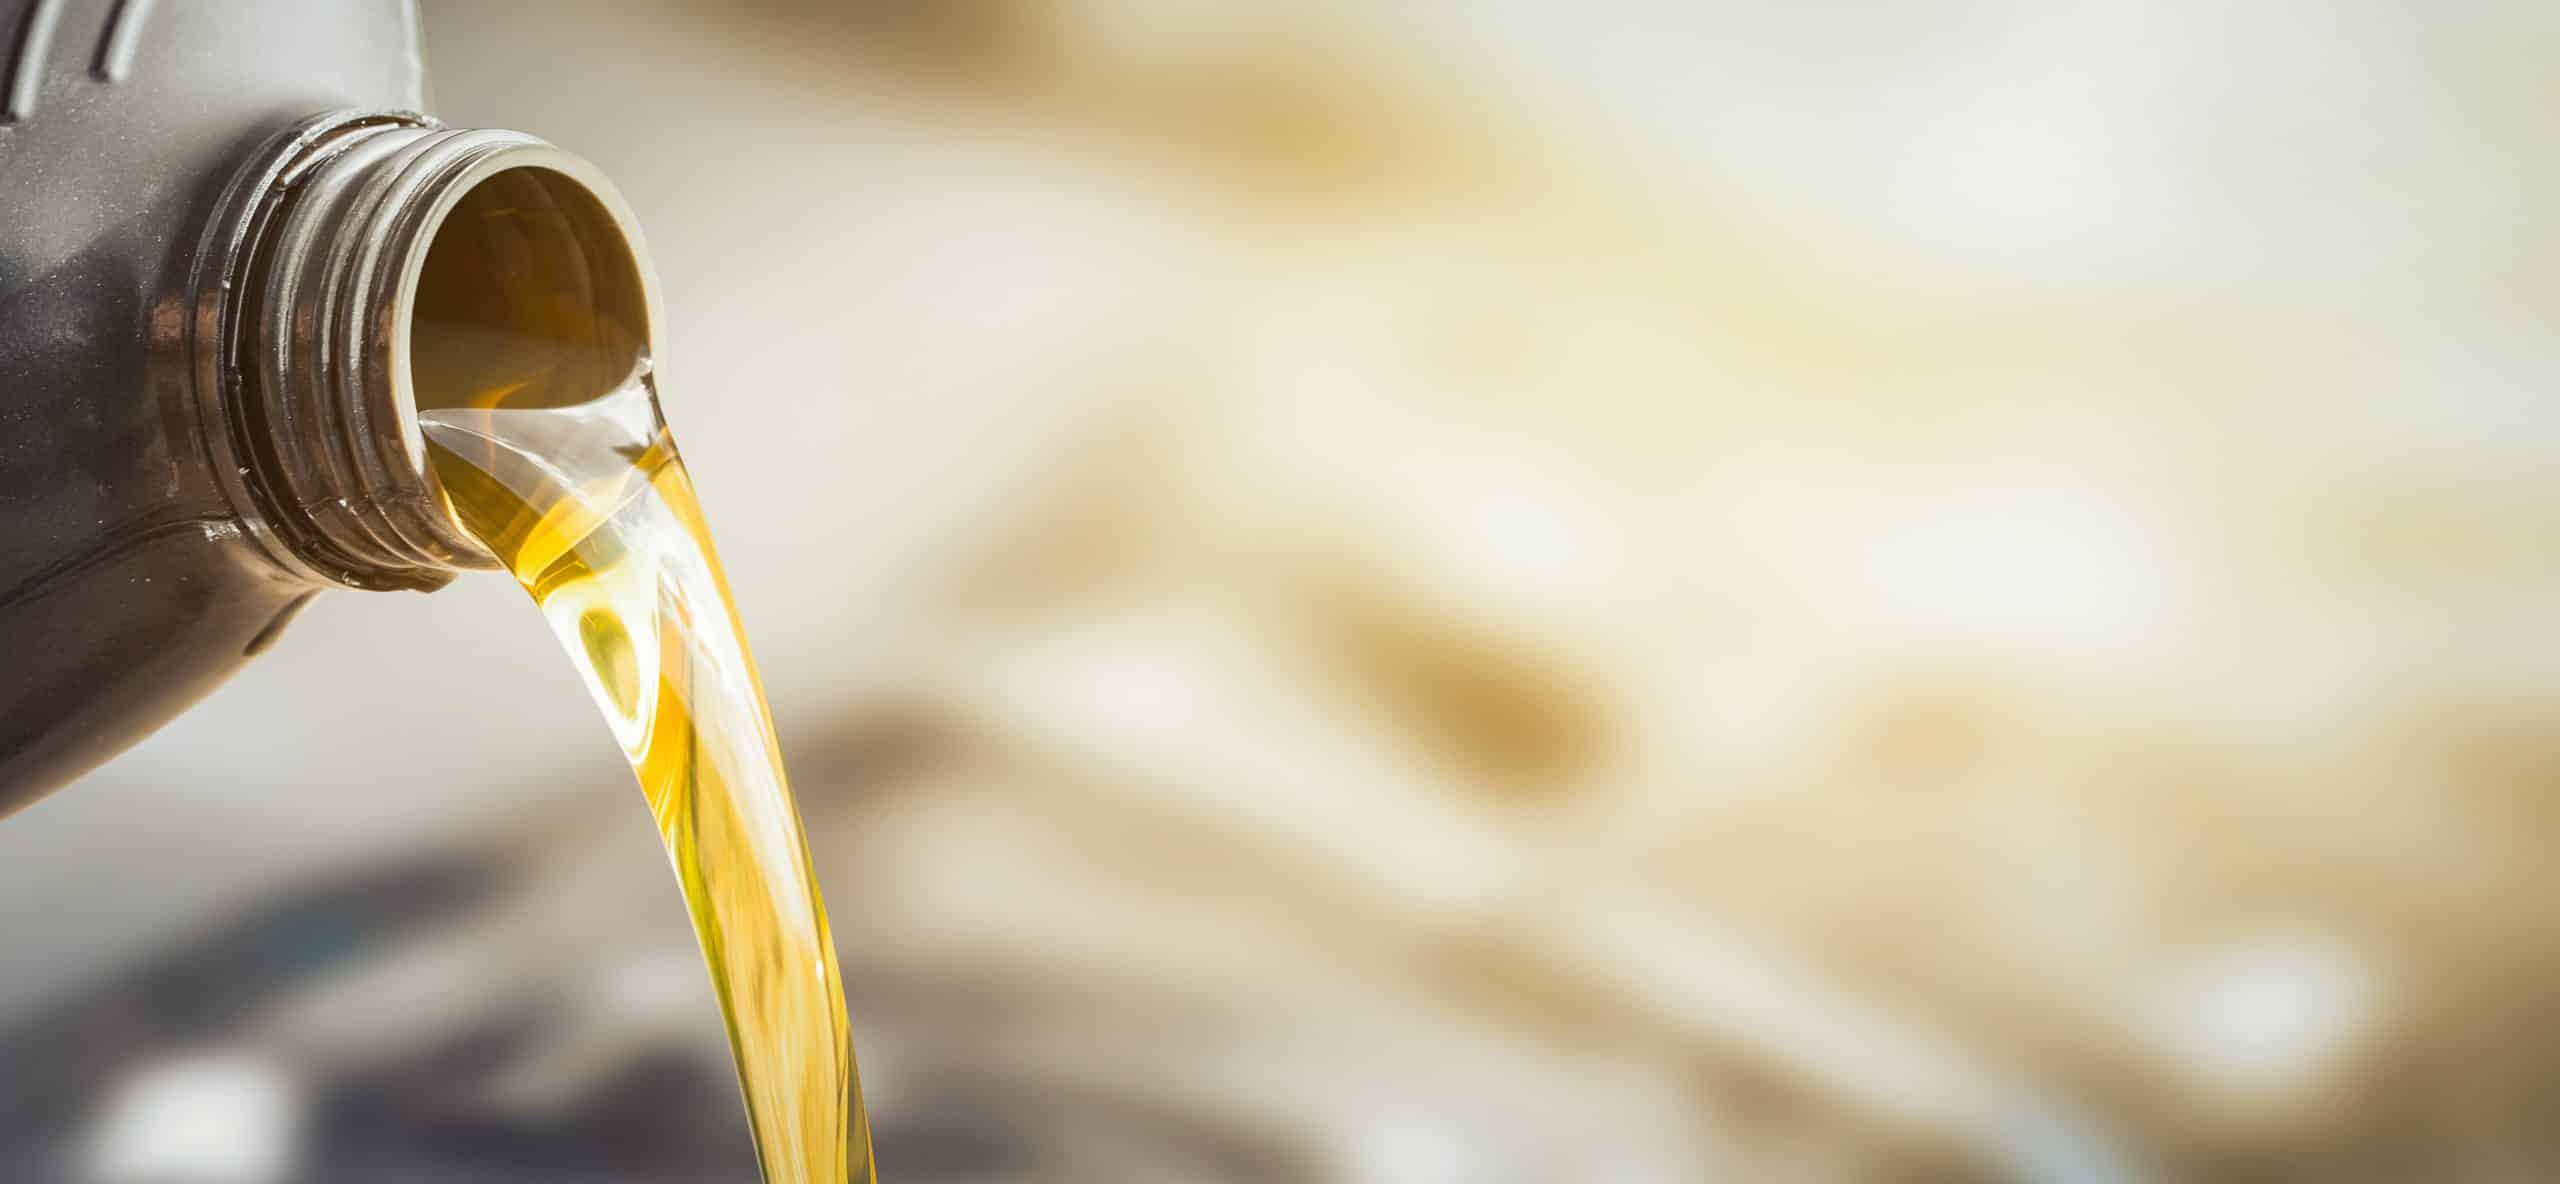
You can easily clean it with a paper towel and Industrial-Strength Cleaner & Degreaser or brake cleaner.
For a full review: “Top 5 Best Engine Degreasers”
Industrial-Strength Cleaner & Degreaser is our favourite degreasing product to degrease tools, engine parts, to remove oil drips from the garage floor, you name it…
It’s a powerful water based grease and grime fighter that is safe to use on most surfaces. It’s non-flammable, non-corrosive, non-abrasive, low-odor and can even be used in food-processing facilities! It’s also biodegradable and so much healthier to use than solvent based degreasers.
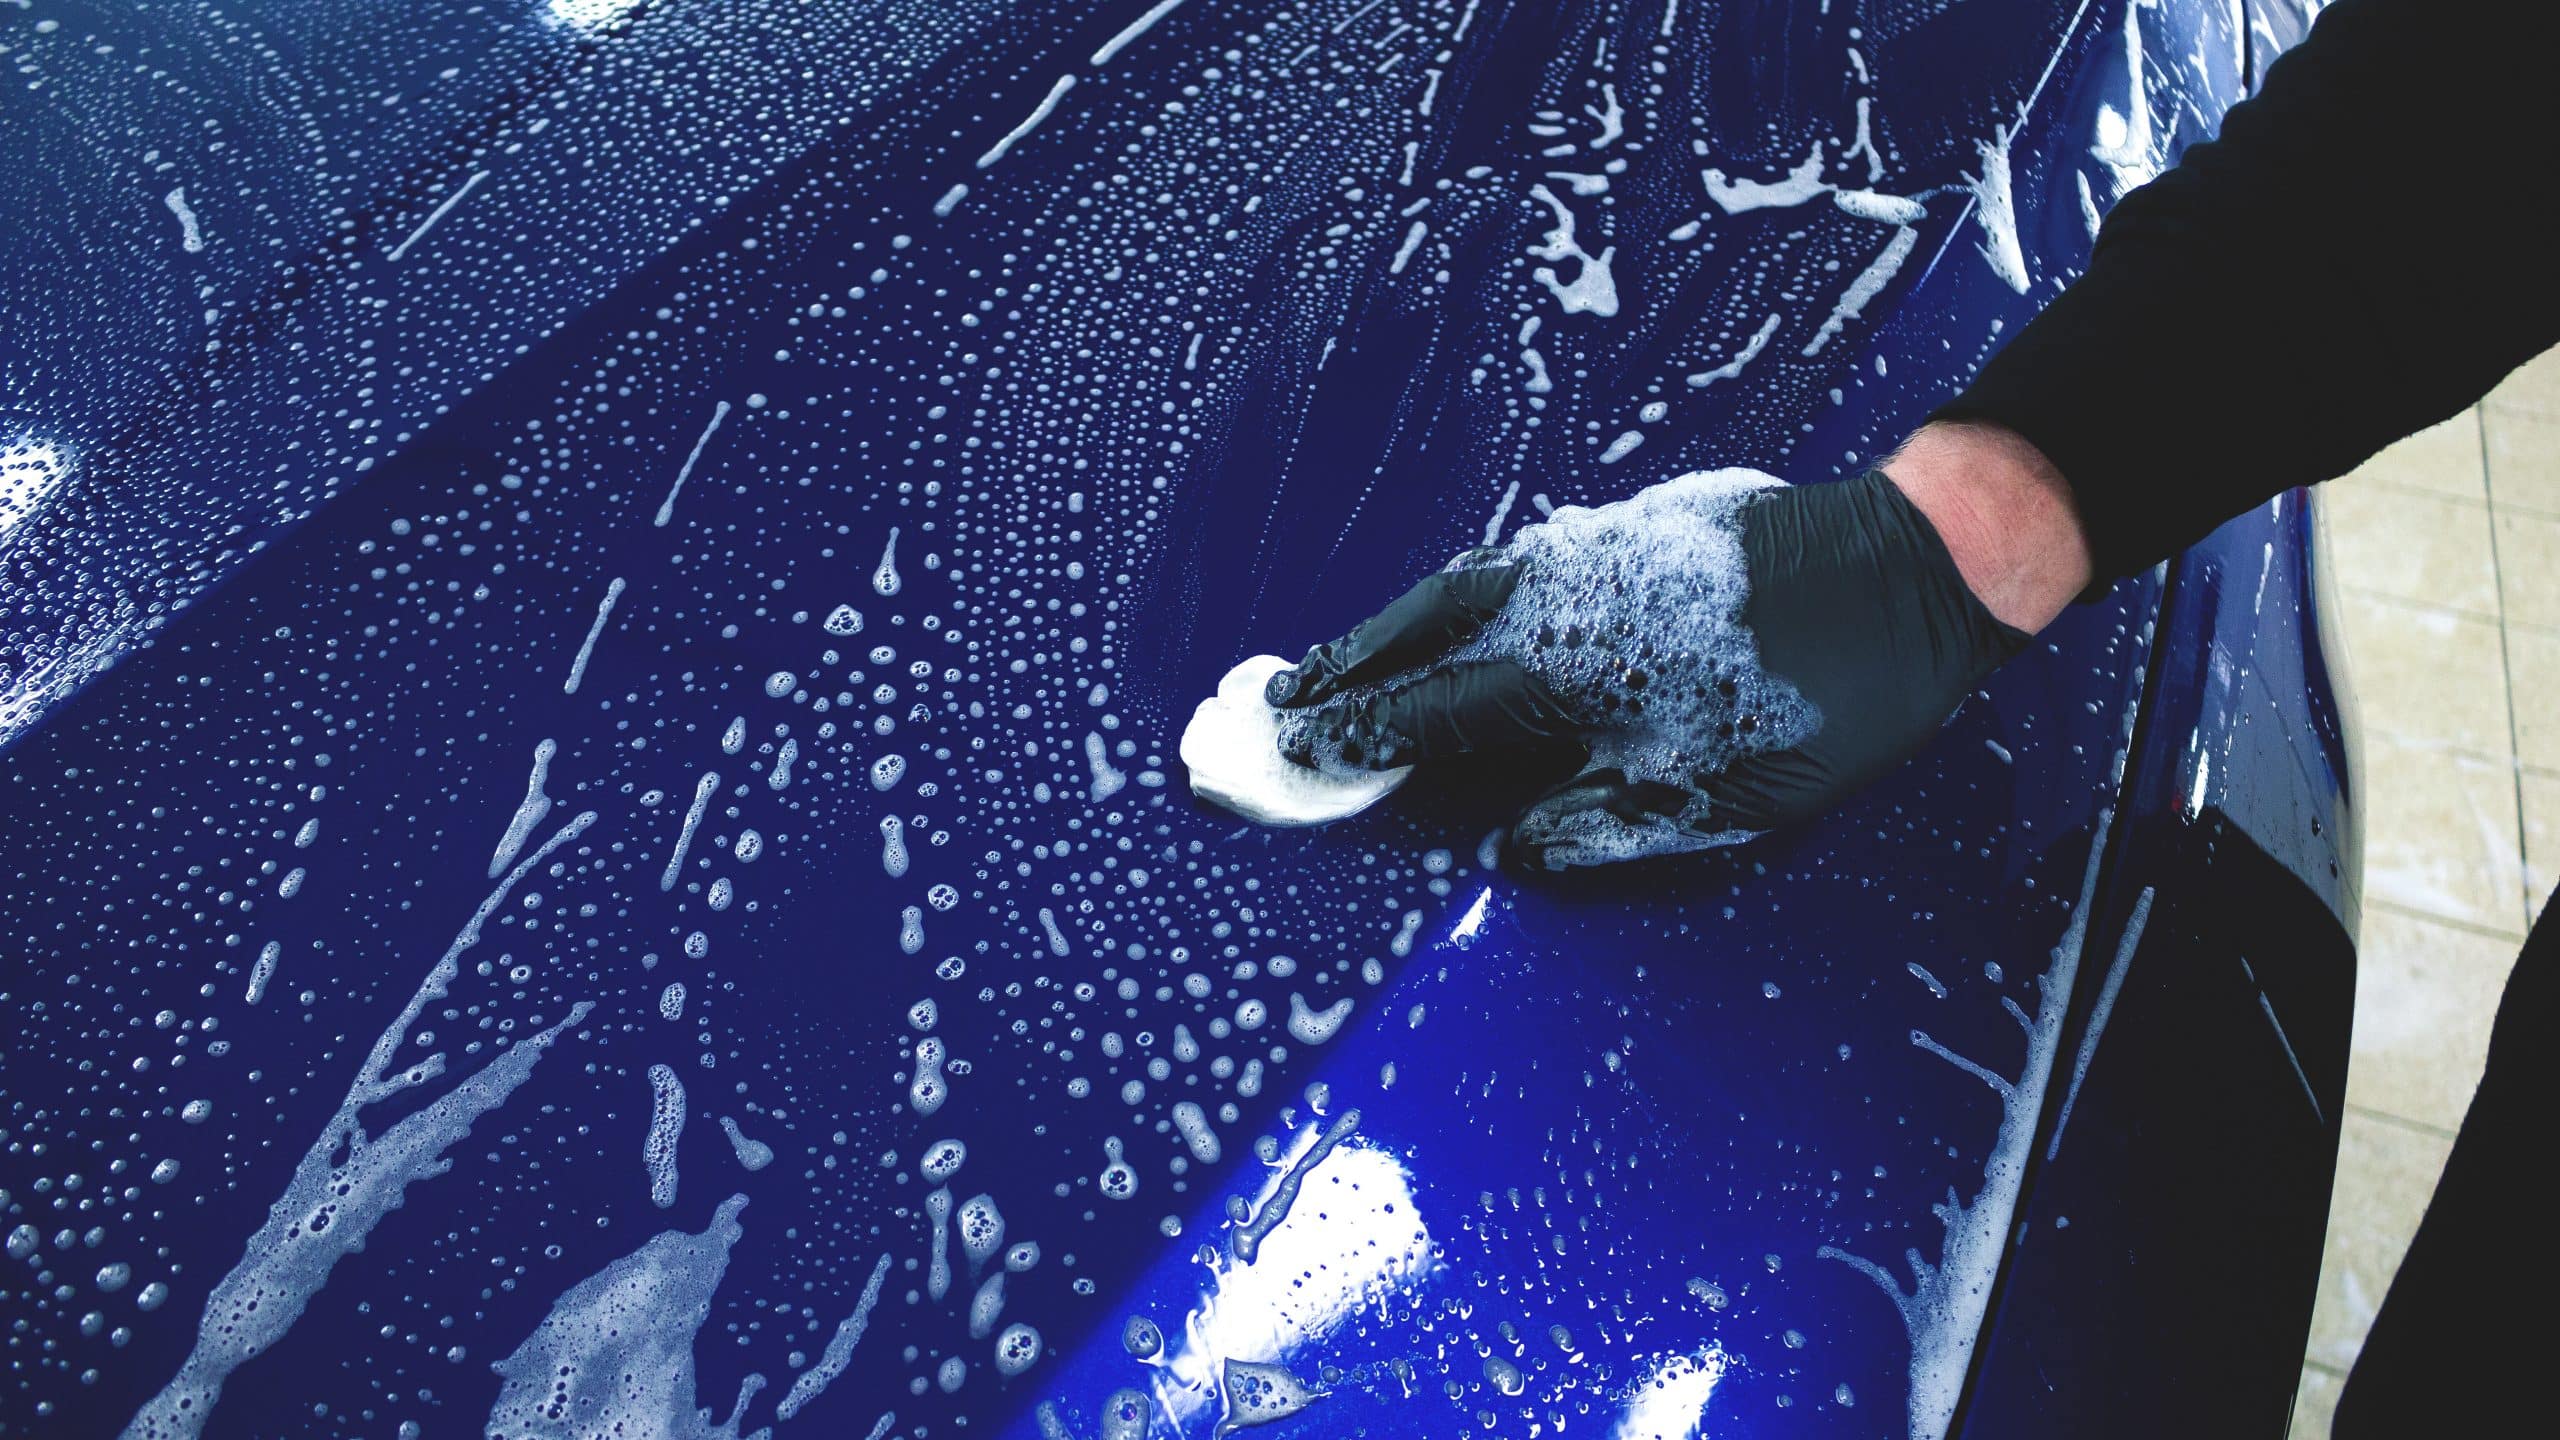
Once the most dirt is removed, you can clean the underside of the hood / bonnet with a soapy sponge or preferably with Wash Wax All for a faster, better and longer lasting result.
Knowing Air Force One, Marine One, The Military, airlines, corporate and private aircraft owners have been using this product around the world for over 32 years proves its exceptional characteristics.
It’s also plant-based, eco-friendly and non-irritant unlike most other cleaning products.
You can use it on all kinds of surfaces without having to use water and it leaves an invisible UV-protective wax coating that forms a protective barrier that repels dirt.
Simply spray it directly on the surface you want to clean or on an edgeless microfiber towel and wipe clean.
When there is sound insulation under your hood / bonnet (black foam rubber padding), and it isn’t degraded or brittle, clean it like the rest of your hood / bonnet.
If it is in bad shape, leave it as is or if available, replace.
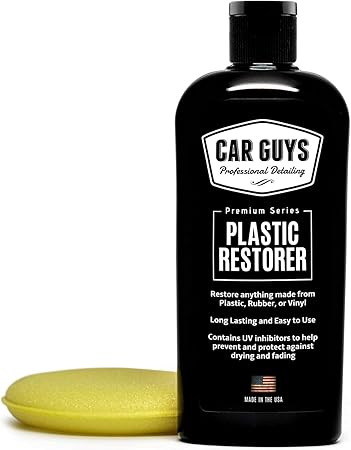
Finish by giving the sound insulation panel that crisp new look applying CG Plastic Restorer. That original deep black will return and this amazing product will also repel water making this new look last much longer than other products do. It will not give your parts a high gloss like most products do.
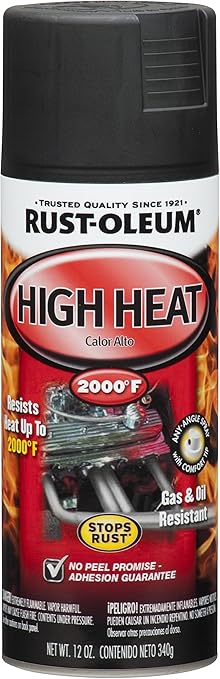
If the aesthetic result is still not satisfying but the insulation is structurally in good shape, another option is to remove the insulation, degrease it thoroughly with brake cleaner and respray it with Flat Black Automotive High Heat Spray Paint. You might need two cans depending on the size of the insulation panel and its absorbent properties.
It’s a quite easy material to respray, as long as you make sure that the entire insulation panel is covered evenly. If not, just give it an extra coat.
Don’t use classic spray paint because in the case of overheating or an engine bay fire, standard paint will be a fire hazard while High Heat Spray Paint can resist up to 2000°F (1100°C).
3. Vacuum the entire engine and engine bay thoroughly to remove dust, sand and debris. Use a vacuum hose attachment that doesn’t scratch your paint, like a bristle head or rubber end piece. To loosen dried sand or mud it’s handy to use a paint brush to work it loose while holding the vacuum pipe next to it. This method allows you to brush where the big vacuum hose can’t reach, like under or in between wires or hoses.
Stay away from grease or oily spots, they cannot be vacuumed and you would not want to smear them all over.
The Crevice Vacuum Cleaning Tool Brush Kit does both at once: vacuuming and bristling. It consists of a long plyable thin tube that fits most vacuum cleaners and has multiple brush attachments that can reach even the most hard to get to crevices. A time saver!
4. Remove the most oily and greasy spots with paper towels or old rags soaked in degreaser.
5. With the greasiest parts cleaned, you can start cleaning the rest of the engine and engine bay.
Don’t get overwhelmed by all the hoses, tubes and nooks and crannies that have to be cleaned. Just do it step by step, small area after small area, hose by hose, cable by cable.
In your mind, divide the engine bay in two parts: the left and the right side.
Start at one side of the car and when you’re done, go to the other side.
Do it methodically, not random. This way you won’t forget any parts or spots.
Spray with degreaser and wipe it off, move on. If you encounter dirt that doesn’t want to come off right away, spray it again and let it work for a couple of minutes. Then wipe it off.
For areas that are hard to reach like grooves or holes or bolts it is best to use different sizes of brushes for easier access. To dry these hard to reach spots you can use a dry towel wrapped around a brush.
When you’re done, inspect for spots you might have overlooked. If necessary, clean them again until you are satisfied with the result.
Alright! now that the general cleaning is done, it’s detailing time!
First thing to do is to make sure those metal and chromed engine parts look their best:
Polishing Bare Metal and Chromed Engine Parts
Polish bare metal chrome, aluminium, zamak, pot metal, brass, copper and stainless parts with chrome polish.
Which is which? The yellow-brownish metals are either brass or copper, that’s easy to tell.
It gets a little more complicated when it comes to white-greyish metals. Check “How to Tell the Difference Between Chrome, Stainless Steel and Aluminium” to determine which is which.
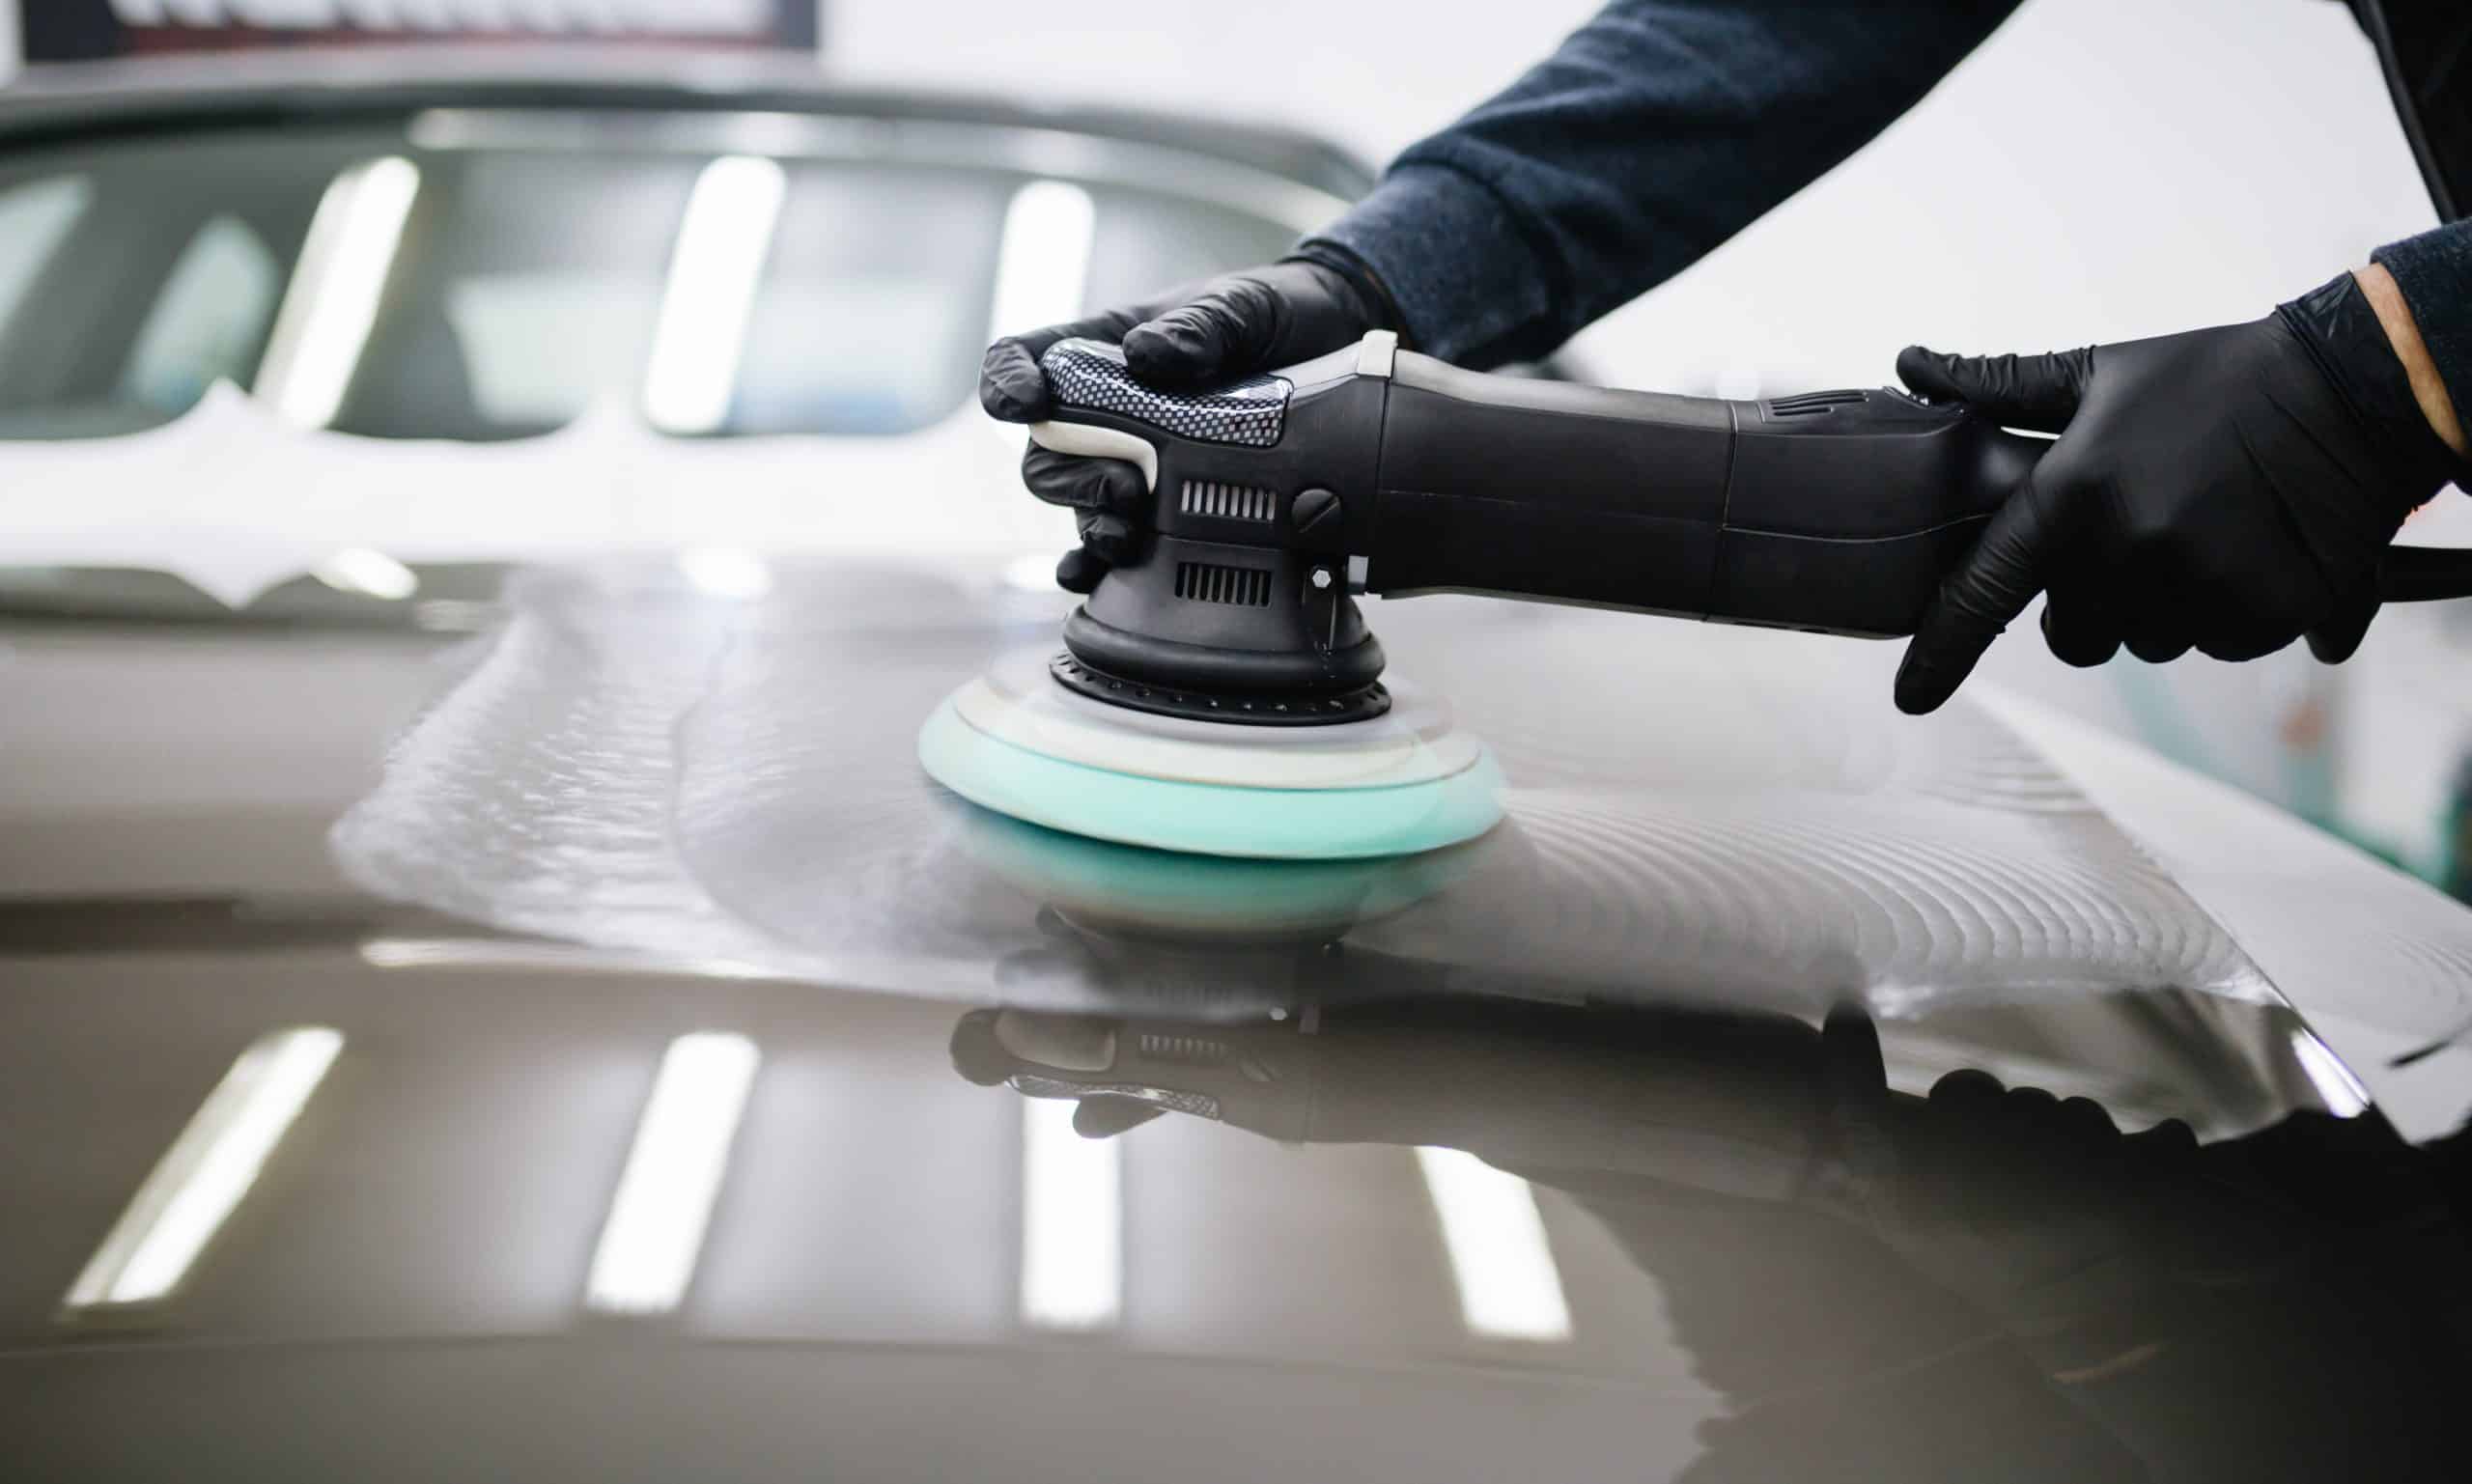
You can polish all metals by hand as well as with a polishing machine.
It’s a huge understatement when we say that polishing by hand takes a lot more time and elbow grease than with a polishing machine to come to the same results, especially on very coarse or oxidised metal. You’ll find all you need to know about polishing metal on How to Polish Chrome and Metal Parts.
Check Top 4 Best Car Polishers and Waxers for CCM’s review on which polisher excels in which specific situation.
For really rough or pitted, oxidized metal it’s best to start with Heavy Metal Polish to speed things up a bit. This polish really “bites”.
If not, you can start right away with Adam’s Metal Polish Combo. We highly recommend it for hand polishing as well as for polishing with a polisher.
Adam’s Polish #1 removes all dirt and heavy contamination, even oxidation.
Adam’s Polish #2 restores depth and clarity bringing back that typical factory metal or chrome look. This two step method may take a little more time but gets professional looking results. They will look better than new!
For a full car polish products review: CCM’s Top 5 Best Car Polishes
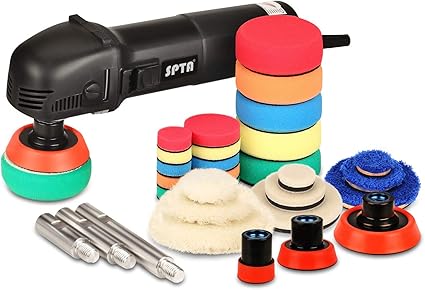
Of course you can step it up a notch with the professional SPTA Mini Polisher and SPTA Mini Detail Polisher Shaft accessory kit for even quicker, better results. This combo makes it child’s play to polish even the smallest details. There’s no spot you can’t reach!
This allround polishing miracle really reaches every nook and cranny with its accessories ranging from a flexible polishing shaft with ½ inch polishing pad to a 3 inch polishing pad and everything in between.
Combined with Adam’s Metal Polish Combo, you really can’t go wrong!
Touching Up Paint
Check painted surfaces for chips, cracks or oxidation.
If there is cracked or loose paint, gently remove it up to the point where the paint is solid.
Thoroughly degrease these bare metal spots with brake cleaner and remove any dirt, oxidation or rust with a sanding sponge and soften the paint edges. Then degrease again.
Allright, we’re ready to touch up with matching paint.
Many engine parts, like most radiators for example, are satin or glossy black. These are forgiving colours to colour match.
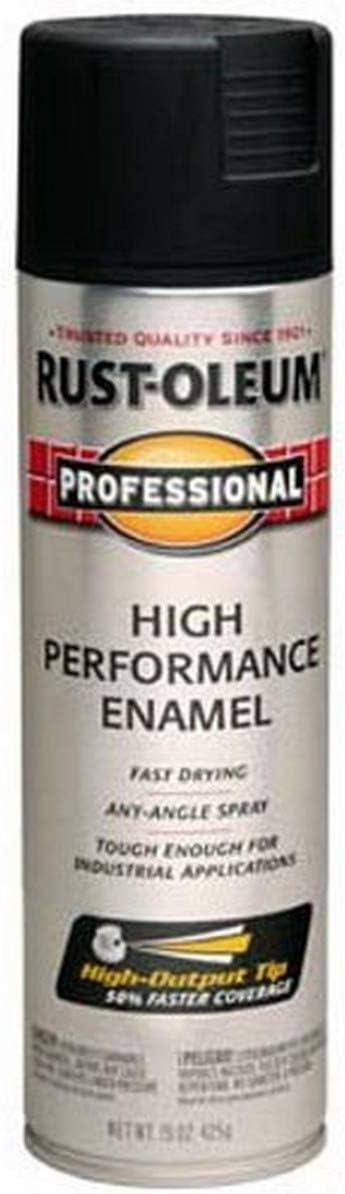
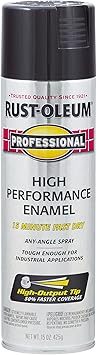
Use quality paint like Rust-Oleum Professional High Performance Enamel Spray Paint which is definitely our paint of choice for a professional looking and long lasting result.
The best matching types of black for most engine parts are semi-gloss and gloss black. For paint brush application you can also mix the two to get an in between gloss.
Knowing that these are the two most common colours for touch-ups it’s smart to always have a can of each in stock. Within normal room temperature range they have a very long shelf life.
To make sure the colour matches just spray a test sample on an old piece of metal you have lying around or even an old piece of cardboard will do. Let it dry to the touch and compare. With black paints it’s mainly the degree of glossiness that differs.
It is important to know that the exhaust and manifold get too hot for normal spray paint and need to be spray painted with Flat Black Automotive High Heat Spray Paint. Any regular paint will just burn off.
More on spray painting in “How to Spray Paint”.
Painting With a Brush
The easiest way to touch up chips and cracks in the paint while the parts are in place is to use a small paint brush. For very small touch-ups and detailing Micro Applicator Brushes are a must-have. These come in different sizes and are the smallest of hand brushes. Their tips are bendable for even easier access.
A brush is much more precise than spraying. You also save time not having to mask the parts you don’t want to spray.
Only if you want to paint larger areas or the entire part, it’s better to mask and spray paint.
The most professional result is achieved by removing the part, stripping it and respraying it. This is a much more involved process of course.
For now, let’s concentrate on the easy way using a paint brush:
Before you start painting, let the engine cool down to ambient temperature to allow the paint to “flow”, meaning that the paint has to dry slowly enough to allow brush streaks to fade.
First remove any loose paint and rust with a sanding sponge. Sandpaper will also do the job but it sheds much more dust and sand and is less flexible for precision jobs like these.
Then degrease the area you want to paint with a rag and some brake cleaner.
Spray some matching spray paint in a small cup or in the cap of the spray paint can until you have a little liquid paint puddle at the bottom. A little goes a long way.
Dip the brush, swipe excess paint off at the edges of the cup or cap and carefully apply the paint evenly. Applying it too thick may cause leaks or drips.
You can use the same technique for other colours too, but the challenge will be to match them.
In this case try to research what the original colour code was or repaint the entire part(s) in the colour that comes the nearest to the original one if the original paint or its reference is unobtainable.
Very often classic car engine parts have already been repainted or the colour has aged so the original colour won’t match.
Except for black and silver colours it’s often a hit or miss game…
If you don’t mind spending extra money you can of course have a local car paint shop scan the colour to get a near match. Professional paint shops will offer to put your paint in a can or a spray can. This is merely a personal choice.
Rubber and plastic
Restore all rubber and plastic parts with CG Plastic Restorer. This exceptional product will give them a deep black factory look much longer than other products and is dry to the touch. Rubbing it in with a microfiber finger pocket applicator works best, but you can also use a microfiber towel or a rag of course.
Lettering
Check all coloured lettering on the engine block, fluid reservoirs, radiator, air filter cover etc. Often some or all of the symbols or fonts have faded.
They can easily be repainted in their original colour and will make a fresh, well maintained impression.
They are the icing on the cake, the diamond in the ring.
On most, if not on all engine parts, these fonts and symbols are raised, not flat on the surface. This makes them very easy to paint because there are hardly any contours to recon with. Just use a waterproof paint marker or Micro Applicator Brushes with the correct paint colour to touch them up. Most used colours are black, silver, red or yellow. Only paint the flat top of the letters or symbols, not the sides. Don’t panic if you made a mistake, you can easily wipe off the paint as long as it’s wet. Marker paint is water based, so it can be washed off with a wet rag. Once dried it’s waterproof!
Automotive paint can be removed with naphtha / white spirit while it’s wet.
Always keep fresh Micro Applicator Brushes or cotton swabs near as correction tools if necessary.
CONGRATULATIONS!
Now you cleaned your engine and engine bay, it looks like new. What a difference!
Things You Might Need