There’s one thing that really “sticks out” when you see a valued classic parked next to any modern car: chrome trim. It’s everywhere: bumpers, grille, emblems, striping, wings, interior accents, you name it…
It’s that “bling” that makes or breaks a classic car. That’s why you want to polish that chrome once in a while to make your beautiful ride look its best.
With the right products and some elbow grease it’s a cost-effective and very rewarding job! We’ll show you 2 easy methods to make your chrome car parts look like a million bucks: by hand or with a polisher.
You want to polish your chrome trim by hand if it isn’t in a bad state and you don’t mind some light manual labor. Hand polishing is the gentlest way to make your chrome shine. It also allows you to polish where no mechanical polisher can reach. However, heavily contaminated or oxidized metals are best polished with a polisher for faster, better results.
Let’s take a closer look at both methods:
Method 1: Polishing Chrome by Hand
Things You Might Need
Here’s a step-by-step guide how to polish chrome by hand:
Step 1: Make sure the chrome is clean
Before you start polishing your chrome trim, you want to make sure to gently wash off all sand and dirt. If you polish a dirty chrome surface, sand particles will cause scratches.
Step 2: Put on your nitrile gloves
You want to wear nitrile gloves while polishing your chrome trim, because beside the fact that it may be hard to remove all chrome polish residue from your hands, it’s never a good idea to have direct skin contact with any chemical products. These products are formulated to polish chrome, not for skin care.
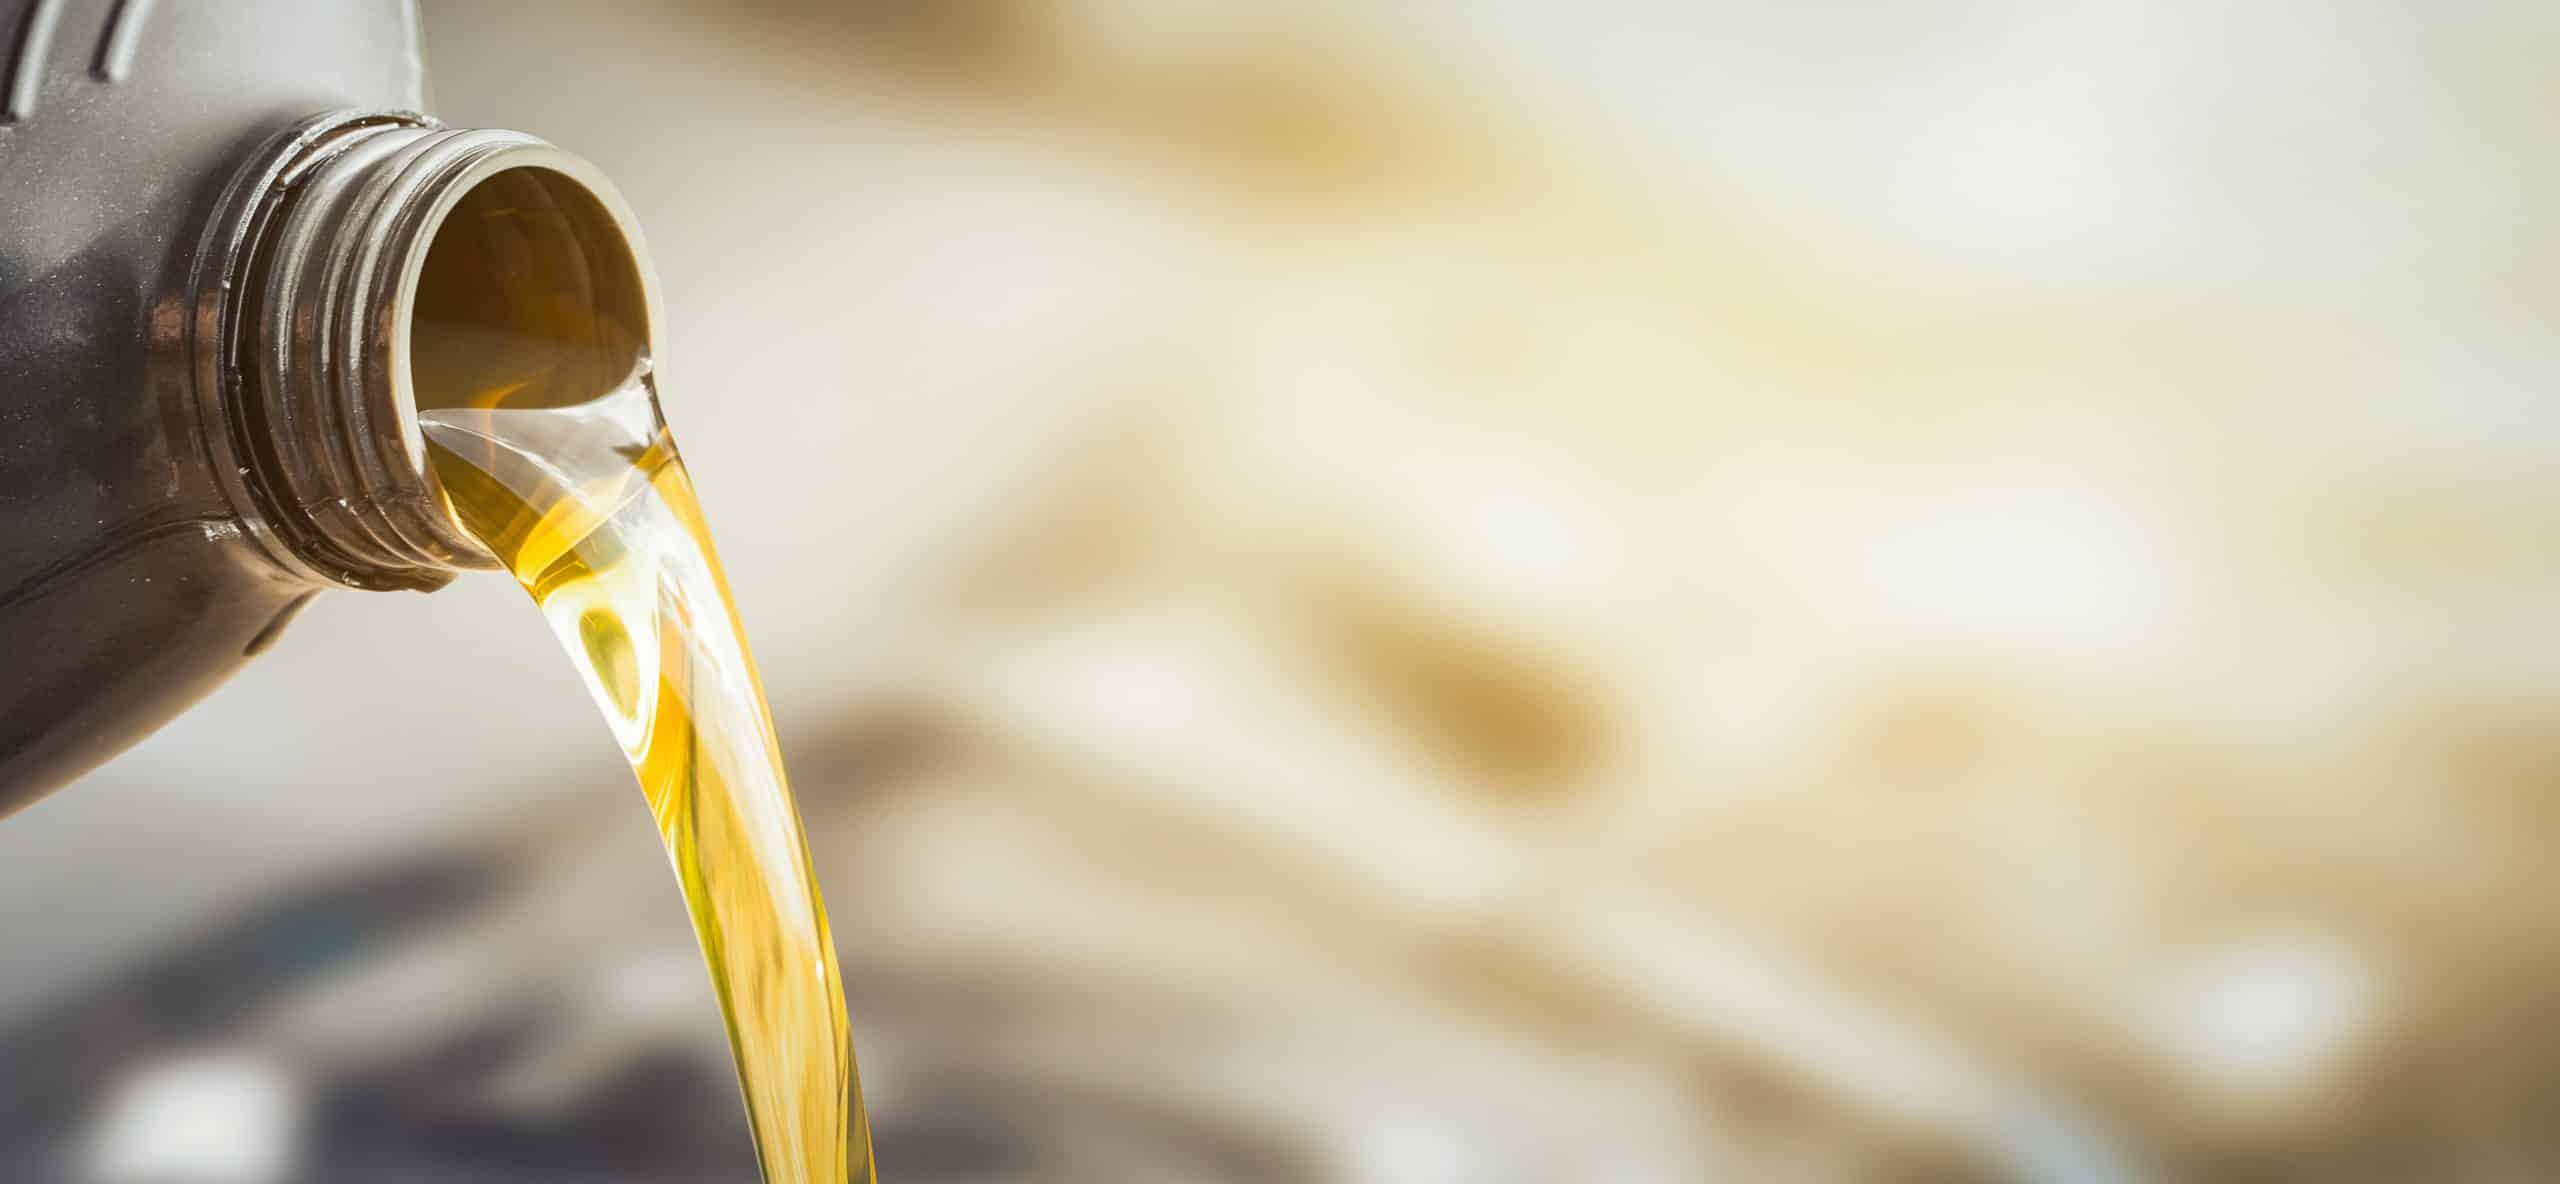
Step 3: Put some Adam’s Metal Polish #1 on an applicator sponge
Shake the bottle vigorously for 30 seconds and put some Adam’s Metal Polish #1 on an applicator sponge. This is a course polish which will remove scratches from chrome surfaces. It’s used in the first stage of the polishing process.
The applicator sponge we recommend uses 50% less product and is guaranteed not to scratch your chrome because of its ultrasoft pearl weave outer layer.
Step 4: Polish in small circular motions
Rub the surface in circular motions to remove scratches. When the applicator sponge turns black, turn it to a fresh side. Grab a clean sponge if it’s all dirty.
These applicator sponges can be reused after hand- or machine washing them with Microfiber Wash.
Step 5: Remove the residue
Use a clean pearl weave towel to wipe off the residue. You want to fold it twice so you have 8 clean sides to wipe with. Flip the towel to a clean side when it’s dirty and grab a fresh towel when all sides have been used.
Step 6: Put some Adam’s Metal Polish #2 on an applicator sponge
Metal Polish #2 is a much finer finishing polish. It will enhance the gloss and appearance of your metal surface dramatically.
Shake the bottle vigorously for 30 seconds and put some Adam’s Metal Polish #2 on a fresh applicator sponge, just like you did with Adam’s Metal Polish #1.
Step 7: Polish in small circular motions
Rub the surface in circular motions to get a mirror-like finish. Just like before, when the applicator sponge turns black, turn it to a fresh side. Grab a clean sponge if it’s all dirty.
Step 8: Remove the residue
Again, use a clean pearl weave towel to wipe off the residue. Flip the towel to a clean side each time it’s dirty and grab a fresh towel when all sides have been used.
Great job! Go comb your hair in the reflection!
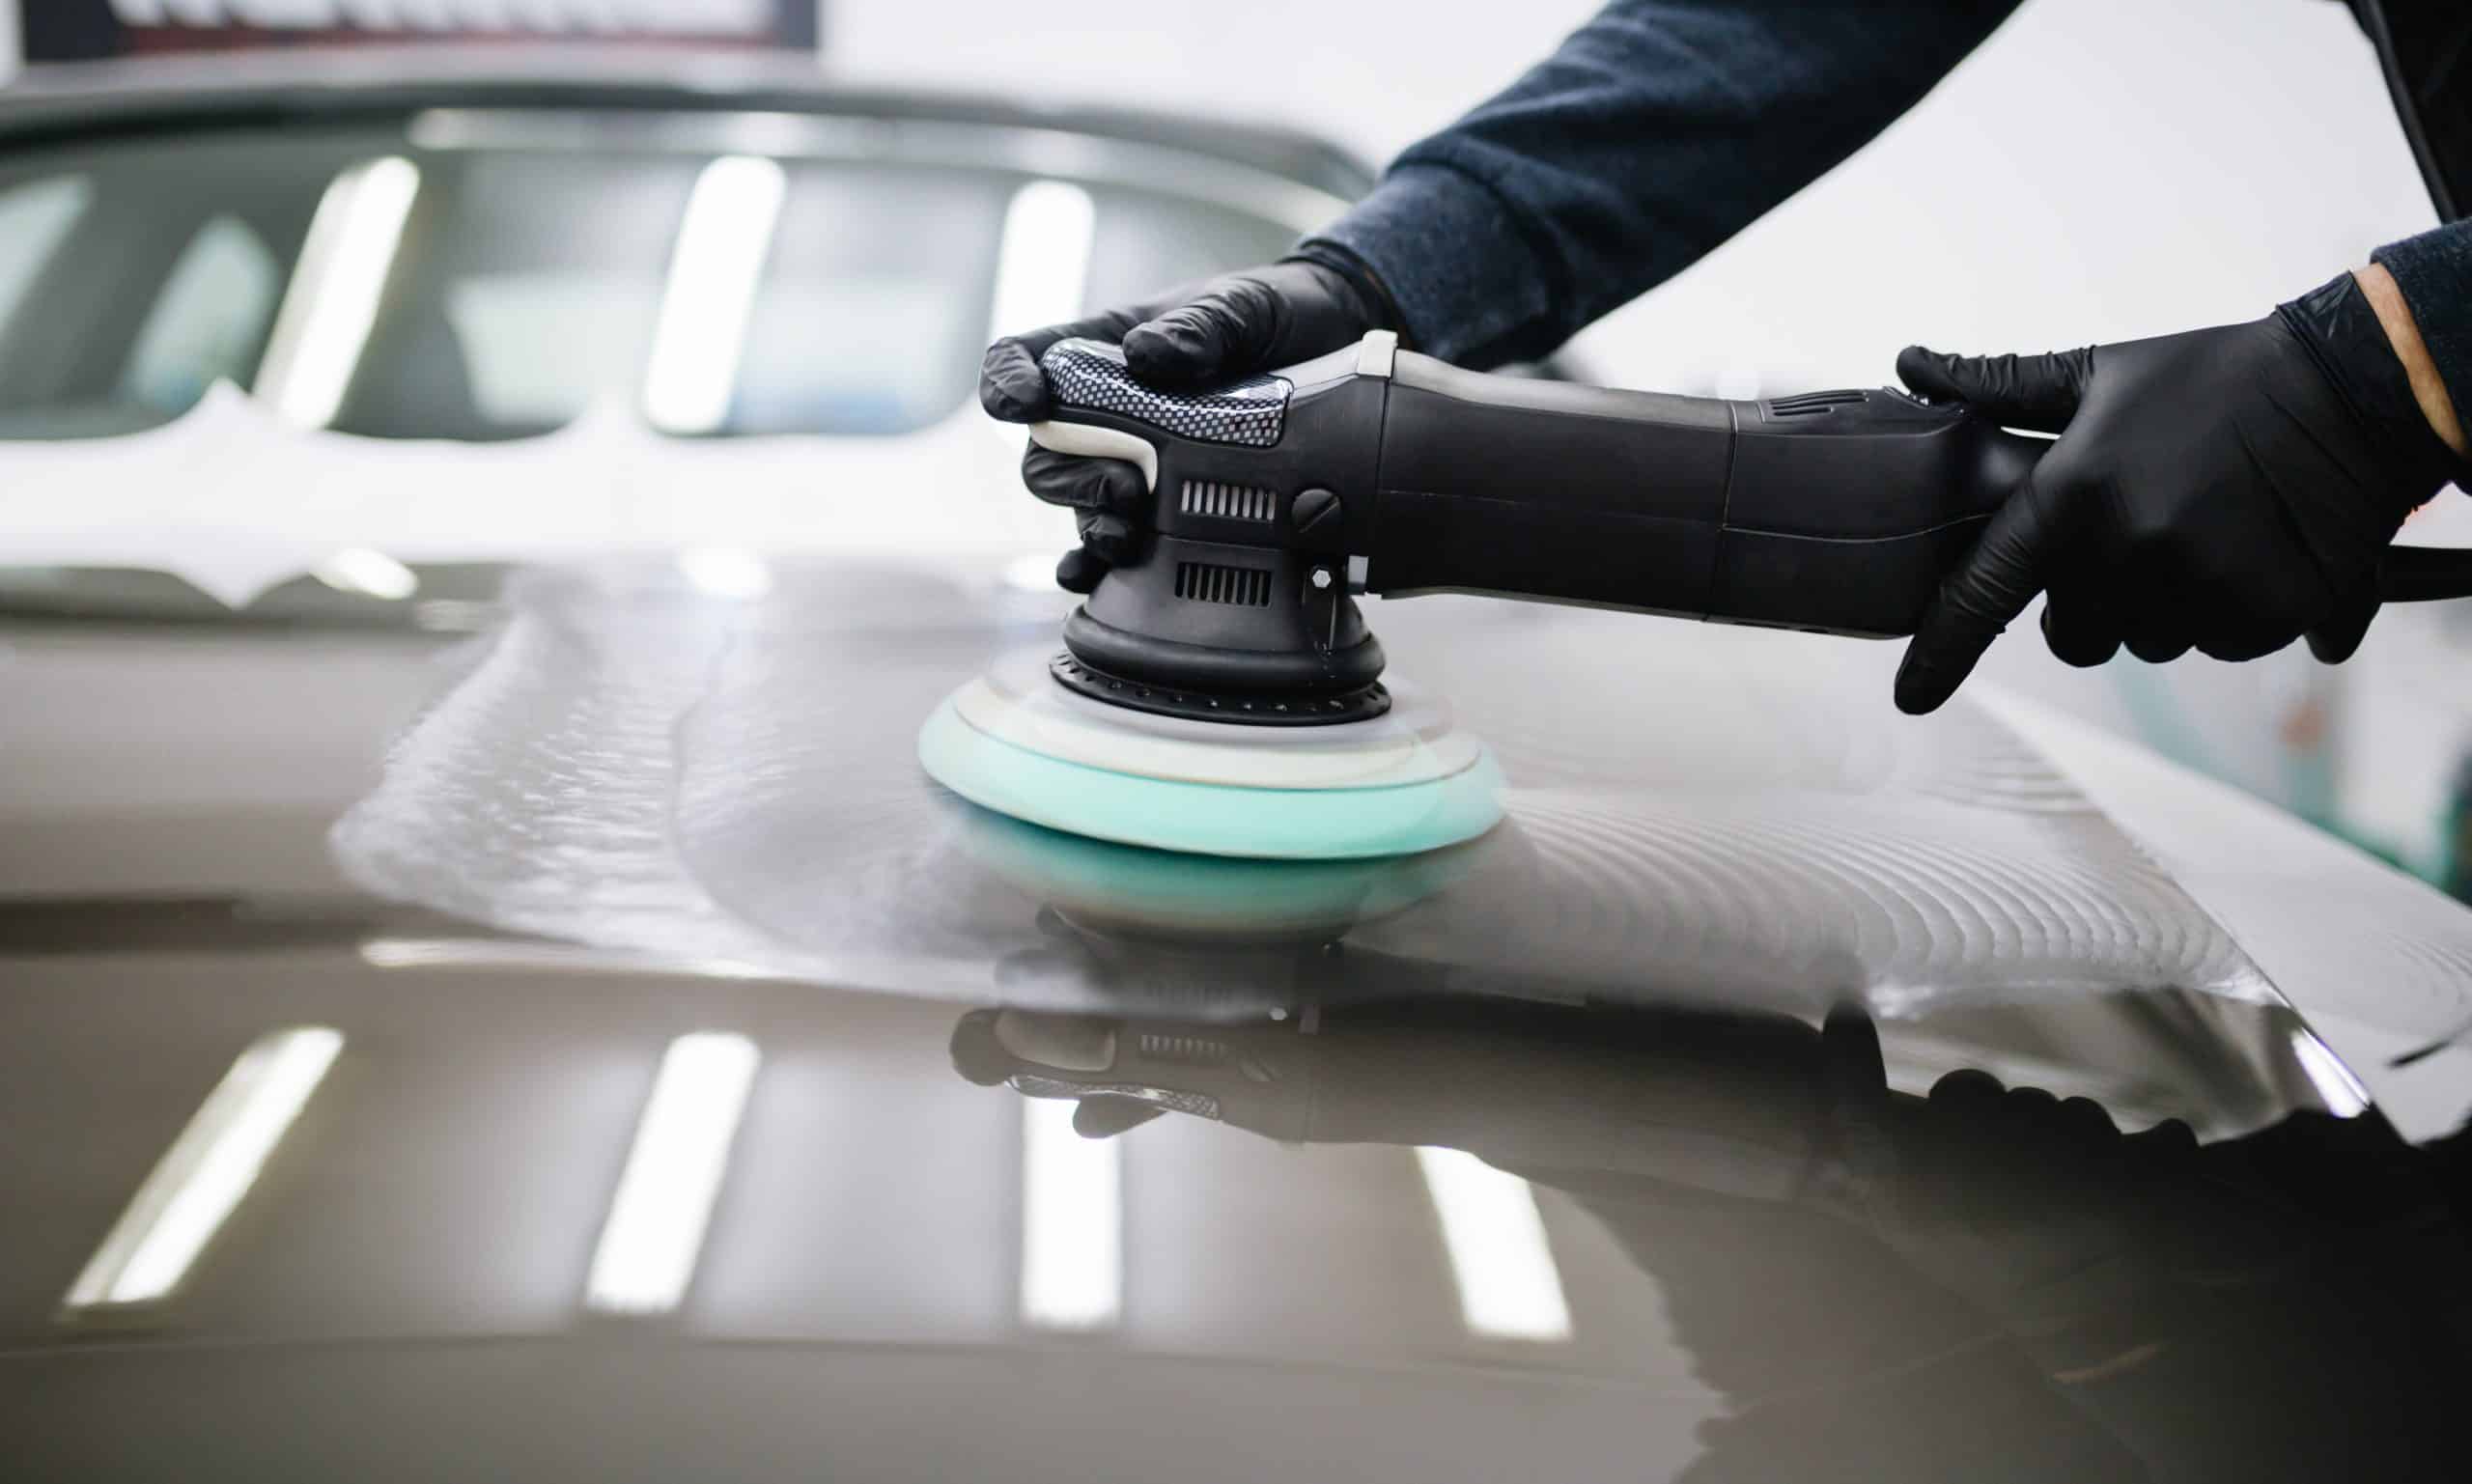
Method 2: Polishing Chrome with a Polisher
No time to polish by hand or you just don’t like to? Is the oxidation or contamination too serious to polish by hand?
Take a look at CCM’s selection of “Top 6 Best Car Polishers and Waxers“. They do the job in just a fraction of the time with a professional result.
If they don’t make your chrome shine, nothing will!
Things You Might Need
- nitrile gloves
- metal polish
- edgeless microfiber towels
- polishing pads
- Polisher
- Mini Detail Polisher (optional)
Step 1: Make sure the chrome is clean
Before you start polishing your chrome trim, you want to make sure to gently wash off all sand and dirt. If you polish a dirty chrome surface, sand particles will cause scratches.
Step 2: Put on your nitrile gloves
You want to wear nitrile gloves while polishing your chrome trim, because beside the fact that it may be hard to remove all chrome polish residue from your hands, it’s never a good idea to have direct skin contact with any chemical products. These products are formulated to polish chrome, not for skin care.
Step 3: Take your polisher and select a polishing pad
If you have the choice, choose a rotary instead of a DA (dual action) polisher to polish your chrome car trim. With a rotary polisher, it’s easier to get in the tightest spots and have maximum control.
Also, a DA polisher doesn’t come with the smallest pad sizes and isn’t compatible with flexible shaft polishing accessories. It’s important to select an appropriate pad size for your polisher depending on the size and intricacy of the trim you want to polish.
For large straight chrome bumpers without overriders for example, you can select a medium size pad.
For an intricately designed chrome grille, you’ll need a mini detail polisher accessory with a flexible shaft, equipped with a mini polishing pad that can polish in between the grille. These flexible shaft accessories can be fitted to a compatible rotary polisher.
In both cases, you want to select a hard foam polishing pad to start with.
Step 4: Put some Adam’s Metal Polish #1 on your polishing pad
Adam’s Metal Polish #1 is a coarse polish which will remove scratches from chrome surfaces. It’s used in the first stage of the polishing process.
First, shake the bottle vigorously for 30 seconds and put some Adam’s Metal Polish #1 on your polishing pad. Especially for small and mini pads, you want to make sure that the pad surface is wet with polish but not soaked. If you put on too much polish, the polish fluid will be slung in all directions. If the pad is dry, it won’t polish at all or it might even scratch your chrome.
Step 5: Polish the chrome surface to remove scratches
In the first phase, you want to polish the surface to remove scratches. For chrome, you can select the highest speed setting on your polisher.
While you’re polishing, keep the spinning pad moving around at all times to get an even shine. You want to avoid holding the rotating polishing pad in the same place for too long.
Don’t worry if you splatter polishing liquid all over the place, it doesn’t harm automotive surfaces and can easily be wiped off. With a little practice, you’ll get the hang of it.
Step 6: Remove the residue
Use a clean pearl weave towel to wipe off the residue. You want to fold it twice so you have 8 clean sides to wipe with. Flip the towel to a clean side when it’s dirty and grab a fresh towel when all sides have been used.
Step 7: Inspect the chrome surface
Once the residue is cleaned off, you want to inspect for any remaining scratches and polish some more if needed, until they are gone.
However, you may not be able to remove very deep scratches or pitting. As a general rule, if you can feel the scratch or pitting with your fingernail, you should back off. These imperfections are too deep to remove. If you persist, you might polish through the chrome layer, making things much worse.
Step 8: Put some Adam’s Metal Polish #2 on a soft polishing pad
Metal Polish #2 is a much finer finishing polish. It will enhance the gloss and appearance of your metal surface dramatically.
Shake the bottle vigorously for 30 seconds and put some Adam’s Metal Polish #2 on a fresh polishing pad, just like you did with Adam’s Metal Polish #1. This time however, you want to select a soft pad which is designed for a finishing polish to get that high-gloss showroom luster.
Step 9: Polish the chrome surface to get a showroom shine
In the second phase of the polishing process, you want to polish the surface to get that awesome showroom shine. Just like before, you can select the highest speed setting on your polisher.
Just like you did in phase one, keep the spinning pad moving around at all times to get an even shine.
Step 10: Remove the residue
Again, use a clean pearl weave towel to wipe off the residue. Flip the towel to a clean side each time it’s dirty and grab a fresh towel when all sides have been used.
Step 11: Inspect the chrome surface
Once the residue is cleaned off, you want to check if your chrome shines like a mirror. It should really pop!
Not quite satisfied? No worries, polish some more, then.
It’s important to know when to stop though, because every time you polish your chrome, you remove a microscopic layer, until the chrome is gone… and it doesn’t grow back…
Great job! Go comb your hair in the reflection!
Happy detailing!