Ever had an almost dead car battery and charged it, only for it to be dead again the next morning? Well, this often means that you have a parasitic draw. A parasitic draw is a small, electric current drain that continues after the ignition is switched off. This is usually caused by a bad ground or a faulty electrical component still being active and using power, causing your car battery to drain overnight.
In this guide we’ll show you how to easily test for parasitic draw and find the culprit in less than 10 minutes. The only tool you need to test this is a multimeter with an amp setting. It’s super simple! If you prefer watching a video, you might want to watch our YouTube video:
Here’s how to test for parasitic draw in 10 easy steps
Step 1: Locate your battery and check its voltage
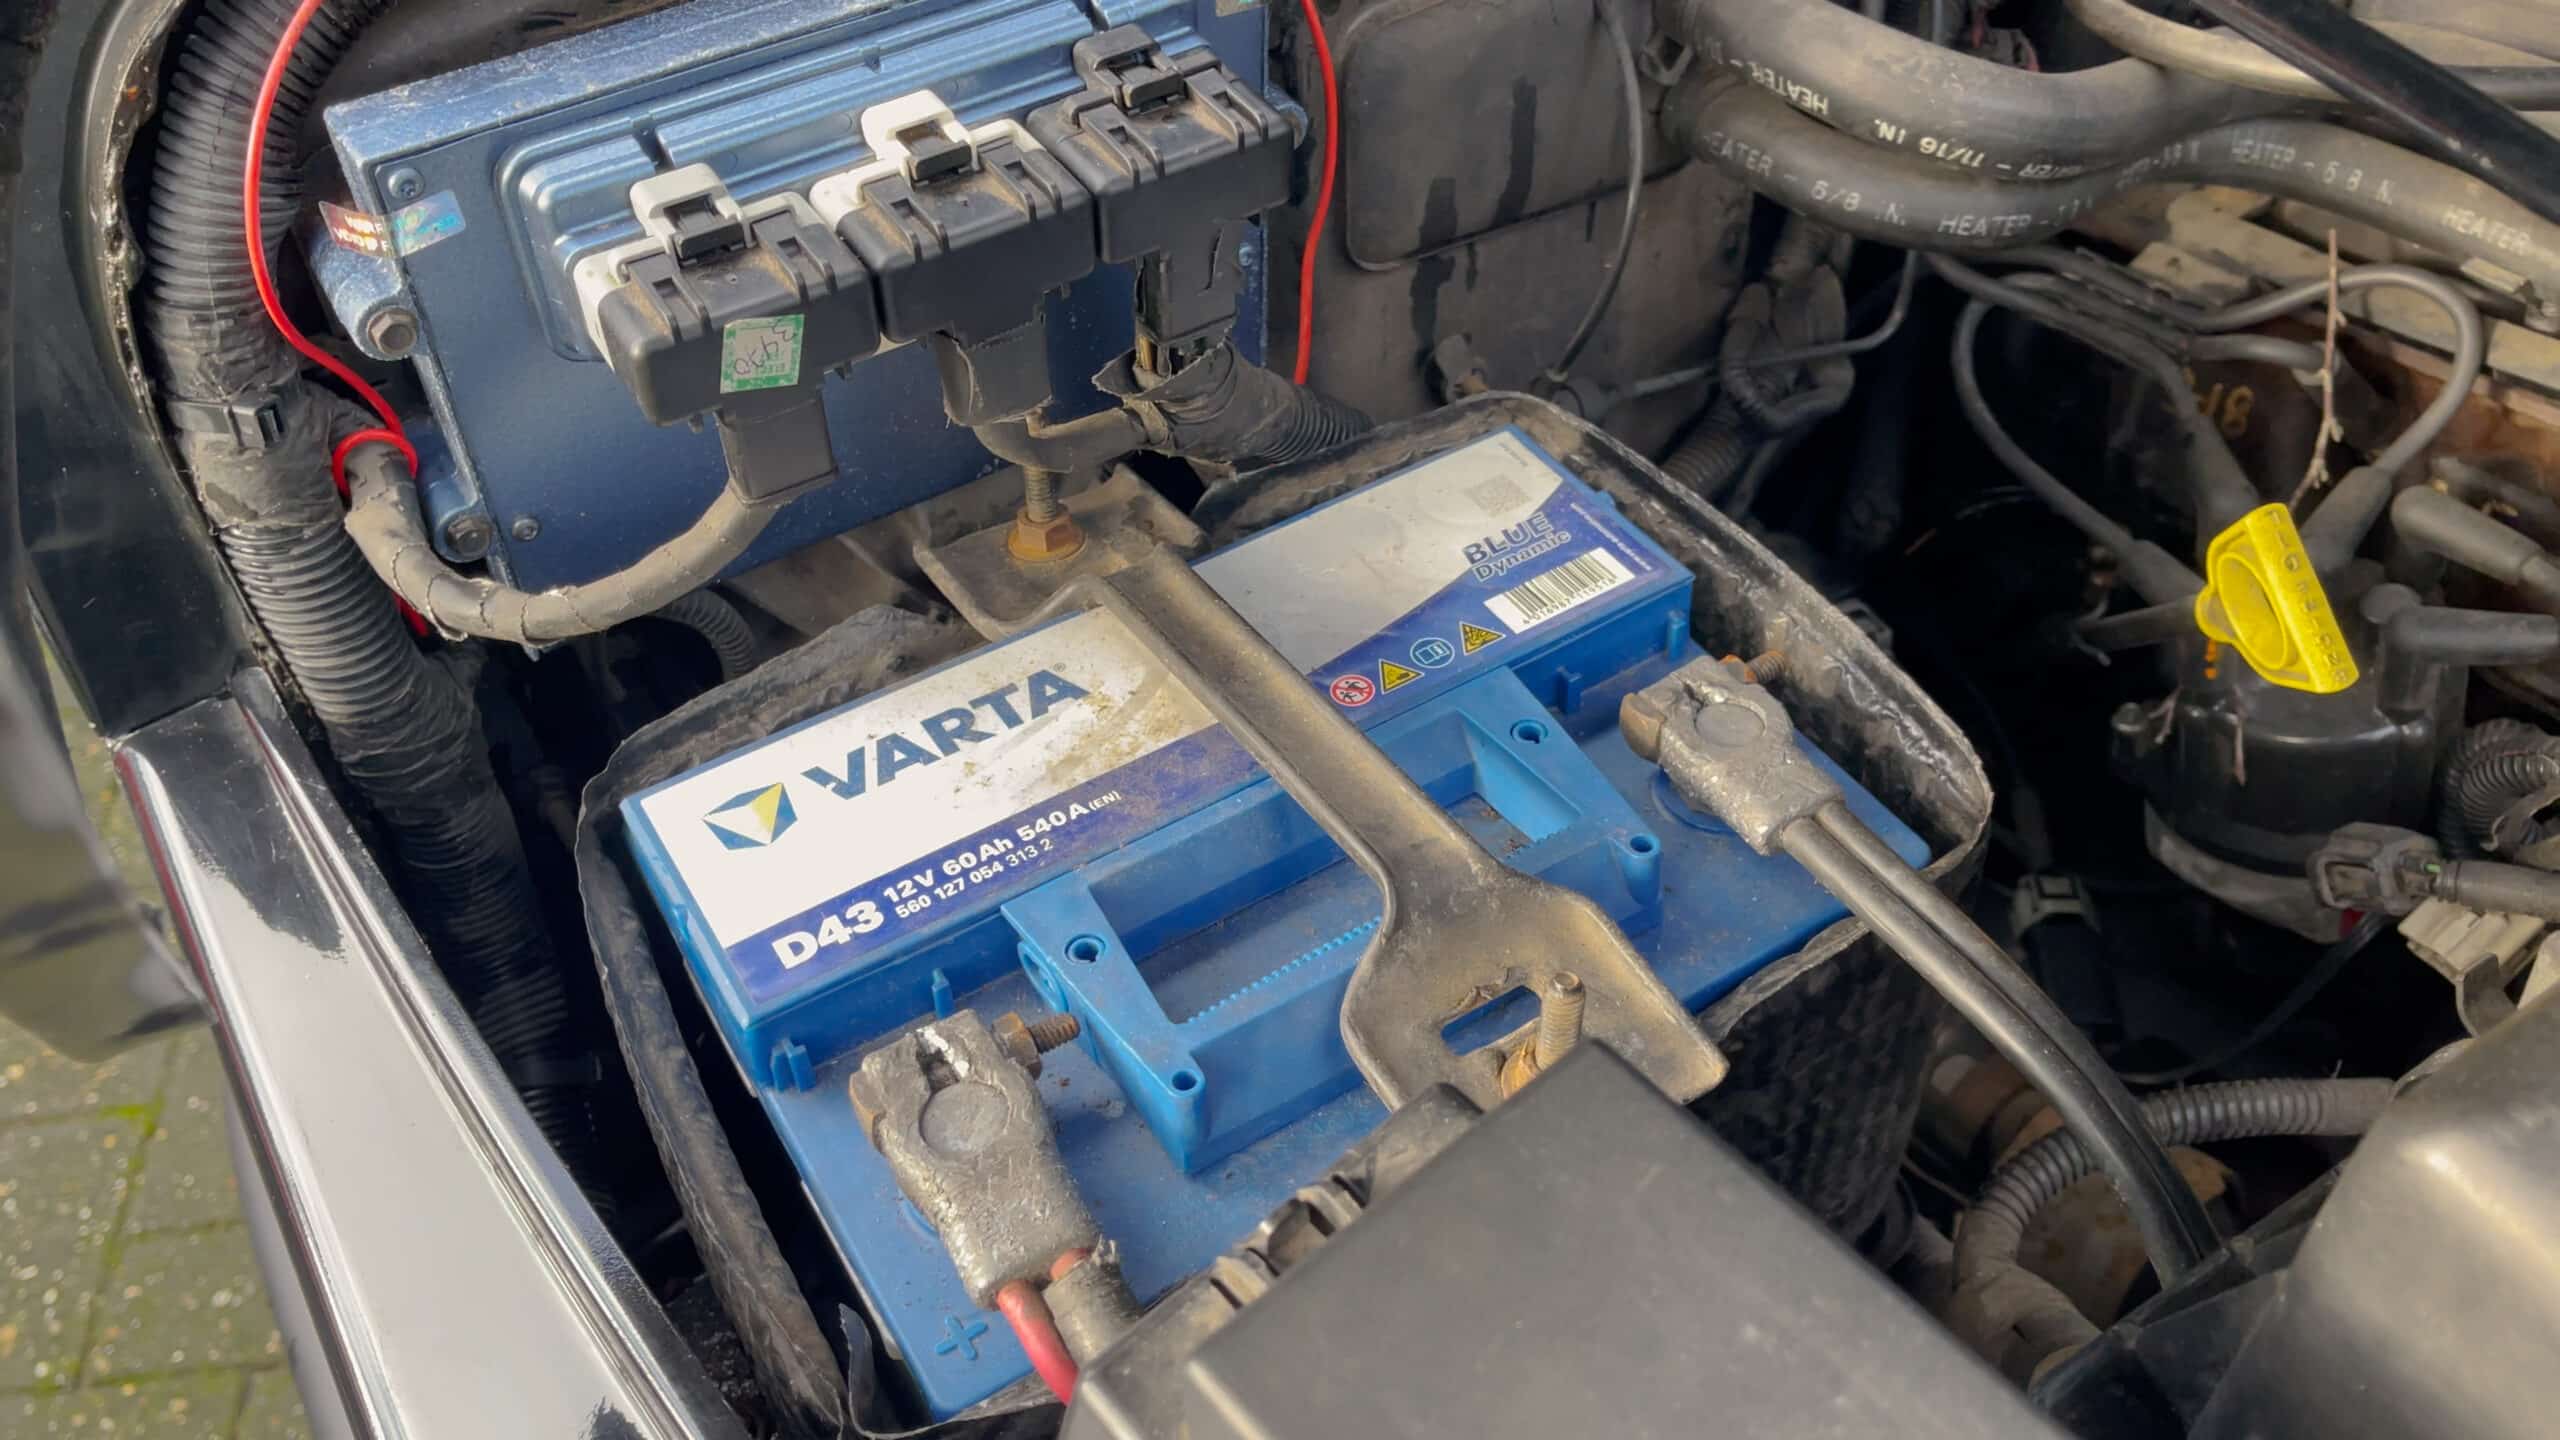
Locate the car battery; it is usually situated under the hood, close to the engine. Check if your battery is fully charged. Voltage readings should be 12.6V or higher. If voltage is too low, charge it before proceeding.

Step 2: Turn off all lights, accessories, and electrical systems and close all doors
Make sure your vehicle’s electronics, lights, accessories, and electrical systems are turned off. Check that all interior lights are switched off too.
In case you have an under-hood light, you need to manually unplug it so it doesn’t light up and draw power when you open your hood.
Depending on your car’s technology (or the lack thereof), you will need a different approach to test your car’s electric draw in sleep mode:
For older cars (pre-2000-ish), with no door handle-, airbag- or other sensors, and no sophisticated computer- or management system that wakes up when the door opens, it’s normally OK to open and close the car doors to get into your car to perform tests, because that won’t trigger anything else that draws power. With the doors closed (unlocked) and the contact off, all interior lights and systems should be switched off almost instantaneously.
With a modern car however, you want to leave one (or two) door(s) open and not lock it. Then place the car’s key fobs out of range (or in a metal box) so they don’t keep your car “awake”. Wait about half an hour after shutting the car off, because the system and computer perform all kinds of background tests and need much longer to turn off. When all systems have switched to sleep mode, the interior- and dashboard lights should turn off. When testing, be careful not to trigger any sensors (the dashboard lights and/or entertainment screen will turn on). If you accidentally do, wait until the car returns to sleep mode once more before continuing with your test.
Step 3: Select the highest DC amps setting on your multimeter

Turn your multimeter’s dial to the highest DC amps setting and connect the red test lead to the test lead plug for amps (A) measurement. You want to start with the highest amp setting and work your way down if necessary to avoid blowing a fuse in your multimeter. If you do blow a fuse, that’s no big deal, here’s how to fix it.
Step 4: Disconnect the battery and connect the multimeter

Unhook the negative (black / -) car battery terminal and connect the multimeter test leads to the negative terminal and the ground cable. You can measure parasitic draw on either the positive or negative side of the battery, but we highly recommend disconnecting the negative side. This is a lot safer because it eliminates the danger of accidentally creating a short against a ground (anything metal), which will result in fireworks and it may even cause your car battery to explode when the sparks ignite the battery’s venting hydrogen gas. Better safe than sorry!
Modern cars have loads of presets for all electronics and functions. When you disconnect the car battery, they may have to be reset or reprogrammed afterwards (radio presets, infotainment, GPS history, car seat and steering wheel settings, sunroof, locking settings…). Also, all vehicle data and codes may be lost, which may result in starting, shifting and driving issues because the ECM will have to recalibrate. You can prevent this by first plugging an OBDII Memory Saver in your OBDII port under your dash. It will keep the “brains” of your car powered while the car battery is disconnected so all your car’s data and settings stay safe.
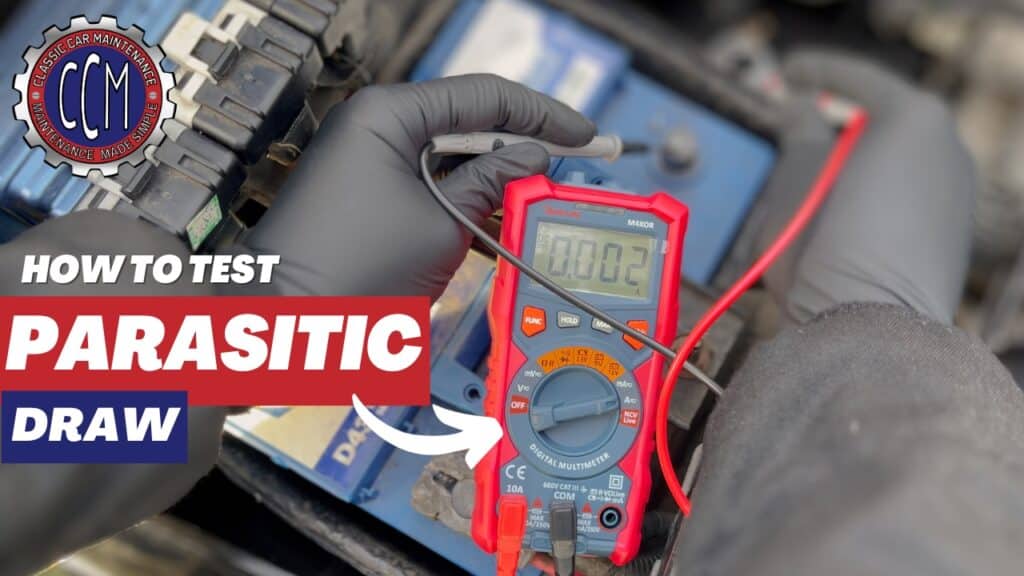
Step 5: Check the current draw with your multimeter
When your car is in sleep mode, a current draw up to 50 milliamps is normal, new cars with all the latest technologies on board can have as much as 85 milliamps of current draw. Anything higher than that may indicate a problem and should be investigated. Because there is always current draw in modern cars due to computer processes still being active in the background, if your multimeter reads 0, it has probably blown a fuse.
Step 6: Locate the fuse box(es)

If your multimeter shows current readings that are way too high and you want to know what causes this parasitic draw, the first thing to do is to locate the fuse box(es). Usually there is one under the hood for all the engine related stuff, and one or two fuse boxes inside the car for all the rest. Generally you can find them on the driver and/or passenger side under the dashboard and/or behind the glovebox.
NOTE: Modern cars often turn on several power guzzling systems at once when you open the car door, like: interior and courtesy lights, follow-me-home (head)lights, ventilation, infotainment, radio, computers and screens. They all come to life at once. This can pull quite a few amps, that’s why, before you do this, for these kinds of sophisticated cars, it’s wise to unhook your multimeter first. If you don’t, it might get a power surge and blow a fuse. This is not a problem for older cars though.
Step 7: Take out the fuses one by one

The next step is very simple: take out the fuses and put them back one by one while keeping an eye on your multimeter. If the parasitic draw/amps reading on the multimeter drops when removing a fuse, you know the problem is situated in one of the components that is connected to that fuse. That’s all there’s to it. That’s how easy it is to find a parasitic draw.

However, sometimes the (milli)amps reading on your multimeter will only drop partially and you’ll have to continue looking for one more, or several more parasitic draws until the current draw drops to an acceptable level.
When you put the fuses back in place, make sure they are inserted all the way, just like they were when you removed them. It’s important that they make good connections.
Here are a couple of neat tricks to facilitate the process:
1. Clamp the multimeter leads to the battery post and ground cable using vice grips, plastic clamps or alligator test leads, this way you don’t have to constantly hold them in place.

2. Place the multimeter against the windshield facing the inside of the car close to where the fuse box is, so you can monitor the parasitic draw with ease while pulling out fuses.

You can also dramatically speed up the elimination process by taking out entire rows of fuses at once and narrowing it down further once the (milli)amps value has dropped. Don’t forget to take a picture first though, so you know exactly what fuse went where.
Step 8: Determine the culprit(s)
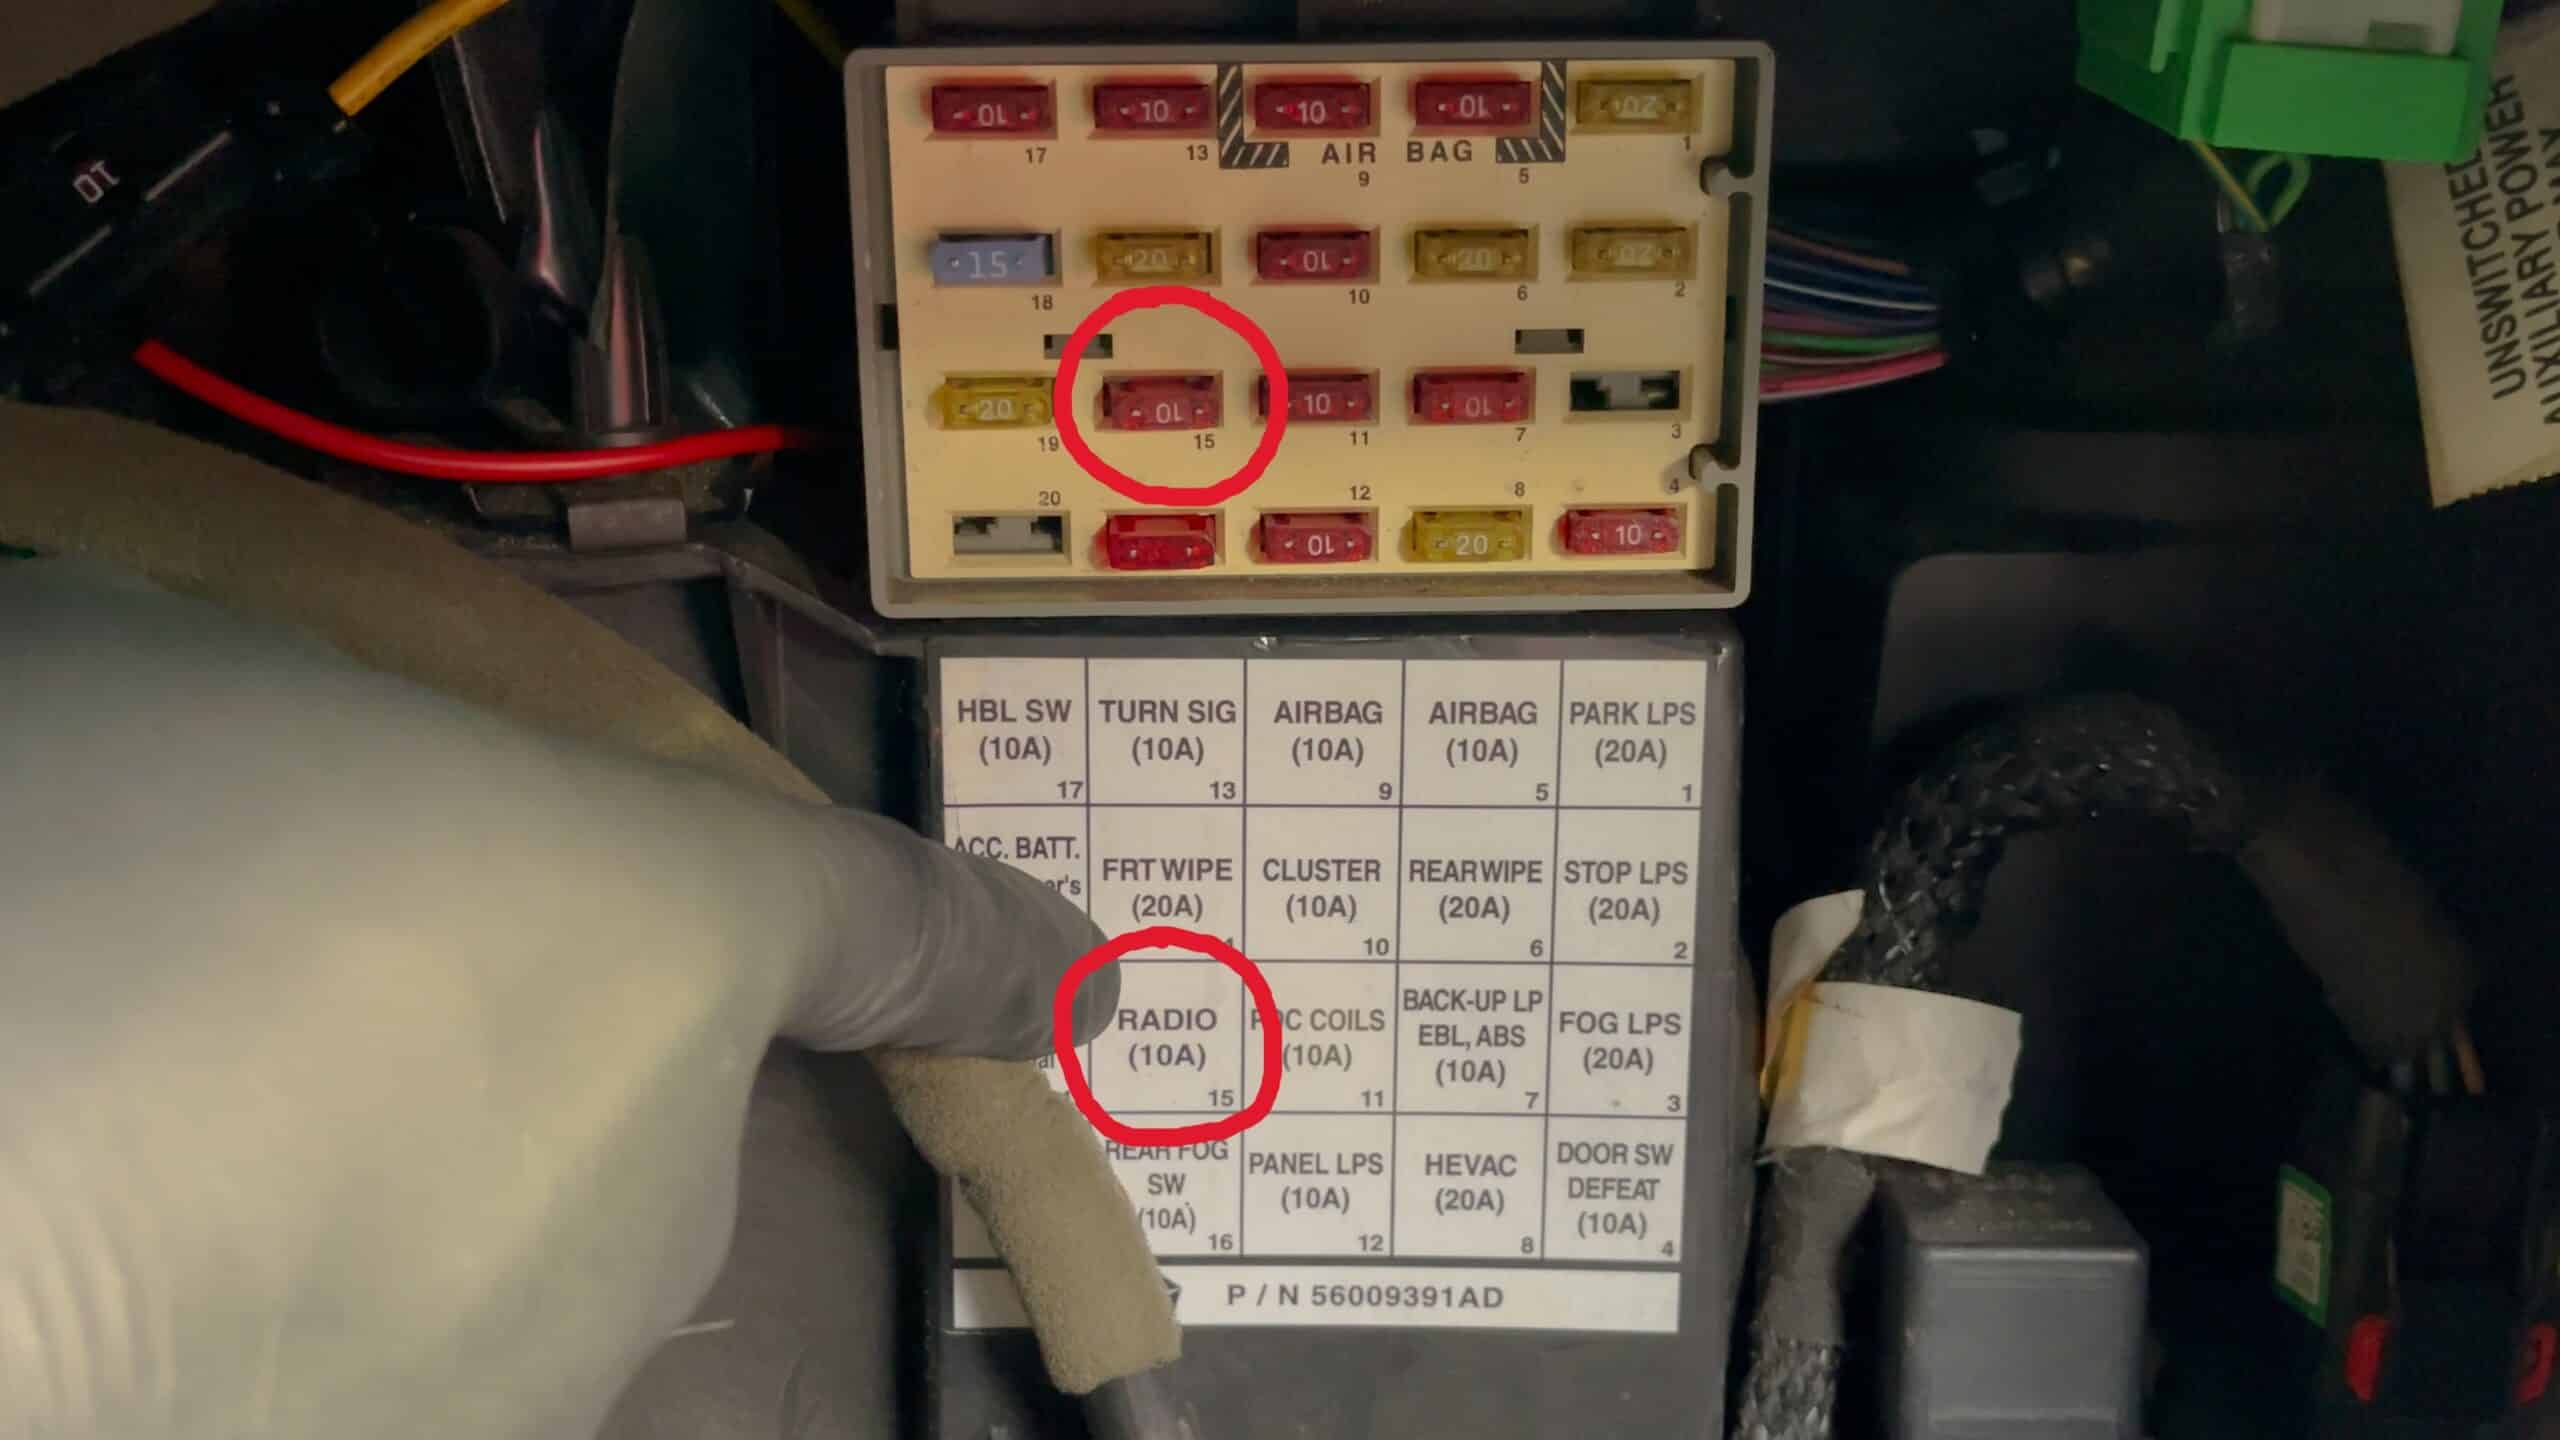
Now you know which fuse(s) causes the problem, the next step is to investigate what component(s) is connected to that fuse. There are several ways to find out: Some fuse boxes are labeled next to the fuses, some are not, some have a schematic on the inside of their cover. You can also look at the schematic or your car’s wiring diagram in your car owner’s manual or workshop manual.
Most common causes of parasitic draw:
- A glove box, trunk or hood light that doesn’t turn off because the killswitch malfunctions.
- Wiring damage causing a (minimal) short because of moisture, oxidation, insulation rubbing against metal or other wires, or rodent damage.
- A device that shorts (minimally), malfunctions or won’t completely turn off.
- A faulty relay switch.
- A malfunctioning alternator (failed diode).
Step 9: Fix the problem
Now that you’ve located the parasitic draw and narrowed it down to one component, you can fix it or have it fixed. This will save you a lot of money either way.
If you can fix it yourself, costs will be limited to the replacement part in the worst case scenario. At best, it may just be a wiring or oxidation issue that can easily be solved without any costs. Worst case, the problem can be very hard to track down, especially in case of a hidden wiring loom problem or oxidation somewhere inside connectors. Sometimes, it can take many hours and lots of cussing before you get to that eureka moment.
If you can’t fix it yourself, you will still have saved a considerable sum in hourly wages by tracking down the culprit or narrowing down its general location yourself. Knowledge is money too: now you have narrowed down the problem, they won’t be able to charge you for costs or parts that don’t apply.
Step 10: Final check
Do a final check to be sure. Use your multimeter to test for parasitic draw one more time, just like you did before. If readings are now lower than 50 to 85 milliamps, depending on your type of car, the parasitic draw issue is solved!
That’s all there is to it!
Happy cruisin’!
Don’t have a multimeter? Looking to upgrade your old one? Check out our best automotive multimeters.