When you have recurring problems starting your vehicle because of low voltage, and recharging your battery doesn’t solve the issue, don’t automatically blame your car battery because chances are that it is your alternator that is malfunctioning.
When your alternator malfunctions, your car battery will receive an incorrect electric charge or none at all. A malfunctioning alternator often even drains your car battery. This can very quickly damage your car battery irreversibly. Replacing the battery with a new one is only a very temporary fix; the new battery will soon die too.
So, when you have starting or battery issues, it is essential to first test your alternator before replacing your battery.
In this “How To”, we’ll guide you through the process in 4 simple steps. There’s nothing to it, anyone can do it. All you need is a multimeter with voltage settings.
If you prefer watching a video, we’ve also got you covered! Check out our YouTube video about testing an alternator with a multimeter:
Right, let’s get crackin’:
Here’s how to test an alternator with a multimeter in 3 easy steps
Step 1: Check your car battery’s voltage
First you need to check your car battery’s voltage. Turn the dial on the multimeter to volts (V) setting, hold the red test lead to the positive (+/red) battery terminal and the black test lead to the negative (-/black) battery terminal. Make sure they have a good connection or you won’t get an accurate reading. The battery voltage should be very close to 12.6 or higher. Battery readings can be higher if your battery was hooked up to a trickle charger.
Step 2: Start your engine and check voltage again
Next, start your engine and check the battery voltage again with the engine running.
CAUTION: Stay clear from the fan, belts, pulleys and other moving parts of the engine!
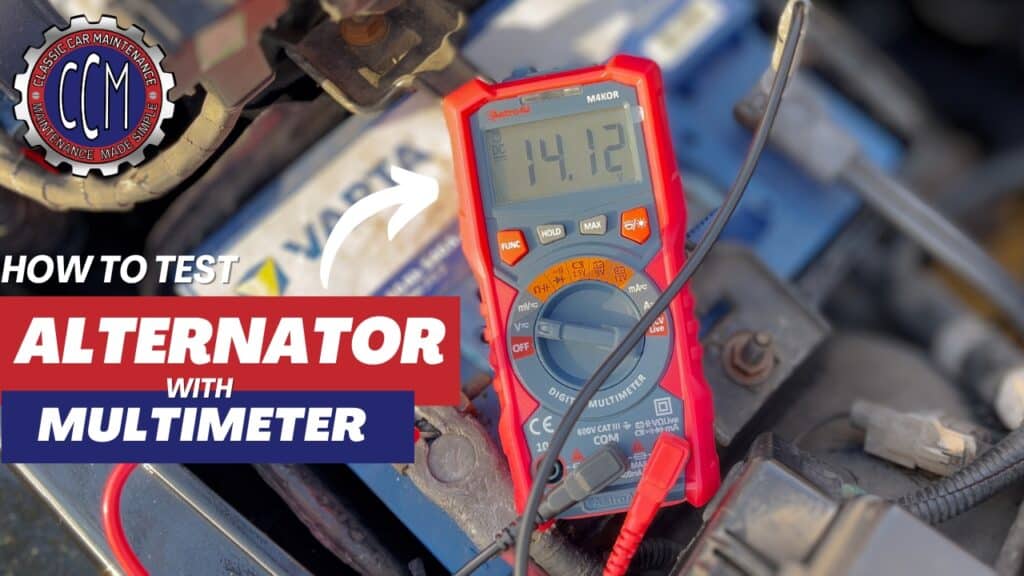
If the alternator is working correctly, voltage should be significantly higher than before, preferably between 14 and 14.5 volts. A voltage below 14 volts means the alternator is not working properly. Too high charging voltage can be even worse though. That usually means there is something wrong with the voltage regulator in the alternator. This too can damage your car battery and it can even fry your car’s electronics.

Step 3: Test the alternator under load
Finally, you want to test your alternator under load by turning on as many electronics and electric accessories as possible, like the radio, lights, window defogger and so on.
Now check your voltage again. If your alternator is working correctly, the voltage shouldn’t drop that much, and it should definitely be higher than 13 volts or your car battery won’t charge properly.
That’s all there is to it.
If your alternator works fine, you want to test for parasitic draw next. That may also be the cause of your battery problems. If there’s no parasitic draw, you want to replace your car battery, as it definitely is the culprit.
If your alternator is faulty, replace it or have it replaced immediately before you replace your car battery. You don’t want to risk frying your vehicle’s electronics or ruin your brand-new battery.
Happy cruisin’!
Don’t have a multimeter? Looking to upgrade your old one? Check out our post about the best automotive multimeters”.
For more in-depth information, visit “What Is An Alternator And How Does It Work?” and “Signs of a Bad Car Battery vs. a Bad Alternator”


